Modulation
SuperStarSaw offers five different modulation sources for setting your sound in motion.
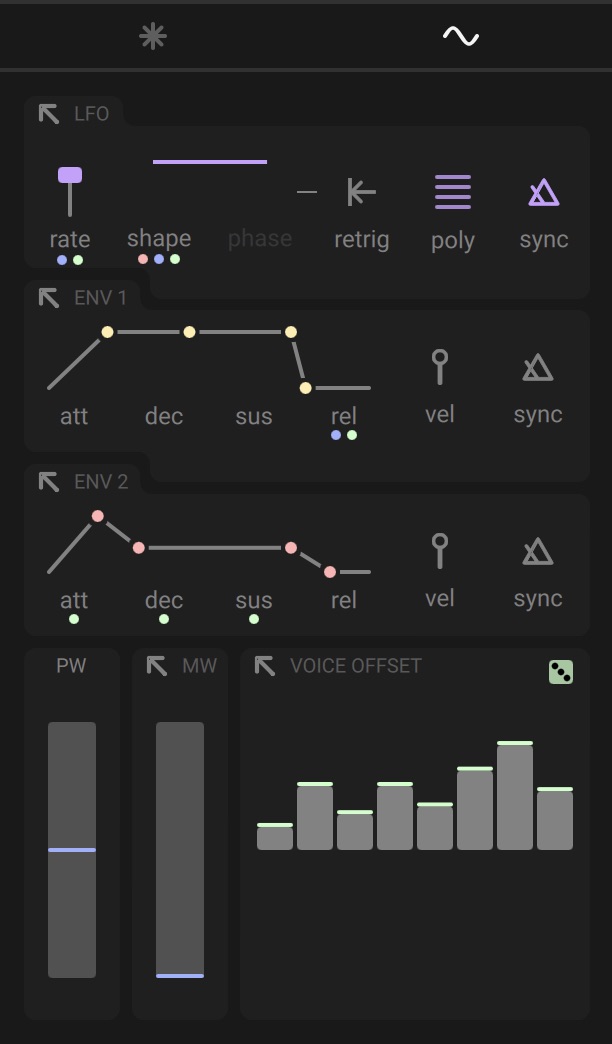
SuperStarSaw offers five different modulation sources, each of which can be routed simultaneously to multiple controls across the instrument. Each source has an associated Routing button, which shows the modulation sliders beneath all potential targets.
 |
Using modulation
The LFO provides a variety of different waveforms which can be smoothly morphed between for maximum flexibility. Use the Shape control to select the shape of the LFO, and the Rate control to determine its frequency. Clicking the Sync control will lock the LFO to divisions of your host DAW’s tempo. With the Retrig button enabled the LFO will restart on each new key press, and the point at which it restarts can be set with the Phase control. With the Poly button enabled, each voice in the instrument is assigned a unique LFO for extremely dense and complex modulation.
Env 1 and Env 2 both function in the same way. They are analog style envelope generators with controls for the attack, decay, sustain, and release stages. Turning Sync on allows you set set envelope times to divisions of your song tempo. When Vel is enabled, the envelope responds to how soft or hard a key is pressed.
The mod wheel (MW) is a freely assignable performance control, which can be routed to nearly every control in the instrument, offering a great way to add expression to your sounds and performances.
The Voice Offset section introduces a simple, yet powerful way to add complexity and variation to patches. Each of the eight faders represents a voice in the instrument, and when routed to any potential modulation target, will offset that control by the value set at the fader.
Note
To learn more about a control, hover your mouse over it to show a description in the info pane at the bottom of the instrument.
Assigning modulation
To assign a modulation source (LFO, envelopes, mod wheel, voice modulation) to a control:
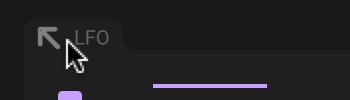
Click the Routing button of the modulation source to show the modulation sliders underneath all controls that can be modulated.
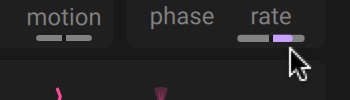
Click and drag a modulation slider to assign modulation to the associated control. The modulation sliders are bipolar, with no modulation being applied at middle position. Dragging to the right assigns positive (non-inverted) modulation, dragging to the left assigns negative (inverted) modulation.
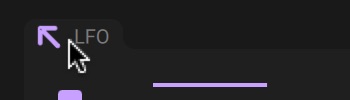
Click the Routing button again to hide the modulation sliders.
Active modulation assignments are indicated by small colored dots beneath the label of each control, allowing you to see them at a glance even when the modulation sliders are hidden. The dots are color coded in order to match each of the modulation sources. If a control has multiple dots beneath its label, this means that multiple modulation sources have been assigned to it.
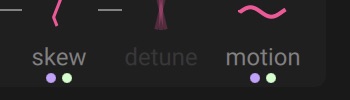 |
Tip
You can assign every modulation source to as many controls as you like, and you can also assign as many modulation sources as you like to any control.