FX page
The FX page of Erosia lets you set up two insert effect chains and a send effect for your layers.
The FX page of Erosia lets you set up two insert effect chains, a send effect, and a limiter for your layers.
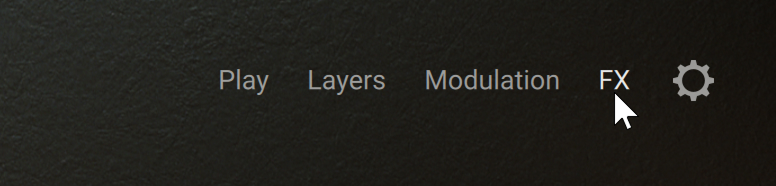
To open the FX page, click the FX button in the top right corner of the instrument.
The FX page contains the following sections:
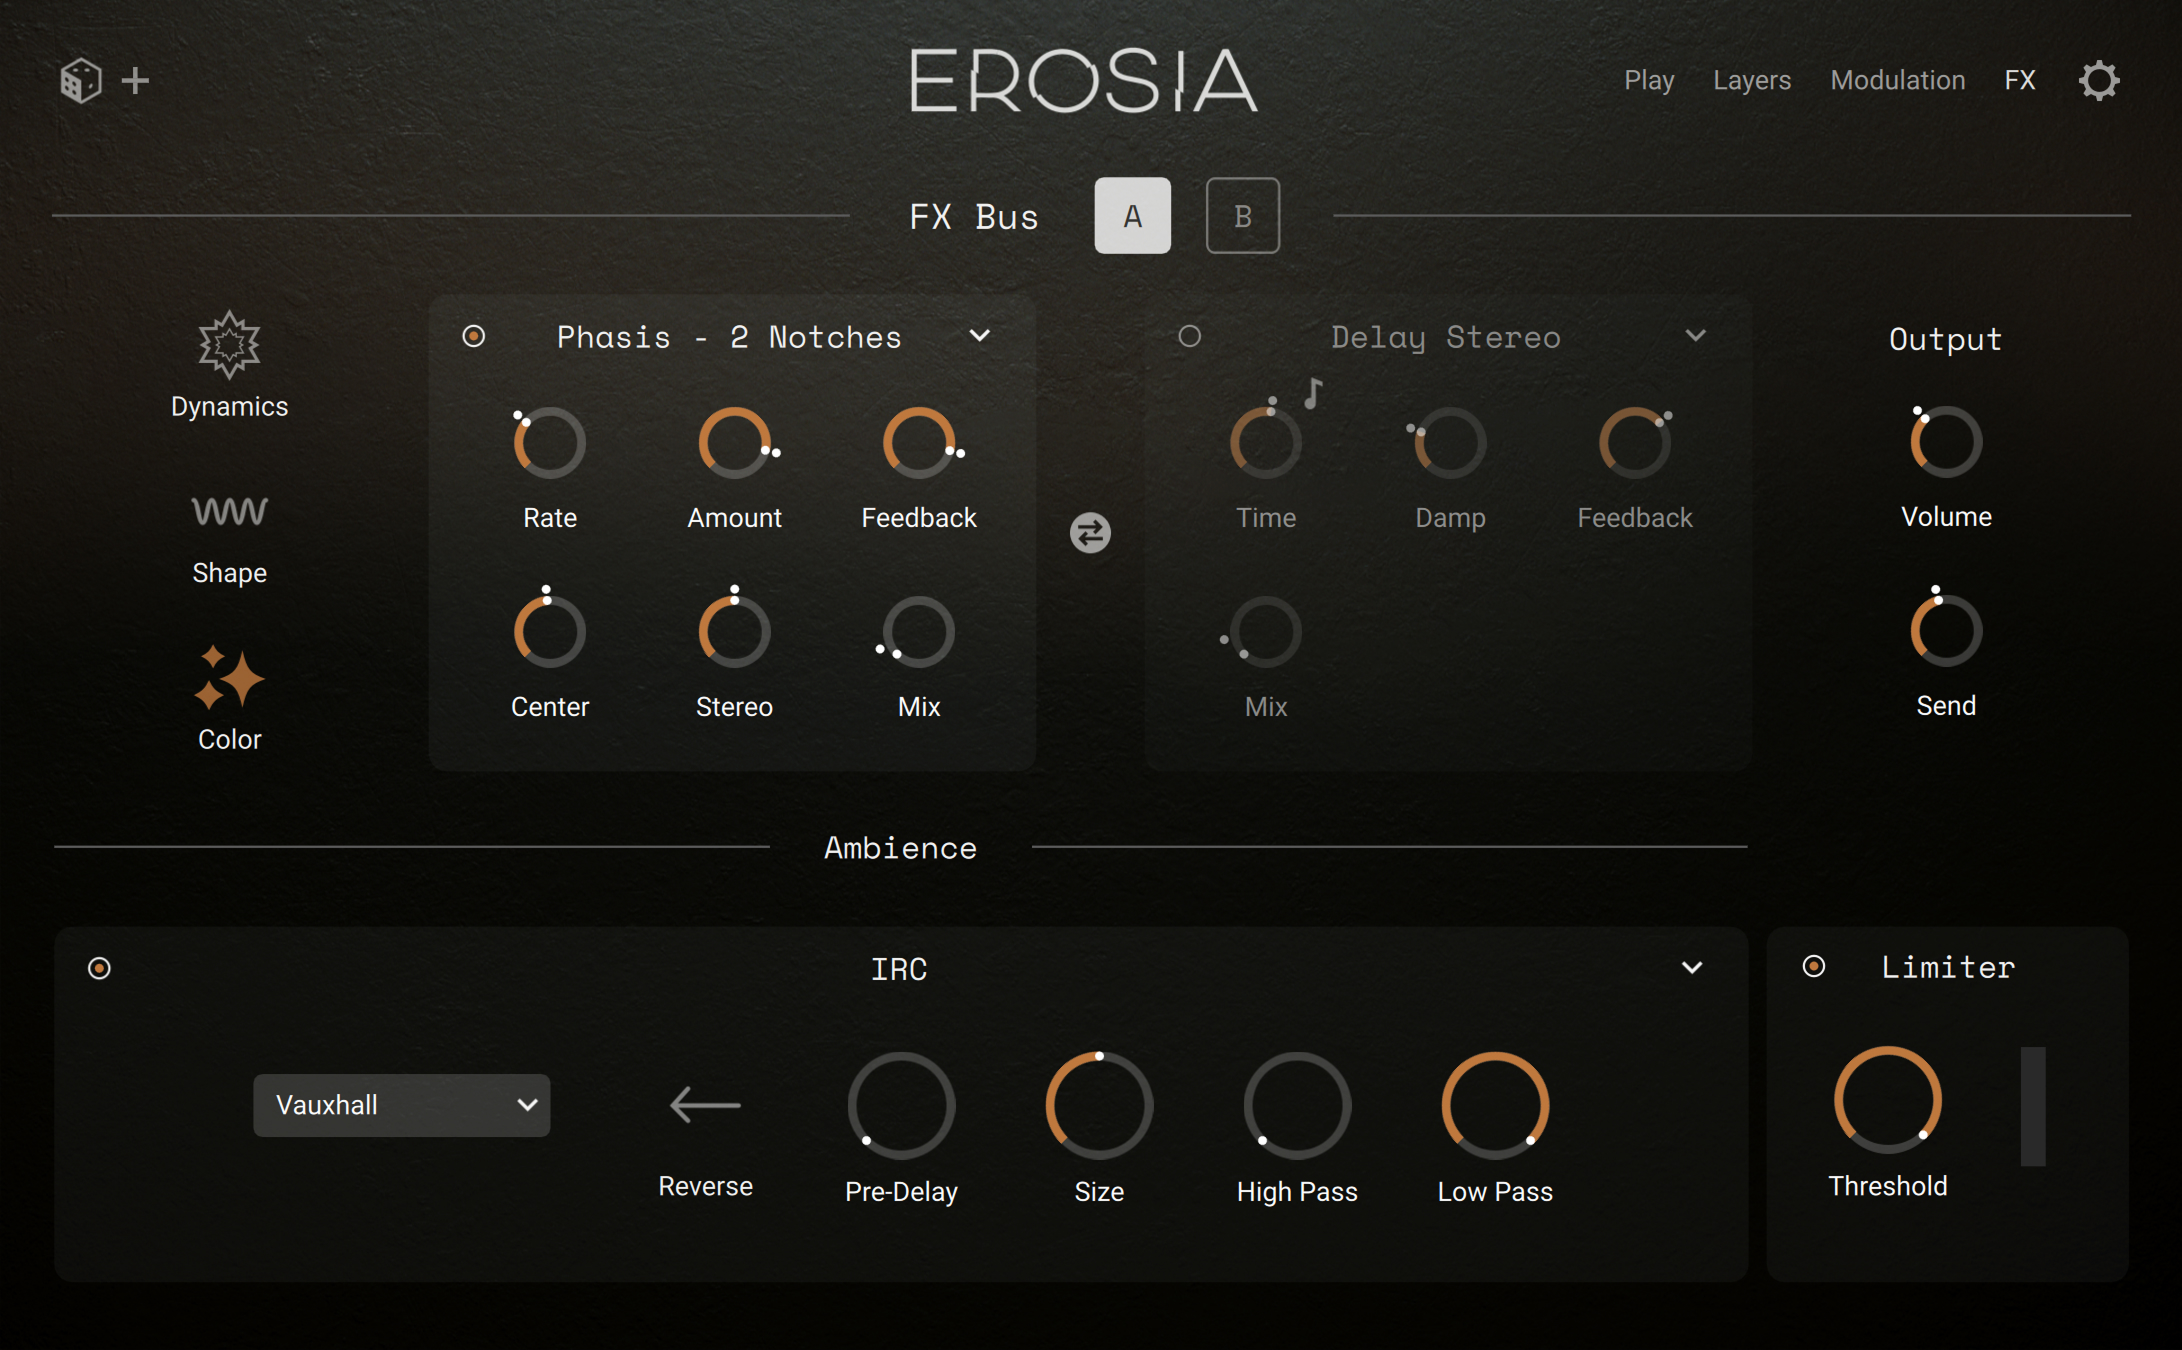
In the upper part, the FX Bus section lets you select and configure the effects in the two available effect busses A and B. Each bus can contain a chain of up to six effects (two effects at three different stages), and you can route each individual layer to either effect bus. Refer to FX Bus section.
In the lower left part, the Ambience section provides a delay/reverb unit available as send effect for the output of the two effect busses above. Refer to Ambience section.
In the lower right part, the Limiter processes the overall sound of the instrument. Refer to Limiter.
FX Bus section
At the top of the FX page, the FX Bus section lets you set up the effect chains on the two busses A and B. Each bus includes three stages that can host up to two effects each.
The FX Bus section contains the following elements:

FX Bus selector: Shows the contents of the effect bus A or B. All the remaining elements in the FX Bus section are specific to the bus selected here.
Effect Stage selector: Clicking Dynamics, Shape, or Color shows the two effect slots of this effect stage.
Effect slot 1: Hosts one effect and shows its parameters. At the top of the slot, the effect menu shows the name of the loaded effect. You can click that name and choose another effect from the menu, or select None to leave the slot empty. In the top left corner, the on/off switch lets you bypass the slot. Different effects are available in the different slots and stages. Each effect provides its own set of parameters.
Swap button: Swaps the two slots on that stage.
Effect slot 2: Hosts one effect and shows its parameters. At the top of the slot, the effect menu shows the name of the loaded effect. You can click that name and choose another effect from the menu, or select None to leave the slot empty. In the top left corner, the on/off switch lets you bypass the slot. Different effects are available in the different slots and stages. Each effect provides its own set of parameters.
Output section: Includes controls adjusting the following levels:
Volume: Adjusts the output level of the effect bus. After this control, the sound is routed both to the Limiter and to the Send control below.
Send: Adjusts the level of the signal sent to the delay/reverb unit in the Ambience section. As you raise the Send value, more of the bus sound will be processed by the delay/reverb unit.
Note
The send path is an additional path: The output of each effect bus is routed anyway to the Limiter at the specified Volume level, no matter if some of it is additionally sent through the Ambience section.
Dynamics, Shape, and Color stages
In either effect bus, the sound passes through all three stages from top to bottom, and in each stage through both effect slots from left to right.
In the Dynamics stage, the available effects are based on the following Kontakt effects:
Effect slot 1: The various Compressor effects are based on the Solid Bus Comp compressor of Kontakt with different attack settings. The Transient Master effects are based on the Transient Master of Kontakt with the Smooth switch on or off.
Effect slot 2: The various Saturate effects are based on the corresponding modes of the Saturate effect in Kontakt.
In the Shape stage, the available effects are based on the following Kontakt effects:
Effect slot 1: The Tube and Transistor effects are based on the corresponding modes of the Distort effect in Kontakt. The Bit Reduction effect is based on the Lo-Fi effect of Kontakt. The two Skreamer effects are based on the Skreamer effect of Kontakt, the Skreamer 50/50 effect having the Clean knob turned at full level in Kontakt.
Effect slot 2: This slots provides the same collection of filters as the Filter section of the Layers page. You can find a complete list of the available filters and a description of their parameters in Filter reference.
In the Color stage, the available effects are based on the following Kontakt effects:
Effect slot 1: The various effects are based on the corresponding Choral, Phases, and Flair effects of Konkakt.
Effect slot 2: The various Delay effects are based on the Delay effect of Kontakt with various Pan settings.
You can find more information on these effects and a description of their parameters in the Effect reference chapter of the Kontakt user guide.
Ambience section
At the bottom left of the FX page, the Ambience section provides a delay/reverb unit available as send effect for the sound coming from the two effect busses A and B above.
The Ambience section contains the following elements:
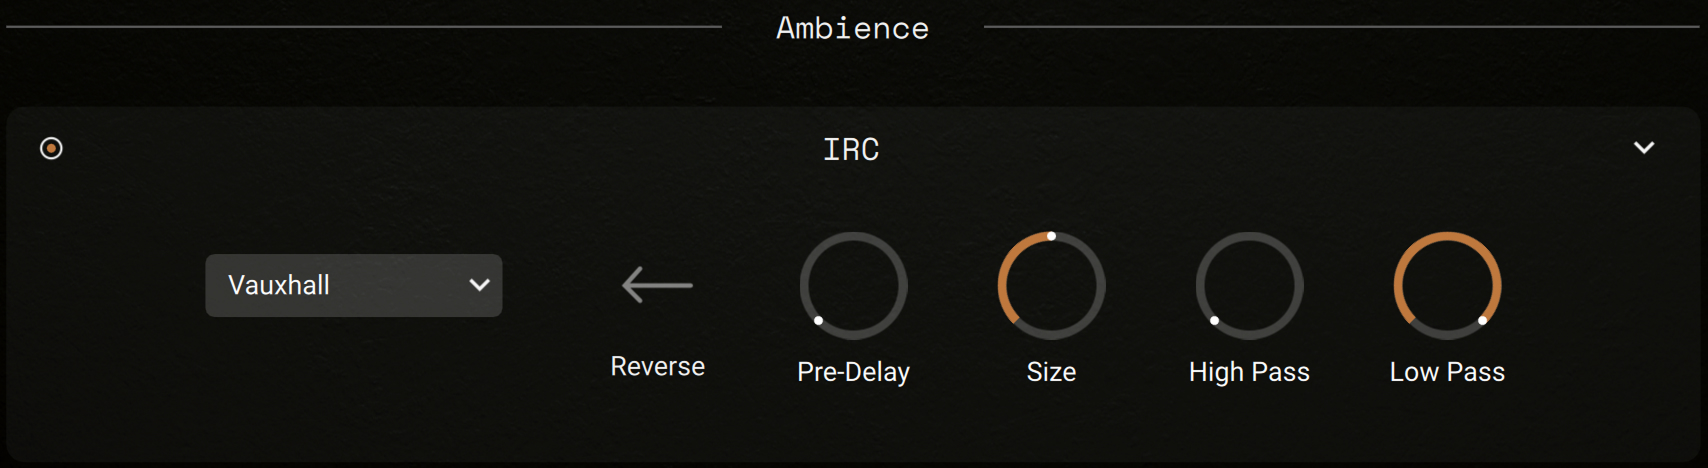
On/off switch: Turns the effect on or off.
Effect menu: Shows the name of the current effect at the top of the slot. You can click that name and choose another effect from the menu, or select None to leave the slot empty.
Effect parameters: Each effect provides its own set of parameters.
The effects available in the Effect menu are based on the following Kontakt effects:
The various Replika effects (Modern, Analog, Tape, Vintage, Diffusion, and Diffusion (Dense)) are based on the corresponding modes of the Replika Delay in Kontakt. The Diffusion (Dense) effect uses the Diffusion mode with the Dense switch turned on in Kontakt.
The IRC effect is based on the Convolution effect of Kontakt, with an additional menu providing a selection of impulse responses.
You can find more information on these effects and a description of their parameters in the Effect reference chapter of the Kontakt user guide.
Limiter
At the bottom right of the FX page, the Limiter works as a final processor on your signal chain. It has two key functions: to ensure that the signal level stays below 0 dB, thus avoiding digital clipping, and to increase the overall perceived volume of the signal. It is acting as a final means of protecting your signal from clipping without imposing too much coloration to your sound. Reducing the Threshold will reduce the dynamic range of the signal and boost the overall volume. However, setting the Threshold too low can result in a squashed and dull sound.
The Limiter contains the following controls:
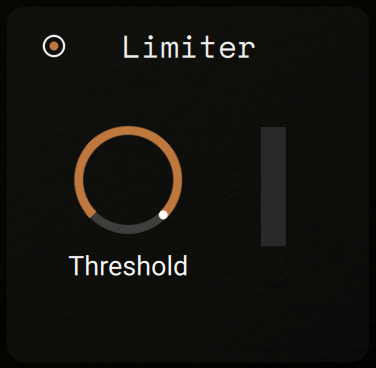 |
On/off switch: Turns the effect on or off.
Threshold: Sets the threshold above which the limiter kicks in. Simultaneously, the signal will be automatically amplified to take advantage of the headroom made available by the limiting. To simply prevent the signal from clipping, leave the Threshold at 0 dB. To make the signal louder, reduce the Threshold value by turning the control to the left. The available values range from -40.0 dB to 0.0 dB.
Gain Reduction meter: Displays the amount of gain reduction. Limiting works best if this meter responds only to occasional level peaks. Permanent gain reduction indicates that the Threshold is set too low.