The Rack Multi Instrument Mode
Learn about the functionality of the Rack Multi Instrument Mode in Kontakt Player, which includes the Performance View, Purge menu, and Instrument Headers.
The Rack is where you will spend most of the time when working with Kontakt. The Rack operates in Multi Instrument mode, which allows you to view and edit your Multi and the Performance views of the Instruments in it. In the full version of Kontakt, a second mode allows you to edit the inner workings of a single Instrument; Instrument Edit mode.
In Multi Instrument mode, any Instrument in the Multi will be shown as a horizontal Instrument Header, which contains the Instrument name and related settings. Your Multi can contain up to 64 Instruments, which will be spread across 4 pages of up to 16 Instruments each.
Multi Instrument Header
At the top of the Rack section is the Multi Instrument Header, which is always visible as long as the Rack is in Multi Instrument mode. Use the header to switch between the four Multi pages, show or hide Aux send controls, and resize all Instrument Headers.
The Multi Instrument Header contains the following features and controls:
 |
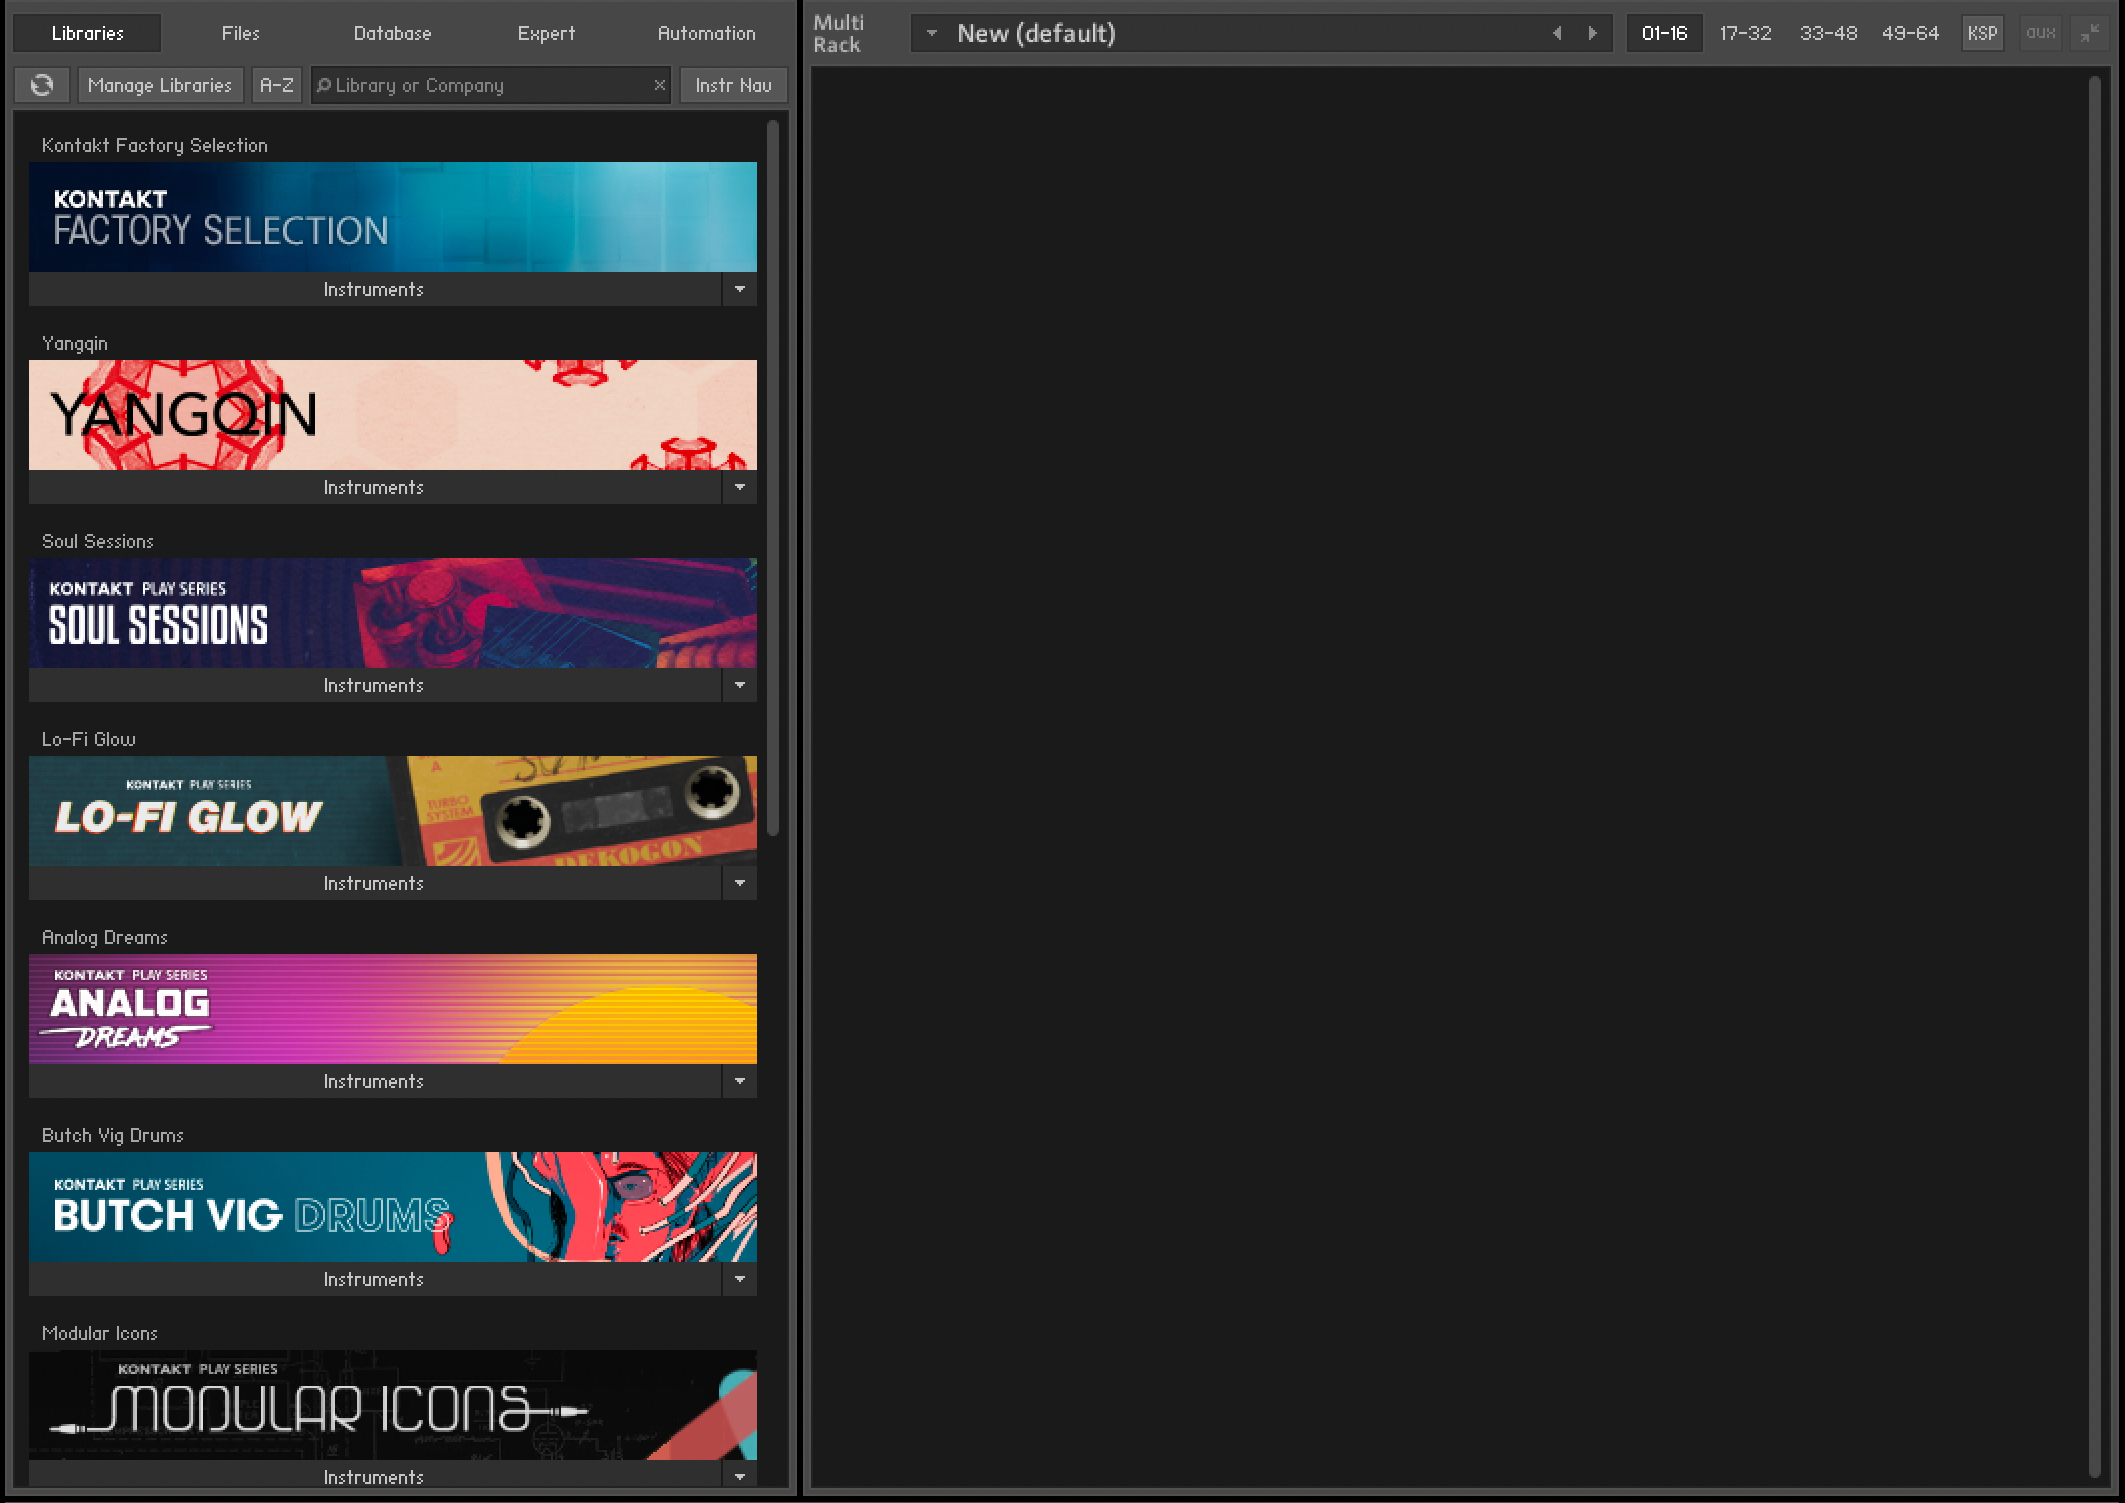
Multi Name: A text field contains the name of your currently loaded Multi; if you have just started Kontakt Player, this will read New (default), as this is the default Multi file that will be loaded on startup. To change the name, click the text field and enter a new one.
Multi Browse (<> icons): The left and right arrow buttons will replace your Multi with the previous or next one from the same directory, if there are any.
Pages: Four page buttons allow you to switch between the four Instrument pages. Each Multi can contain up to 64 Instruments, arranged across four pages of 16 Instruments each. You can use these pages to keep your Instruments in separate categories when your Multi is very large, or you can just switch to the next page when the 16 available Instrument slots of your current one are occupied.
Multi Workspace Buttons: These three buttons alter the workspace in some way, displaying or hiding certain controls, or minimizing all Instruments at once.
KSP: Toggles the visibility of a global Script Editor pane, where you can create, edit and manage Multi Scripts that operate on a higher level than normal Instrument Scripts.
Aux: Toggles the display of Aux send controls that enable you to adjust the signal level at which each Instrument is routed to the Aux Channels. For more information, refer to Working with Aux Channels.
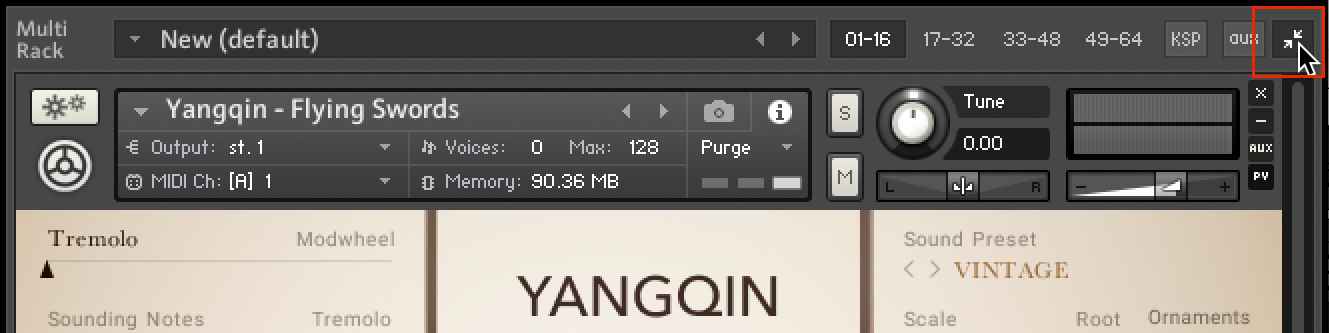
Minimize/Maximize all Instrument Headers: Toggles all Instrument Headers in your multi between their minimized and maximized size. At their normal size, Instrument Headers contain more information, but also occupy more screen space. Use this feature to see an overview of all Instruments on a page or to save screen space when you're not planning to adjust any Instrument parameters. For more information, refer to Instrument Header (Minimized)
Note
Another option is to assign all Instruments on a page to channels of the same MIDI port; if you have four ports at your disposal, this method lets you easily keep track of your MIDI assignments in large Multis. However, assigning several Instruments to the same MIDI channel is a quick way of creating layered sounds.
Instrument Header
Whenever you open a new Instrument, it will appear in the Rack as an Instrument Header. Each Instrument Header can be optionally reduced in size. At regular size, as shown below, the header displays parameters that describe how the Instrument will work in the context of the current Multi. It also provides some controls to adjust parameters like the Instrument’s output volume, panning position, and solo/mute status.
The Instrument Header contains the following settings and controls:
 |
Instrument Options (cog icon): Opens the Instrument Options dialog, where you can access features that affect the whole instrument such as voice stealing, MIDI transposition, and key/velocity range.
Quick-Load Menu: Opens a dropdown menu that gives access to your Quick-Load Browser.
Instrument Name: Displays the Instrument's name. Edit the name by clicking on it and entering a new one. The name displayed here will be identical to the file name (without the .nki extension) when you load and save the Instrument.
Instrument Icon: Kontakt Instrument creators can choose from a range of icons that indicate the general category of their creation. Some libraries will also use custom icons. Clicking this icon will toggle the Instrument’s Performance View on or off, if available.
MIDI Channel: Indicates the currently assigned MIDI input channel that the Instrument will respond to. Clicking it will open a drop-down menu that allows you to select a new MIDI channel for this Instrument. The Omni setting will make it respond to MIDI data on any channel; below it, the available ports of your MIDI interface will appear as sub-menus, each one containing the 16 channels of the respective ports. Note that the maximum number of distinct MIDI channels that you can use is 64 in the stand-alone version of Kontakt Player, and 16 when using Kontakt Player as a plug-in.
Output Channel: Displays the currently selected Output Channel that will receive the output signal from this Instrument. Clicking on the channel name will open a drop-down menu with all currently defined Output Channels, where you can assign the Instrument to a different channel.
Memory: Indicates how much system memory is currently being used by the Sample data of this Instrument.
Max Voices: Defines the maximum number of voices that the Instrument may use at any time. Change this value by clicking on it, then dragging the mouse up or down. If you notice that the number of currently used voices rises to the Max Voices value during play and you hear that voices are being cut off, try increasing this value.
Purge: This button opens a drop-down menu that lets you execute the functions related to Kontakt’s purge mechanism on a per-instrument basis. The purge facility is explained in section Purge Menu.
Voices: This number indicates how many voices are currently being used by the Instrument.
Previous / Next buttons: The left/right arrow buttons exchange the Instrument with the previous or next one from the same directory, respectively.
Snapshot View: Provides access to Snapshot features including loading, saving and deleting Snapshots. For more information, refer to Using Snapshots.
Info View: Provides access to the Instrument's Audio and MIDI configuration, as well as Voices and Memory consumption.
Solo button: When activated, all other Instruments in the Multi are muted, and the output signal can be heard in isolation. How Kontakt Player will handle multiple Solo selections is determined by the Solo Mode setting, refer to Handling Tab.
Mute button: When activated, the current Instrument is muted, thus temporarily removing its output signal from the Output Channel.
Pan: Adjusts the panorama position of the Instrument’s output signal.
Volume: Adjusts the output volume of this Instrument. Select whether the default value of Volume sliders will be -6 dB or 0 dB in the Options dialog.
PV: Toggles the Performance View panel on and off, if PV is available in the instrument. For more information, refer to Performance View.
Aux: Shows and hides the row of Aux send sliders below this Instrument Header.
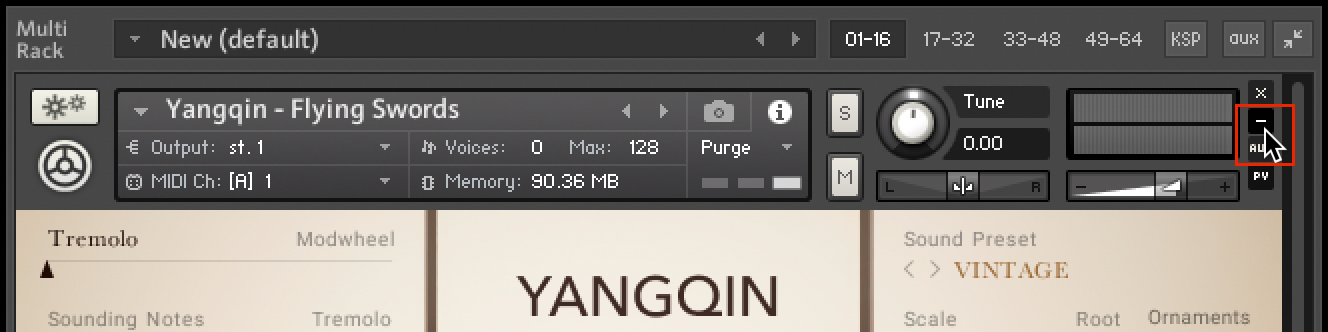
Minimize View: Minimizes the Instrument Header. This allows you to adjust the display sizes of headers individually.
Remove Instrument: Removes the respective Instrument from the Multi.
Level Meters: LED-style bar graph meters indicate the current output levels across all channels of this Instrument.
Tune: Adjusts the pitch of the Instrument. Turning the knob left or right will increase or decrease the pitch, respectively. The control covers a range of +/- 3 octaves and moves in semitone increments. Hold [Shift] while adjusting the control for fine tuning.
Purge Menu
The purge mechanism in Kontakt Player keeps track of which Samples in an Instrument have been actually triggered since the Instrument was loaded, and gives you the option of removing all other Samples from the Instrument. This way, you can reduce the number of Samples that are being kept in memory to the subset that you have actually used in your arrangement.
Using the purge facility, you can play your part once — this will allow Kontakt to gather which Samples are actually being used — and then eliminate all unused Samples from the memory. The Instrument will work as it did before, but notes or velocity ranges that didn’t occur during the analyzing phase won’t play anymore. If you change your mind later, you can reload all Samples with one mouse click.
Notice
Using purge functions like this can cause problems with instruments that randomly trigger samples, or use round robin options. Check the library specification before you use these options.
A purge menu is available for each Instrument; this allows you to use the purge feature on Instruments whose parts are already finished, while keeping others that are still in active use loaded in their entirety.
 |
The Purge Menu
Instrument Header (Minimized)
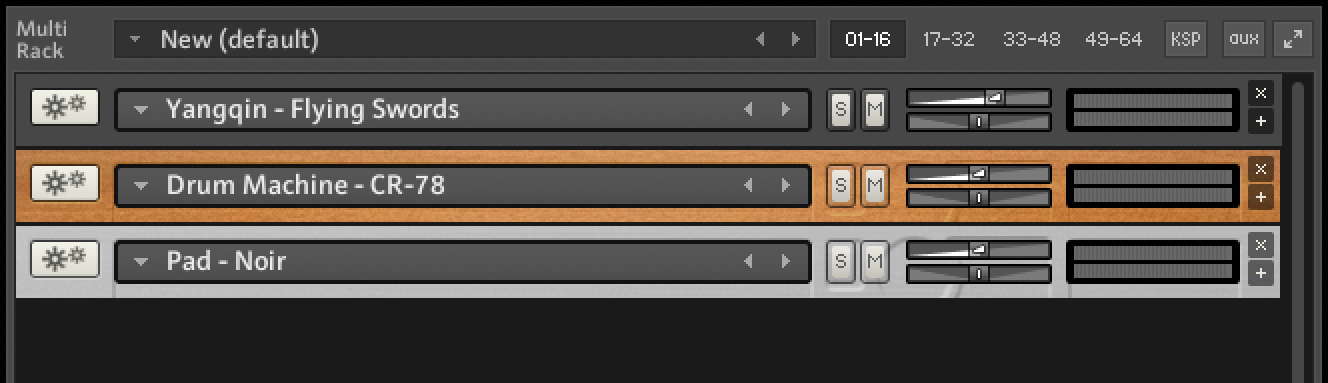
If you want to save screen space, you can switch all (or a selection of individual) Instrument Headers to a minimized view, which contains only the most important parameters and controls.
In this mode, the Instrument Header includes only the Instrument Options button, the Instrument Name field, Solo and Mute buttons, Output Volume, Pan sliders, Level Meters, and buttons for removing this Instrument from your Multi and switching the header back to its normal size. For more information on the related controls, refer to Instrument Header.
To minimize all Instrument Headers:
Click the Minimize All Instrument Headers button, on the right side of Multi Instrument Header.
All Instrument Headers in the Multi Rack are minimized.
To minimize individual Instrument Headers:
Click the Minimize Instrument Header button, on the right side of the Instrument Header.
The selected Instrument Header in the Multi Rack is minimized.

Performance View
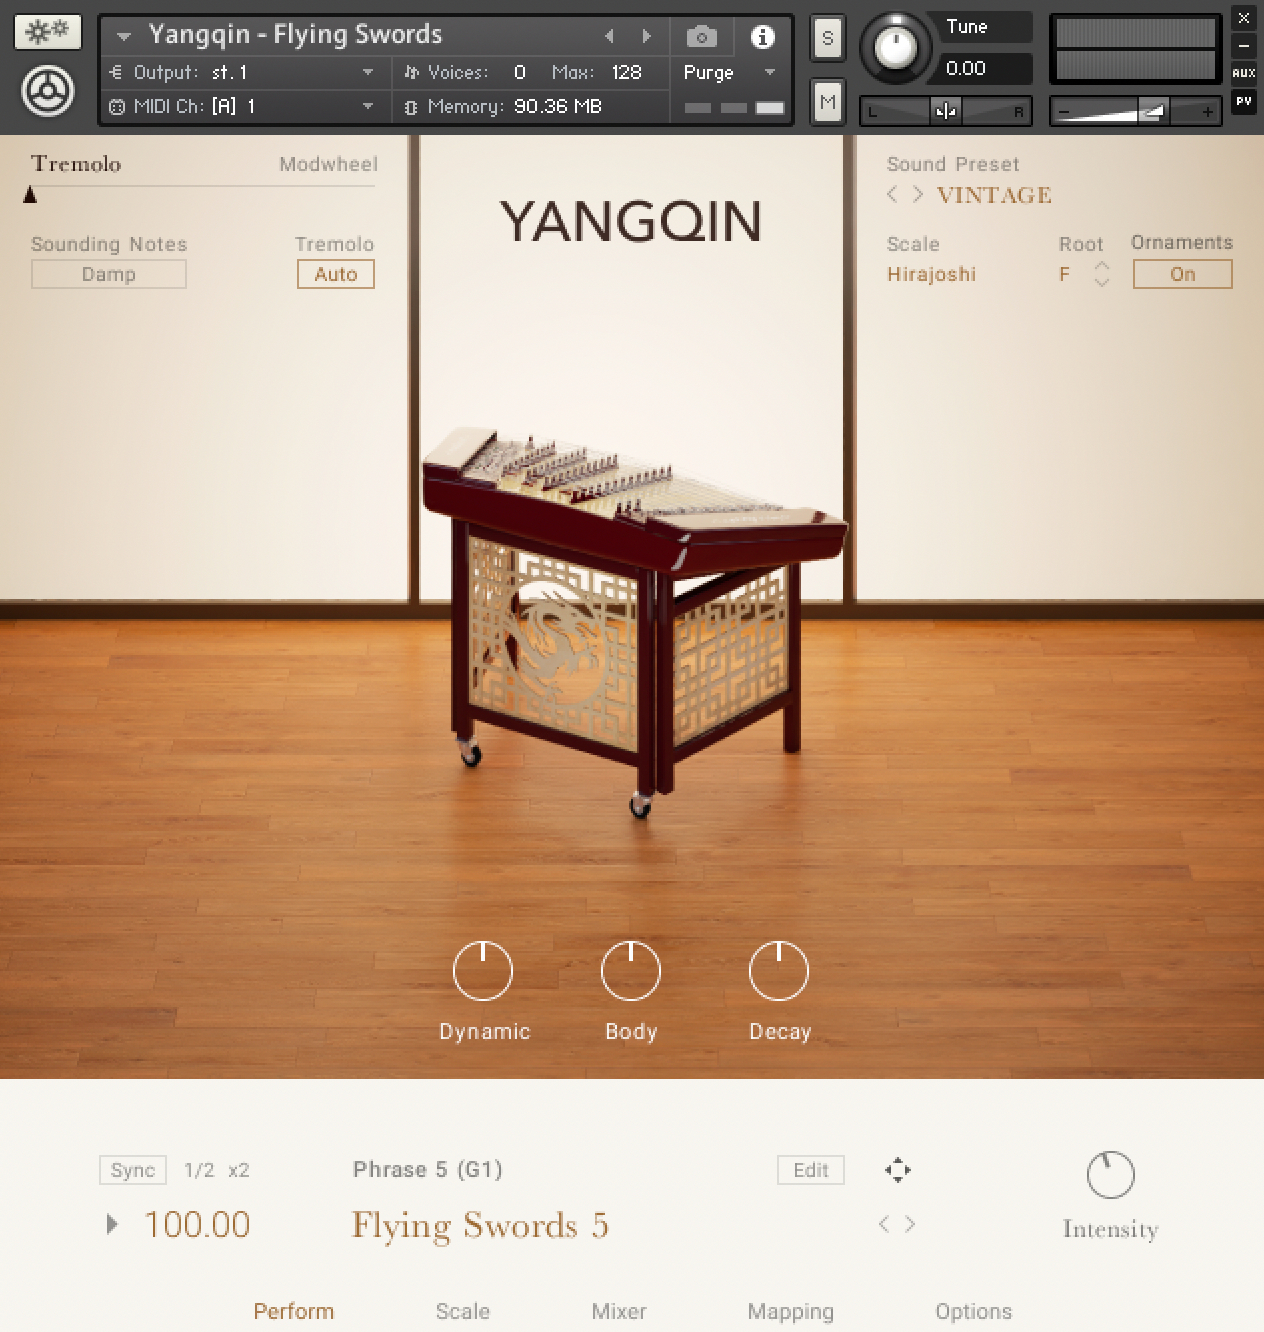
Using Kontakt’s internal scripting language, an Instrument can provide a custom control panel called a Performance View. This feature provides Instrument-specific settings in a user-friendly way that doesn’t require access to Instrument Edit mode.
All Instruments included in the Kontakt library provide Performance Views, with various styles, controls, and features. Some Instruments include performance controls, sound editing parameters, marcos, and settings relating to Kontakt Player's operation and playback.
In Performance View, an Instrument's custom panel will appear below the Instrument Header in the Rack.
 |