Keyboard Settings
The Settings mode of your Kontrol S-Series MK3 keyboard gives you access to detailed settings and information related to the hardware.
The Settings mode of your keyboard gives you access to settings and information related to the hardware.
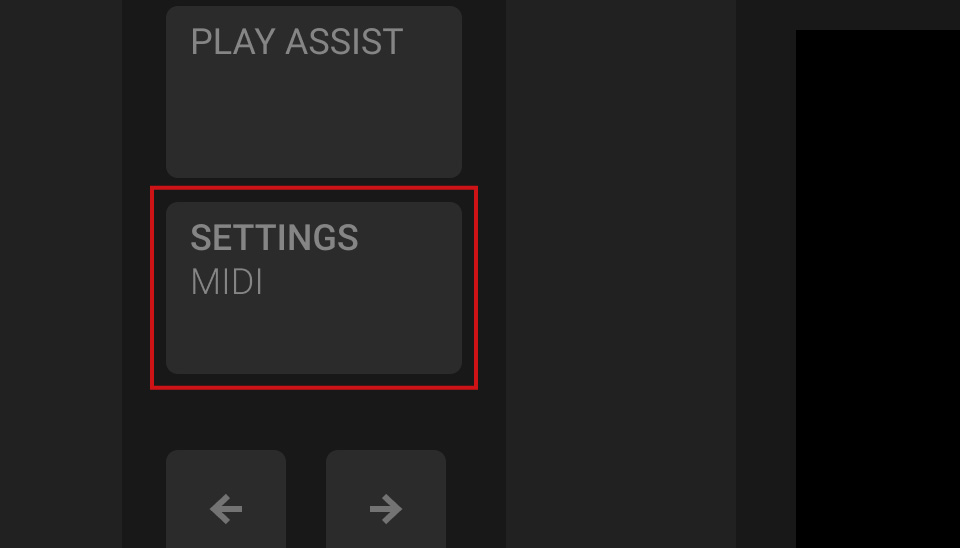
Press SETTINGS (MIDI) at the left of the display to open the keyboard settings:
The settings are organized into categories, which you can select using Button 1 and 2 above the display.
Press Button 1 and 2 to select another category of settings:
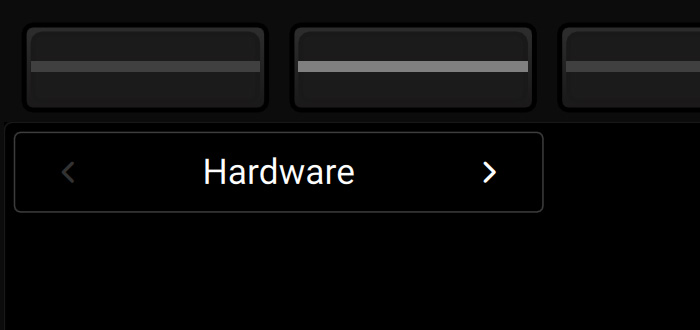
The selected category is displayed under Button 1 and 2. Its settings can be adjusted using Knob 1–8 below the display.
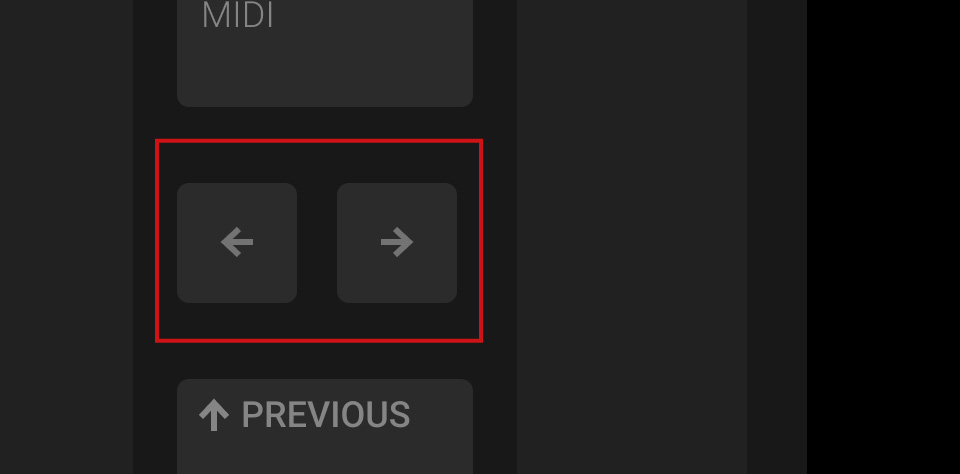
In some categories, the settings spread over multiple pages. You can switch between pages using the Page buttons at the left of the display:
Press the Page buttons (left and right arrows) at the left of the display to switch to another page of settings in the current category:
The display and the Knobs 1–8 switch to the next or previous settings in the current category.
A dim lit Page button indicates that another page can be displayed by pressing the button.
The gray numbers at the far right on the display indicate the current page and the total number of pages available:
 |
The following sections describe the settings available in each category:
Hardware Settings
The hardware settings spread over two pages.
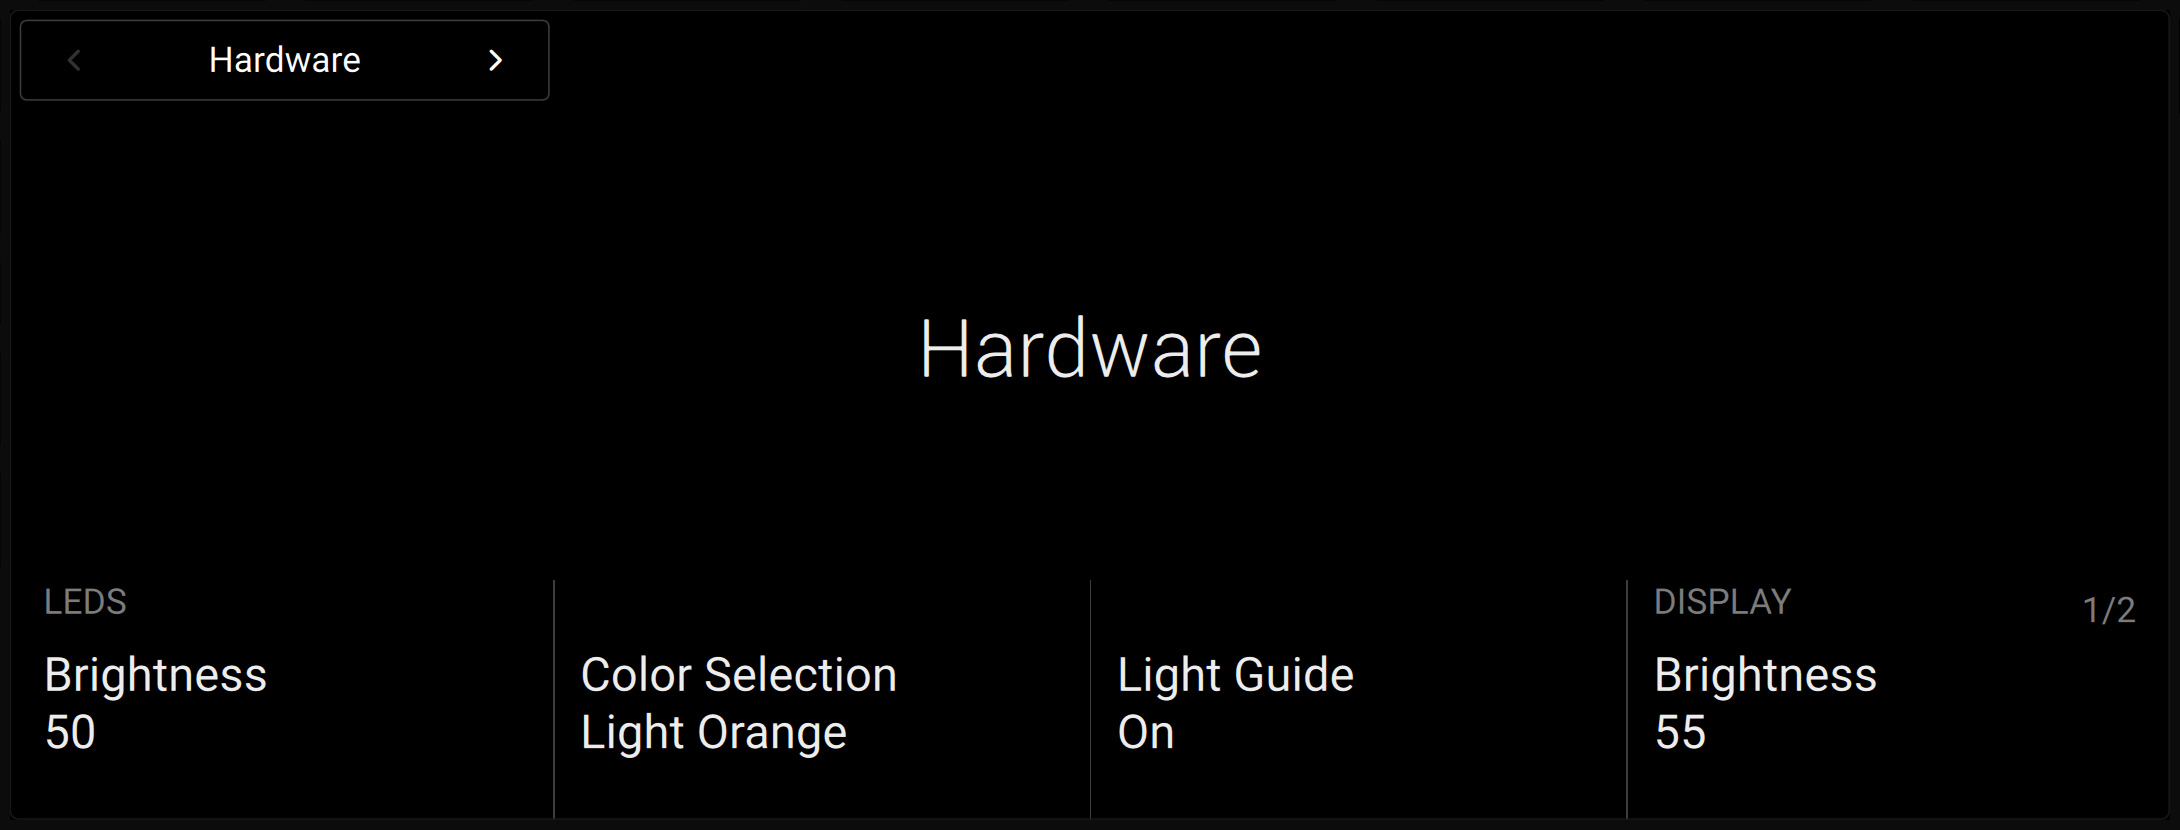
The following settings are available on page 1:
LEDS:
Brightness: Adjusts the brightness of all LEDs on the device.
Color Selection: Selects a color from the 16 available colors for all color LEDs on the device. This color also applies to the Light Guide’s default state.
Light Guide: Activates or deactivates the Light Guide above the keys.
DISPLAY:
Brightness: Adjusts the brightness of the display.
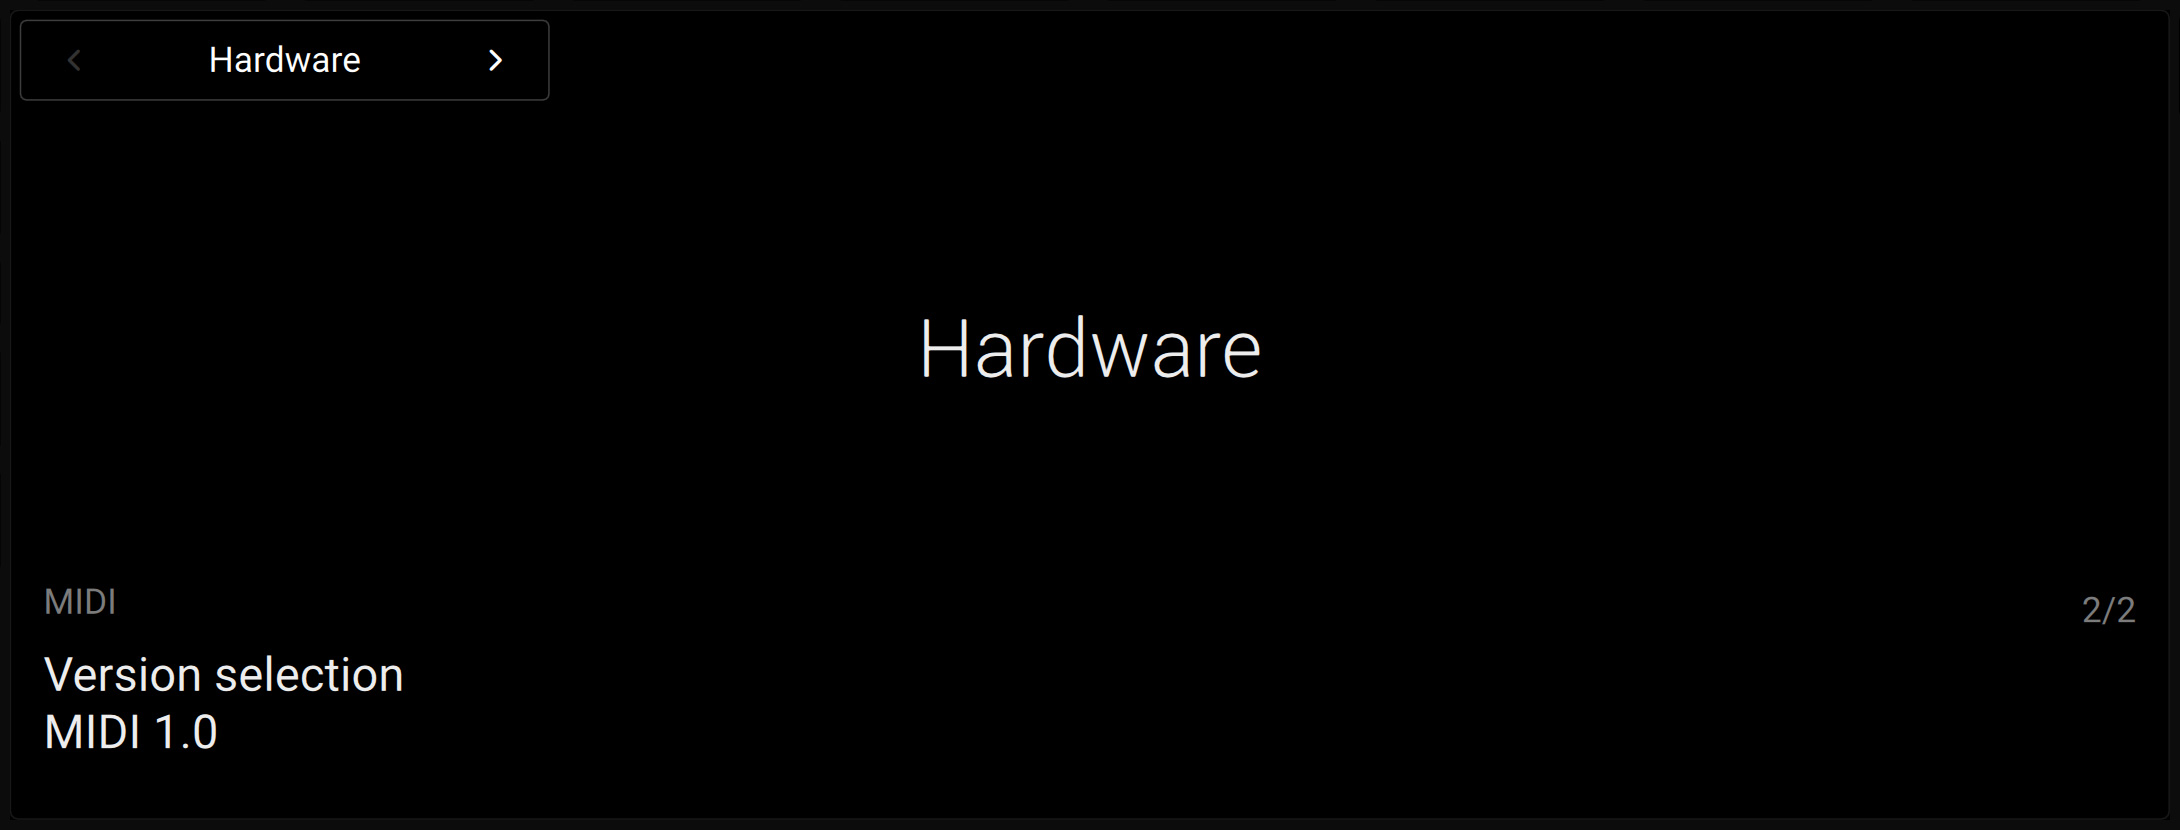
The following settings are available on page 2:
MIDI:
Version Selection: Selects between MIDI 1.0 and MIDI 2.0. The MIDI 2.0 protocol adds or extends various functionalities to the MIDI 1.0 protocol. Refer to your operating system documentation and to the Native Instruments Knowledge Base to get more information on MIDI support in your OS.
Keybed Settings
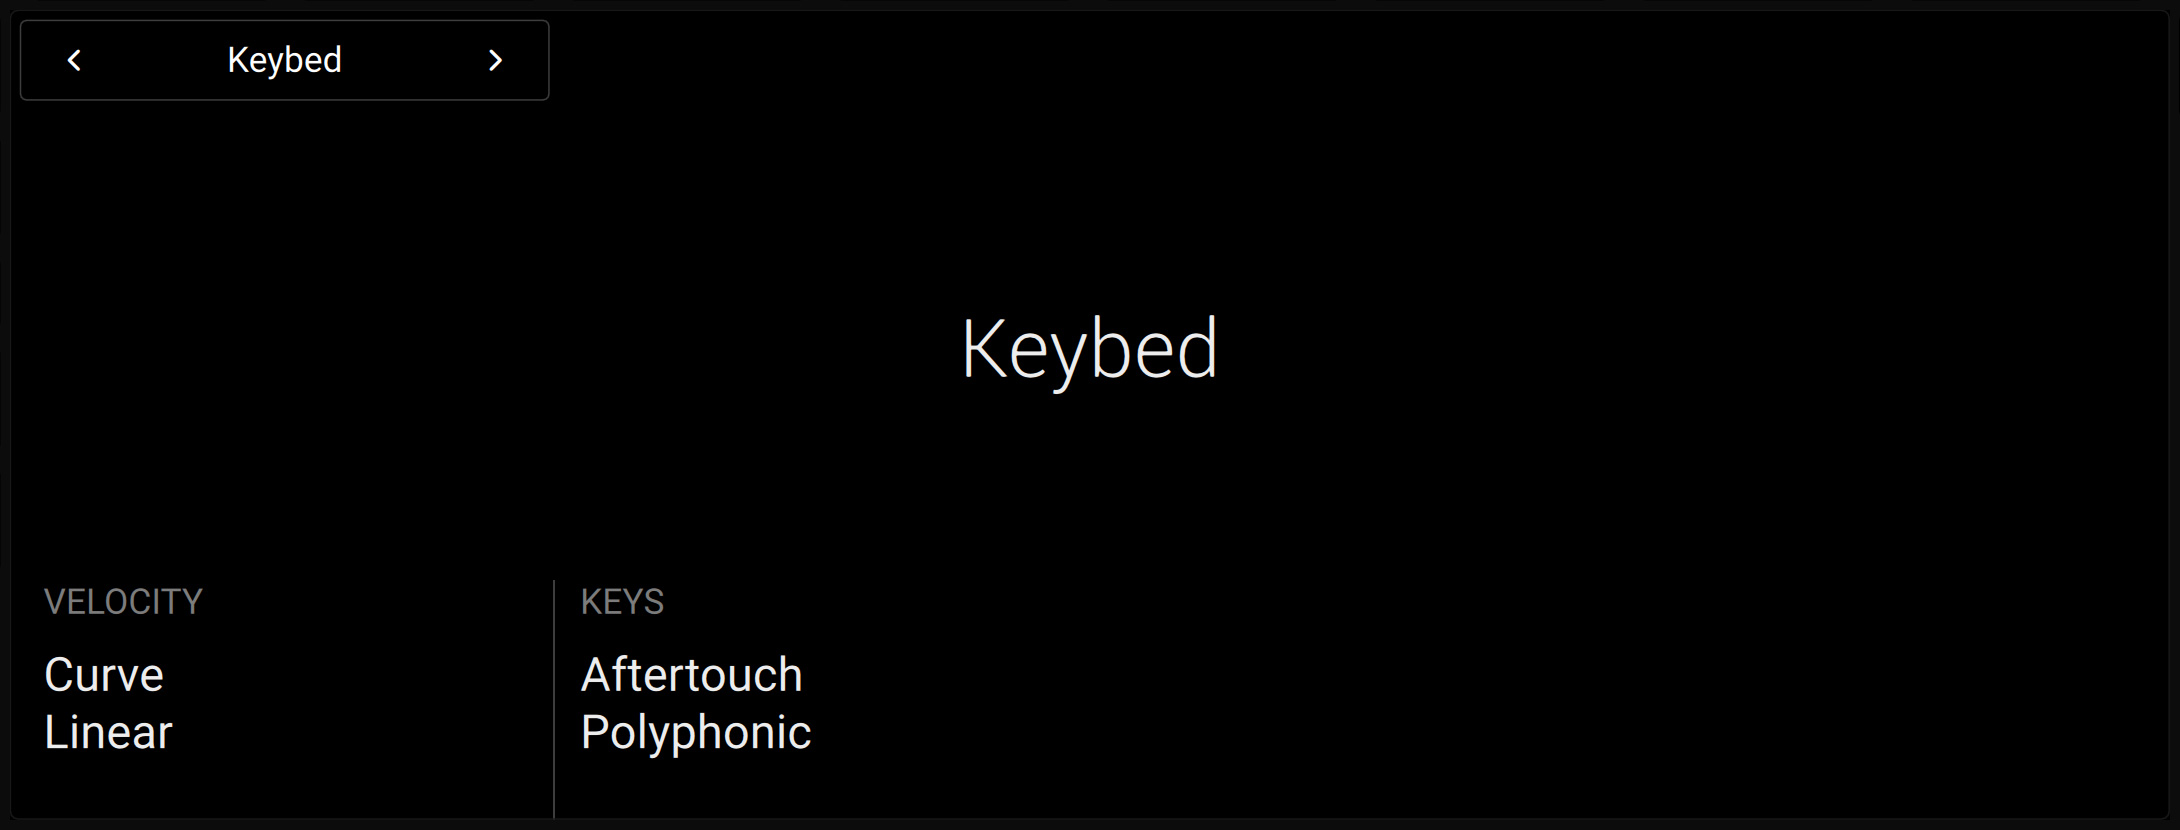
The following keybed settings are available:
VELOCITY:
Curve: Adjusts the velocity response curve of the keybed. The Linear setting is selected by default. Use the Soft 3, Soft 2, Soft 1 settings to compensate for gentle playing (velocity response is more sensitive), and the Hard 1, Hard 2, Hard 3 settings to compensate for strong playing (velocity response is less sensitive).
KEYS:
Aftertouch: Selects the keybed’s aftertouch behavior from Polyphonic (polyphonic aftertouch, default setting), Monophonic (monophonic aftertouch) or Off (no aftertouch).
Pedal Settings
The pedal settings let you configure the behavior of each of the four pedal sockets on the rear panel of your keyboard.
Selecting the Pedal Socket
First of all, you have to choose the pedal socket you want to configure:
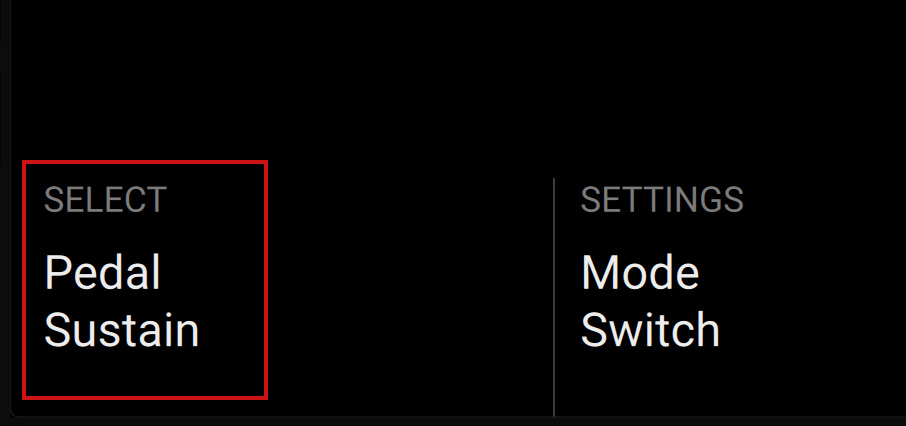
Turn Knob 1 (SELECT Pedal) on page 1 to select the pedal socket you want to configure. Available values are Sustain, Expression, Assign 1 and Assign 2:
The other settings are updated to show the configuration of the selected pedal socket.
Note
The four entries available in this Pedal setting mirror the labels above the four pedal sockets on the rear panel of your keyboard. The Sustain and Expression labels refer to the sockets’ default configuration. You can change this configuration to your liking using the settings described below, however it is a good idea to keep the SUSTAIN socket in Switch mode and the EXPRESSION socket in Continuous mode in order to avoid any confusion.
Selecting the Pedal Mode
You have the choice between three main modes for the selected pedal socket:
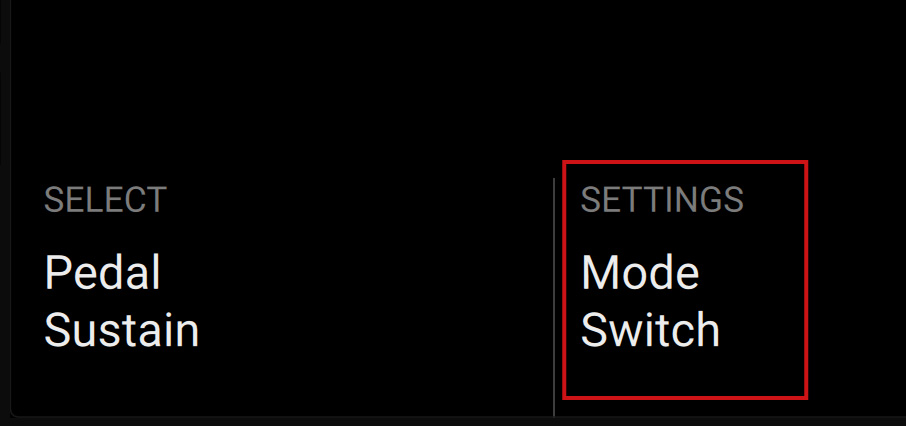
Turn Knob 3 (SETTINGS Mode) on page 1 to select the pedal mode. Available values are Off (pedal socket inactive), Continuous (for plugging an expression-like pedal) and Switch (for plugging a foot switch or sustain-like pedal):
The remaining settings on the various pages are updated accordingly.
The following sections describe the settings available in Continuous and Switch modes.
Pedal Settings in Continuous Mode
In Continuous mode, the available settings spread over two pages.
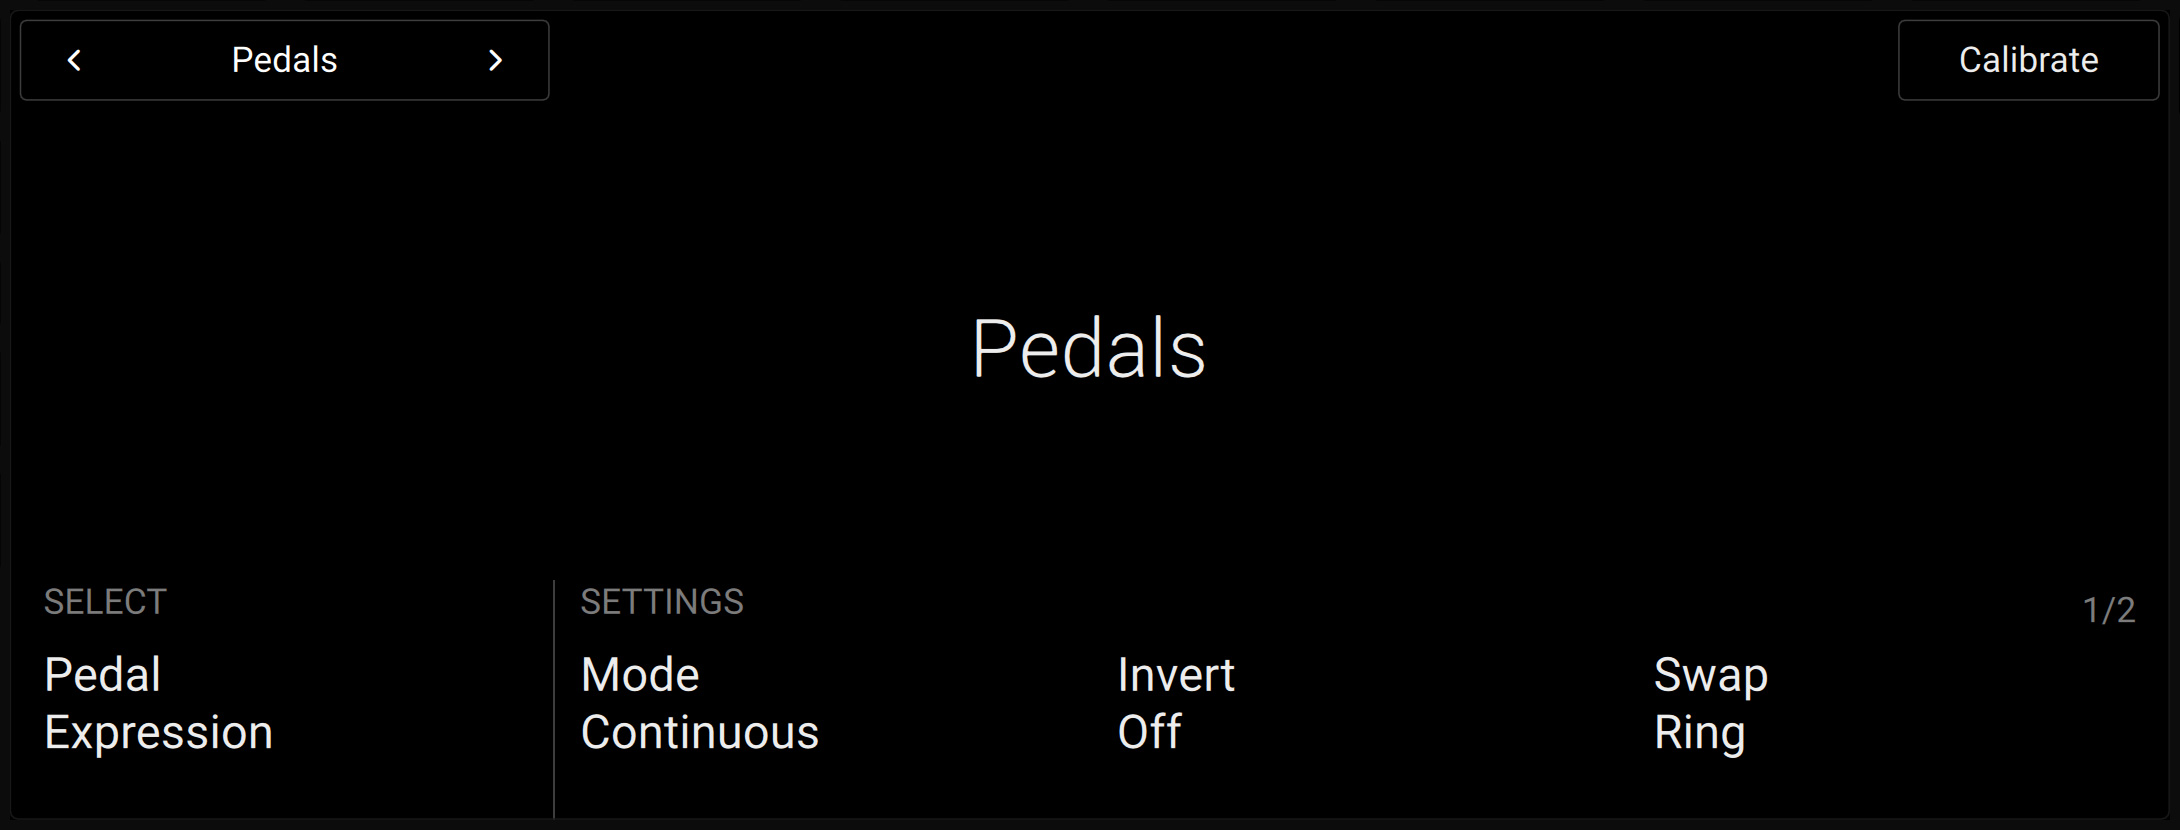
The following settings are available on page 1:
SELECT:
Pedal: Selects the pedal socket you want to configure. Refer to Selecting the Pedal Socket for more information.
SETTINGS:
Mode: Selects the pedal mode. Refer to Selecting the Pedal Mode for more information.
Invert: Inverts the range of the pedal connected to the keyboard.
Swap: Enables you to use pedals with inverted tip/ring connectivity.
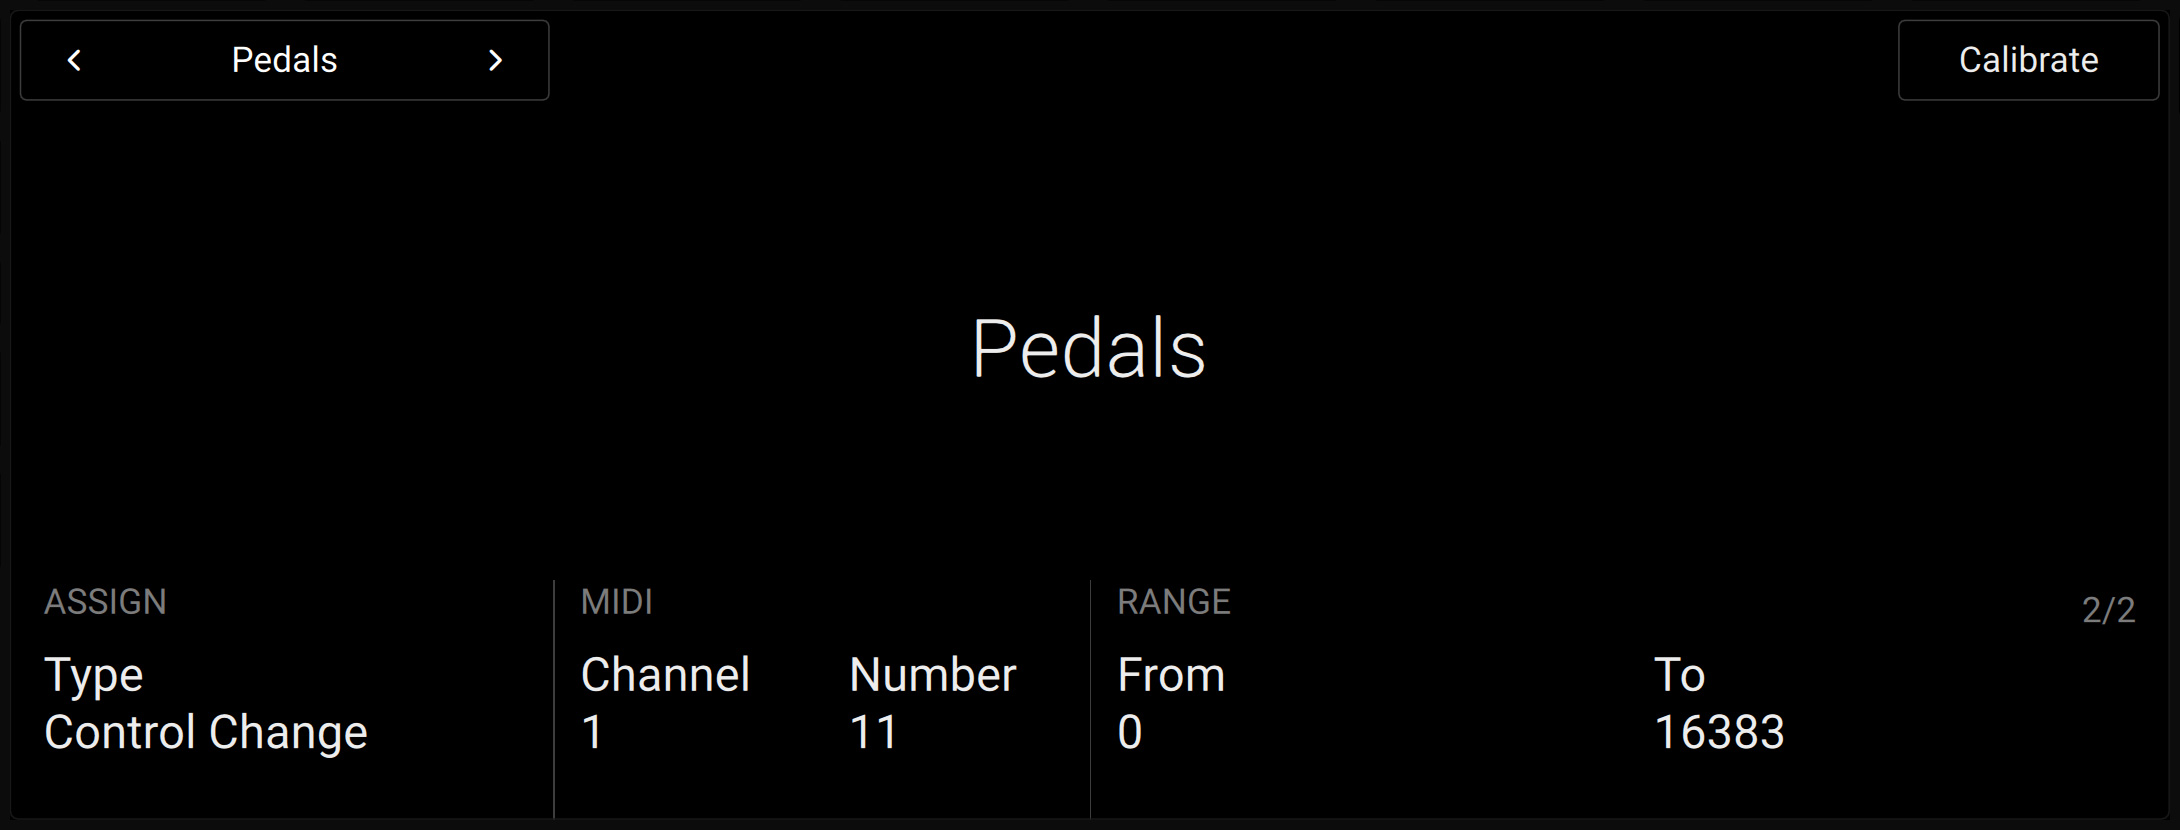
The following settings are available on page 2:
ASSIGN:
Type: Selects the type of MIDI message used. Available values are Control Change, Pitchbend and Program Change. The following settings will vary depending on the type selected here.
MIDI:
Channel: Selects the MIDI channel used.
Number: Selects the Control Change number (from 0 to 127). This setting is only available when the Type (Knob 1 on the same page) is set to Control Change.
RANGE: These settings are only available if the Type (Knob 1 on the same page) is set to Control Change or Program Change.
From: Selects the minimum value of the MIDI control range.
To: Selects the maximum value of the MIDI control range.
Pedal Calibration
When your pedal socket is in Continuous mode, you can calibrate the connected pedal.
Press Button 8 (Calibrate) to start the calibration process of the connected pedal.
Move the pedal all the way down, then press Button 8 (OK) to proceed or Button 7 (Cancel) to cancel the calibration process.
Move the pedal all the way up, then press Button 8 (OK) to proceed or Button 7 (Cancel) to cancel the calibration process.
Press Button 8 (OK) to confirm and quit the calibration process.
Pedal Settings in Switch Mode
In Switch mode, the available settings spread over three pages.
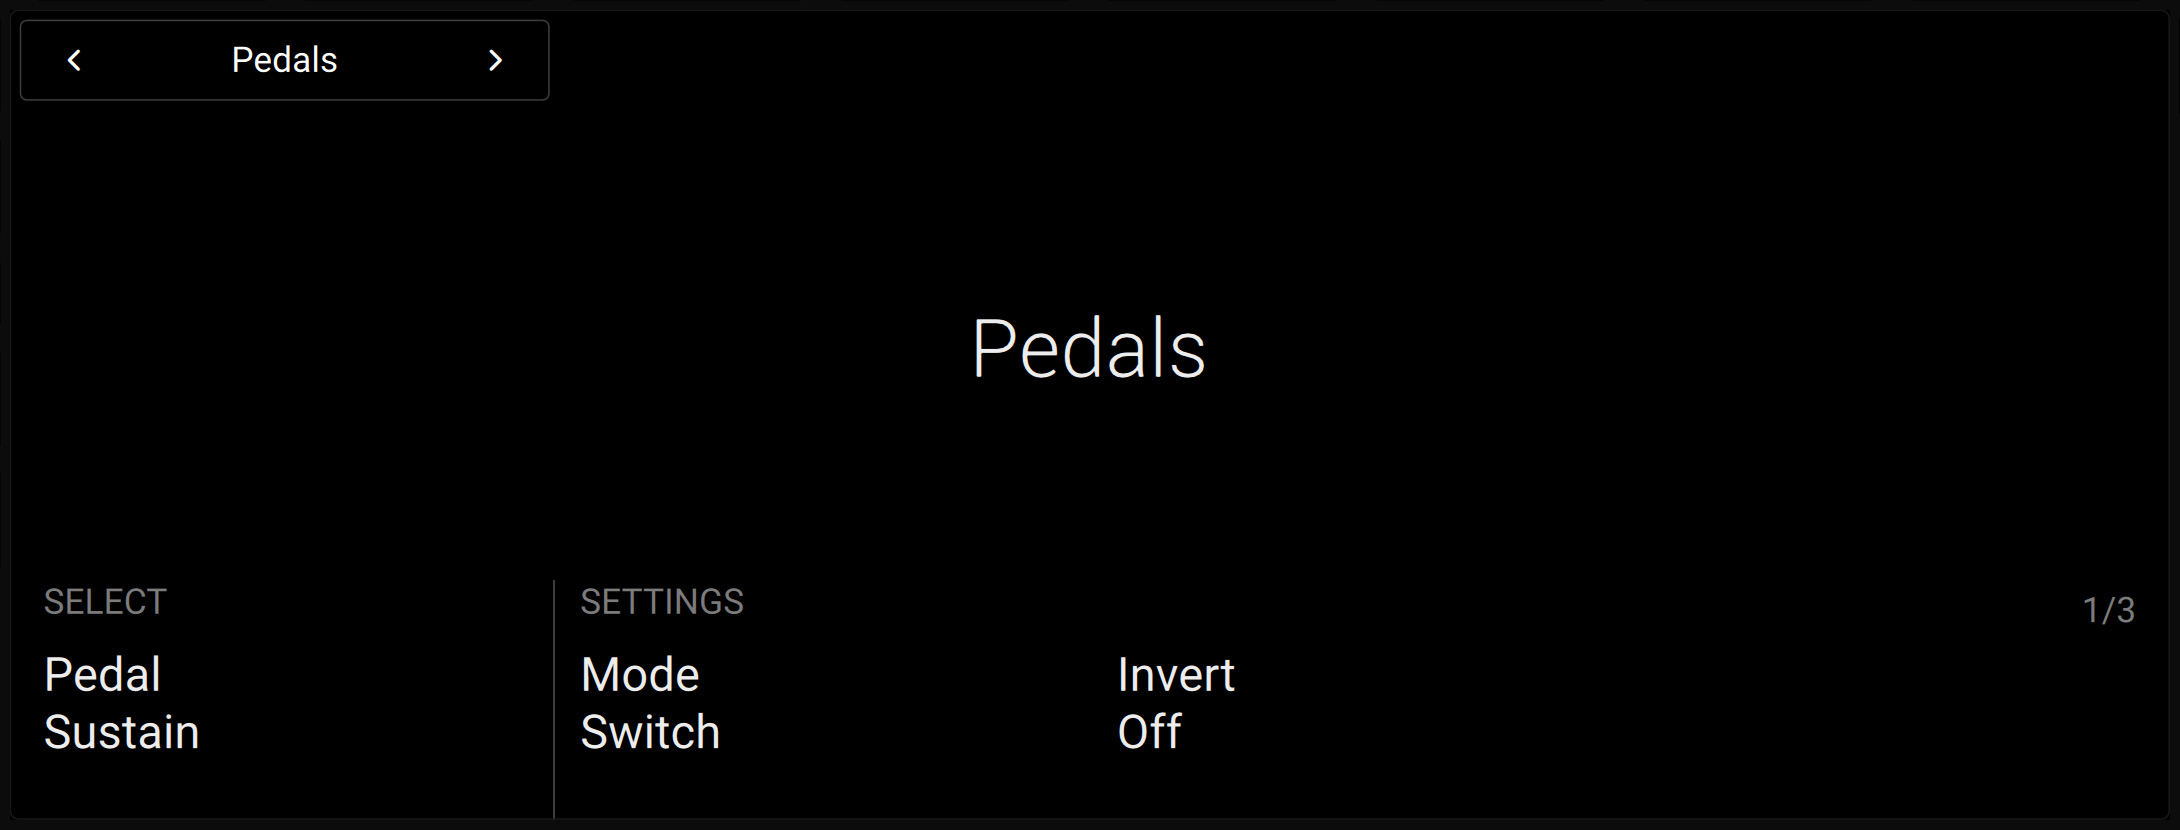
The following settings are available on page 1:
SELECT:
Pedal: Selects the pedal socket you want to configure. Refer to Selecting the Pedal Socket for more information.
SETTINGS:
Mode: Selects the pedal mode. Refer to Selecting the Pedal Mode for more information.
Invert: Inverts the range of the pedal connected to the keyboard.
Page 2 and 3 contains similar settings for the pedal tip and pedal ring, respectively.
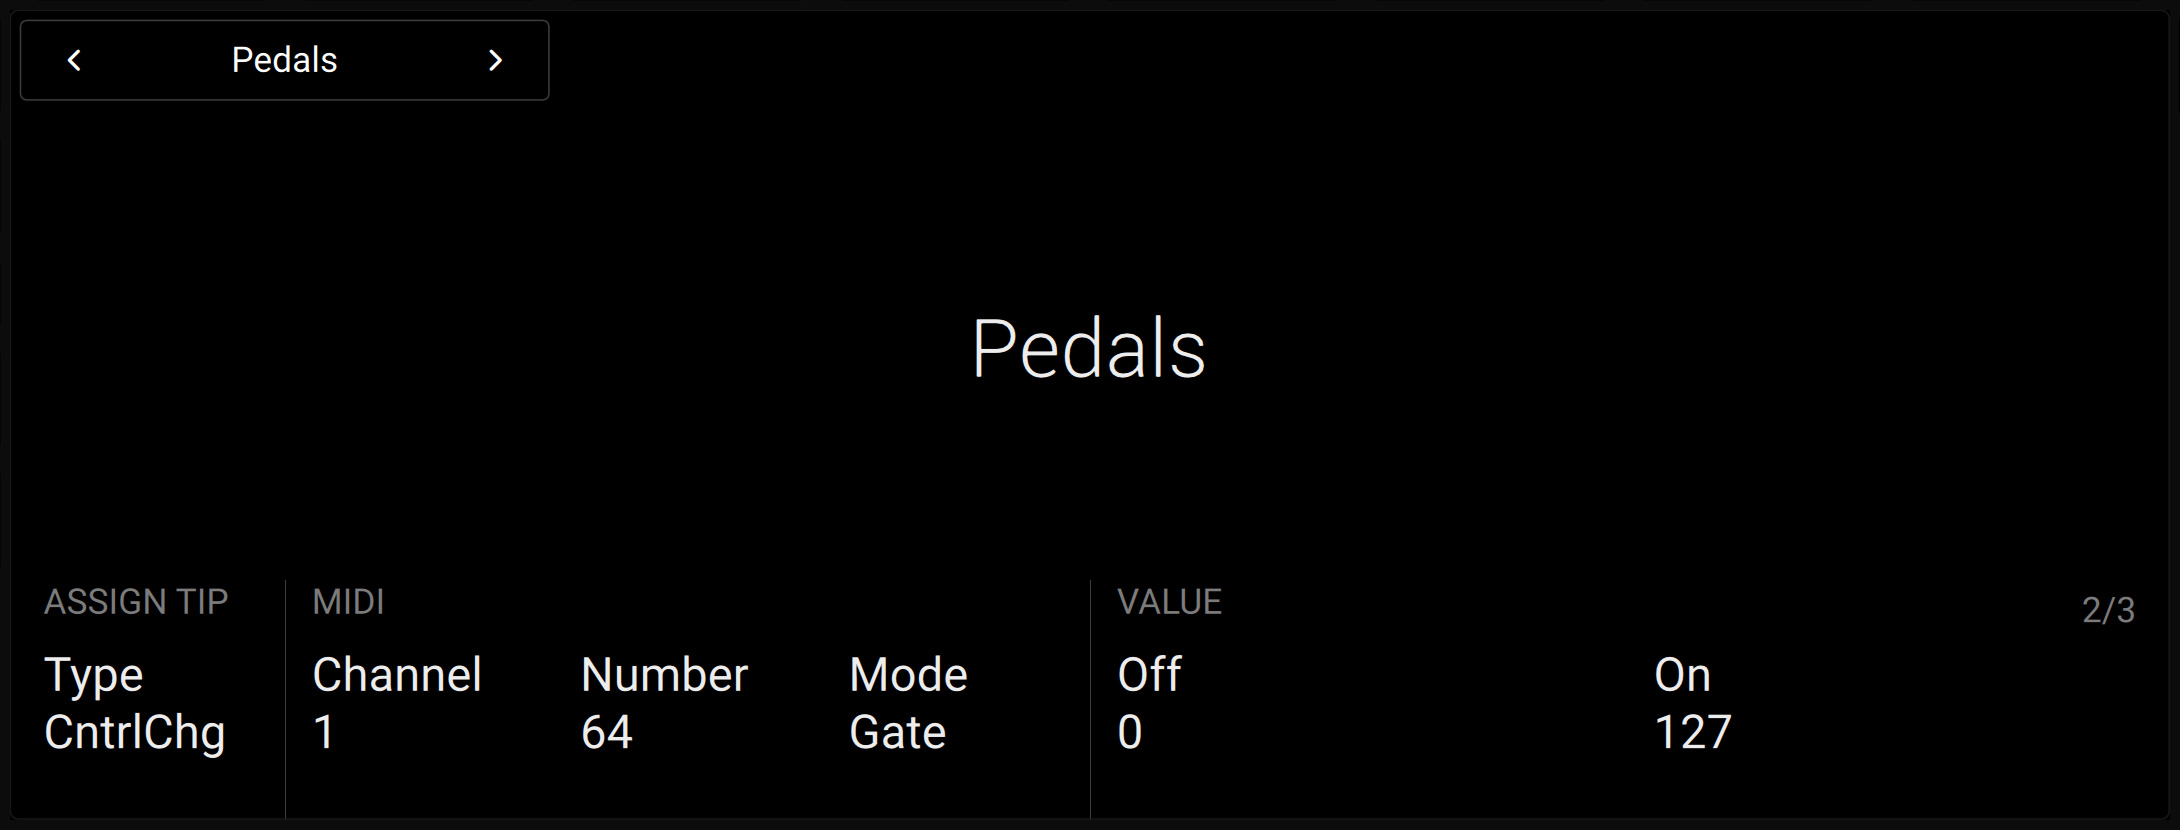
The following settings are available on page 2 and 3:
ASSIGN TIP (page 2) / ASSIGN RING (page 3):
Type: Selects the type of MIDI message used. Available values are CntrlChg (Control Change), Ptchbnd (Pitchbend) and PrgrmChg (Program Change). The following settings will vary depending on the type selected here.
MIDI:
Channel: Selects the MIDI channel used.
Number: Selects the Control Change number (from 0 to 127). This setting is only available when the Type (Knob 1 on the same page) is set to CntrlChg (Control Change).
Mode: Selects the behavior of the pedal between Toggle, Gate, Trigger, and Incr (Increment). This setting is only available if the Type setting (Knob 1 on the same page) is set to CntrlChg (Control Change) or PrgrmChg (Program Change). The various MIDI modes behave as follows:
Toggle: The pedal can have two values. Each pressure on the pedal switches to the other value.
Gate: The pedal can have two values. One value corresponds to the released pedal, the other value corresponds to the depressed pedal.
Trigger: The pedal triggers a specific value when depressed. Releasing the pedal has no effect.
Incr (Increment): Each pressure on the pedal increments the controller parameter by a defined value.
Value: Sets the value of the MIDI message triggered when pressing the pedal. This setting is only available if the MIDI Mode (Knob 4 on the same page) is set to Trigger.
VALUE: These settings are only available if the MIDI Mode (Knob 4 on the same page) is set to Toggle or Gate.
Off: In Toggle mode, this sets the first of two alternative MIDI values sent when pressing the pedal. In Gate mode, this sets the value sent when the pedal is released.
On: In Toggle mode, this sets the second of two alternative MIDI values sent when pressing the pedal. In Gate mode, this sets the value sent when the pedal is pressed.
RANGE: These settings are only available if the MIDI Mode (Knob 4 on the same page) is set to Incr (Increment).
Min: Sets the minimum value of the MIDI message sent by the pedal.
Max: Sets the maximum value of the MIDI message sent by the pedal.
Step: Sets the size of the increment added to the MIDI message value for each pressure on the pedal. You can set a negative increment, in which case the value will decrease on each pressure on the pedal.
Wrap: If set to Off, when the range limit is reached the value will stop changing when you further press the pedal. If set to On, when the range limit is reached the value will cycle the range upon the next pressure.
Touch Strip Settings
The touch strip settings let you configure the behavior of the touch strip on your keyboard.
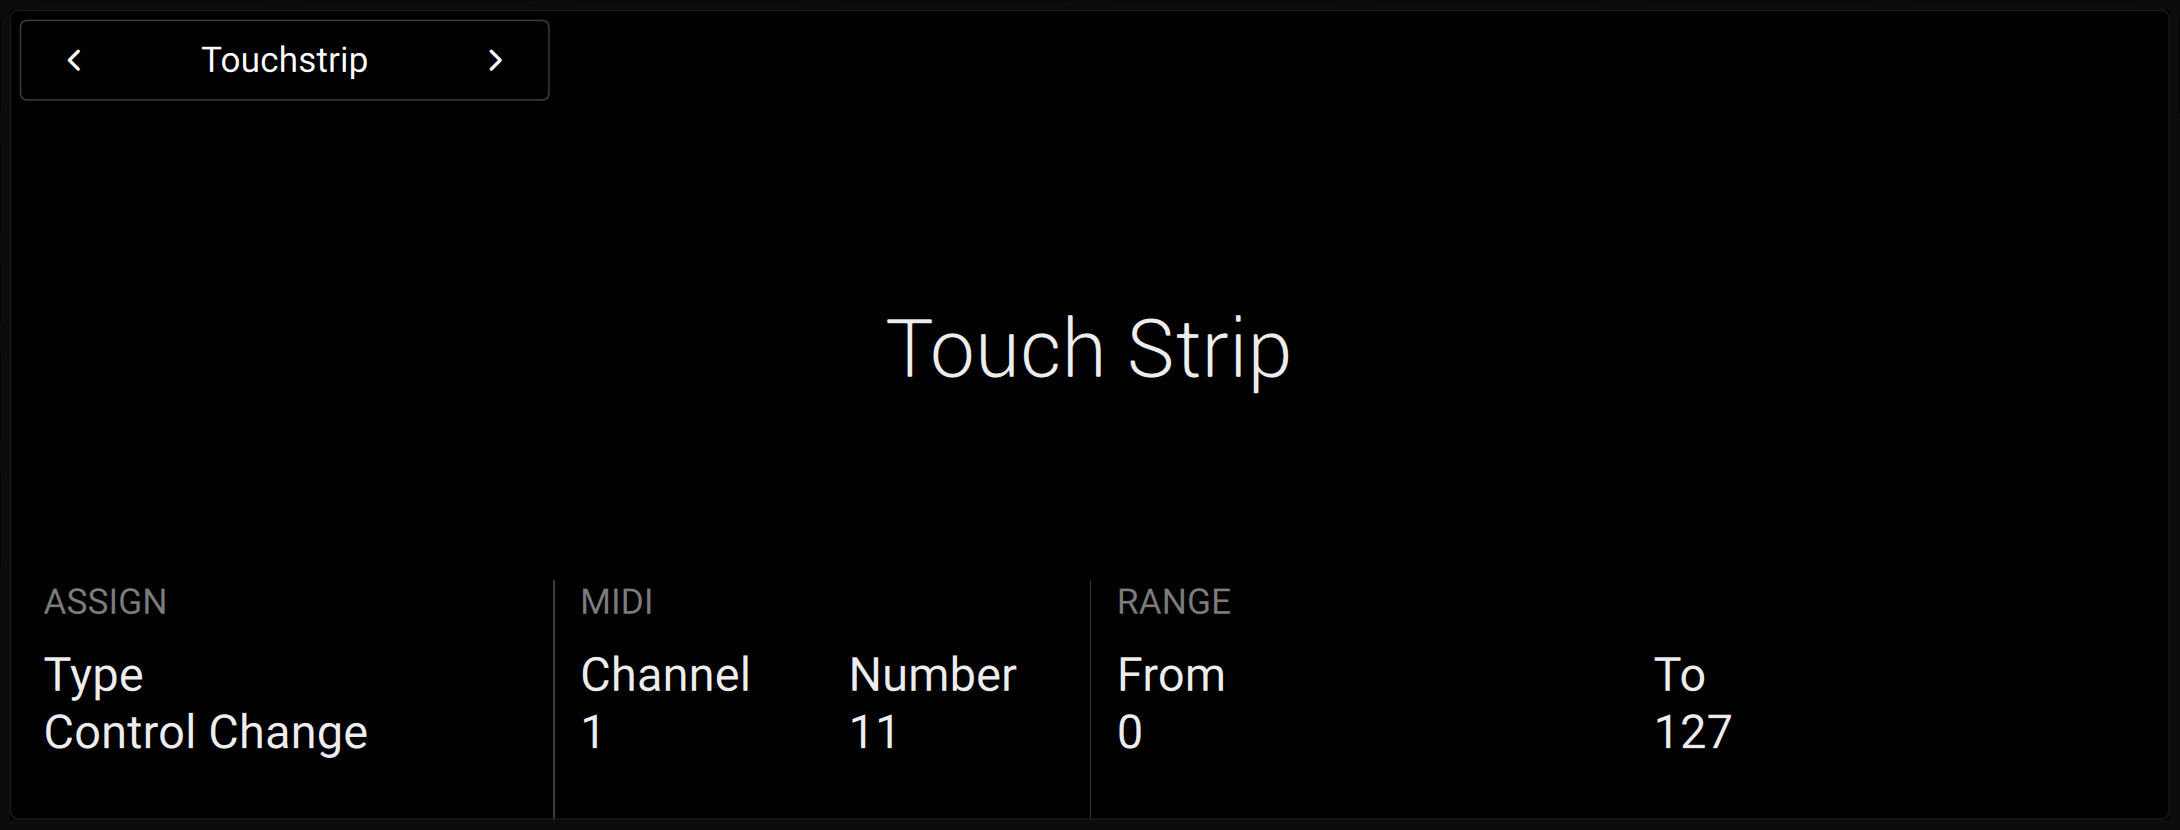
The following touch strip settings are available:
ASSIGN:
Type: Selects the type of MIDI message used. Available values are Control Change, Pitchbend and Program Change. The following settings will vary depending on the type selected here.
MIDI:
Channel: Selects the MIDI channel used.
Number: Selects the Control Change number (from 0 to 127). This setting is only available when the Type (Knob 1 on the same page) is set to Control Change.
RANGE: These settings are only available if the Type (Knob 1 on the same page) is set to Control Change or Program Change.
From: Selects the minimum value of the MIDI control range.
To: Selects the maximum value of the MIDI control range.
Wheel Settings
The wheel settings let you configure the behavior of both wheels on your keyboard.
The wheel settings spread over two pages: page 1 is for the Pitch wheel, page 2 is for the Modulation wheel.
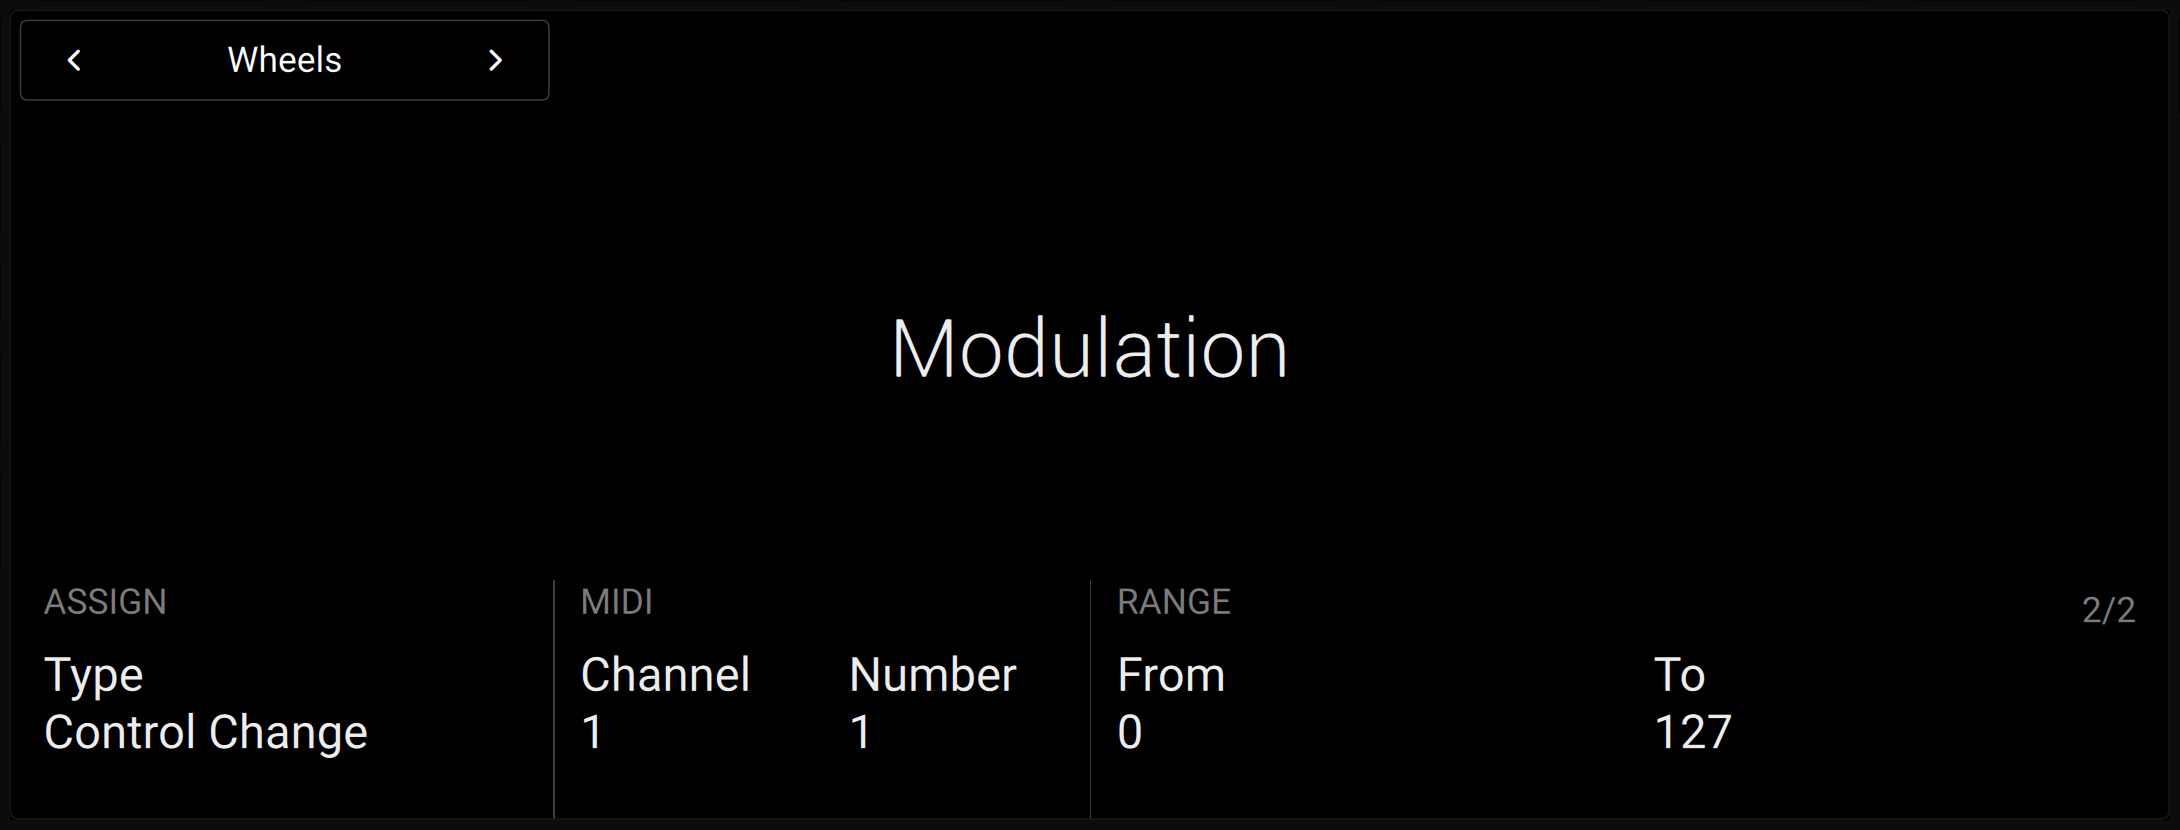
Page 1 and 2 contain the same settings except where noted:
ASSIGN:
Type: Selects the type of MIDI message used. Available values are Control Change, Pitchbend and Program Change. The following settings will vary depending on the type selected here.
MIDI:
Channel: Selects the MIDI channel used.
Number: Selects the Control Change number (from 0 to 127). This setting is only available when the Type (Knob 1 on the same page) is set to Control Change.
RANGE: These settings are only available for the Modulation wheel (page 2) and if the Type (Knob 1 on the same page) is set to Control Change or Program Change.
From: Selects the minimum value of the MIDI control range.
To: Selects the maximum value of the MIDI control range.
General Information
The General display provides you with general information on your keyboard and lets you reset your device to factory defaults.

The following information are available:
The model of your keyboard is displayed in the bottom left corner above Knob 1 (ABOUT).
In the right part of the display, you can see the serial number of your device, some additional software component information, as well as credits for the people that made this product happen. You can use Knob 8 to scroll these information.
Resetting Your Device to Factory Settings
From the General display you can reset your keyboard to its factory state. To do this:
Press Button 8 (Reset Unit) to start the reset procedure.
A warning message asks you to confirm the operation.
Press Button 8 (OK) to confirm the reset, or Button 7 (Cancel) to cancel the procedure.
Upon your confirmation, all settings of your keyboard are reset to their factory default values.
Usage Data Settings
The Usage Data settings let you choose whether you want to disable usage data tracking.
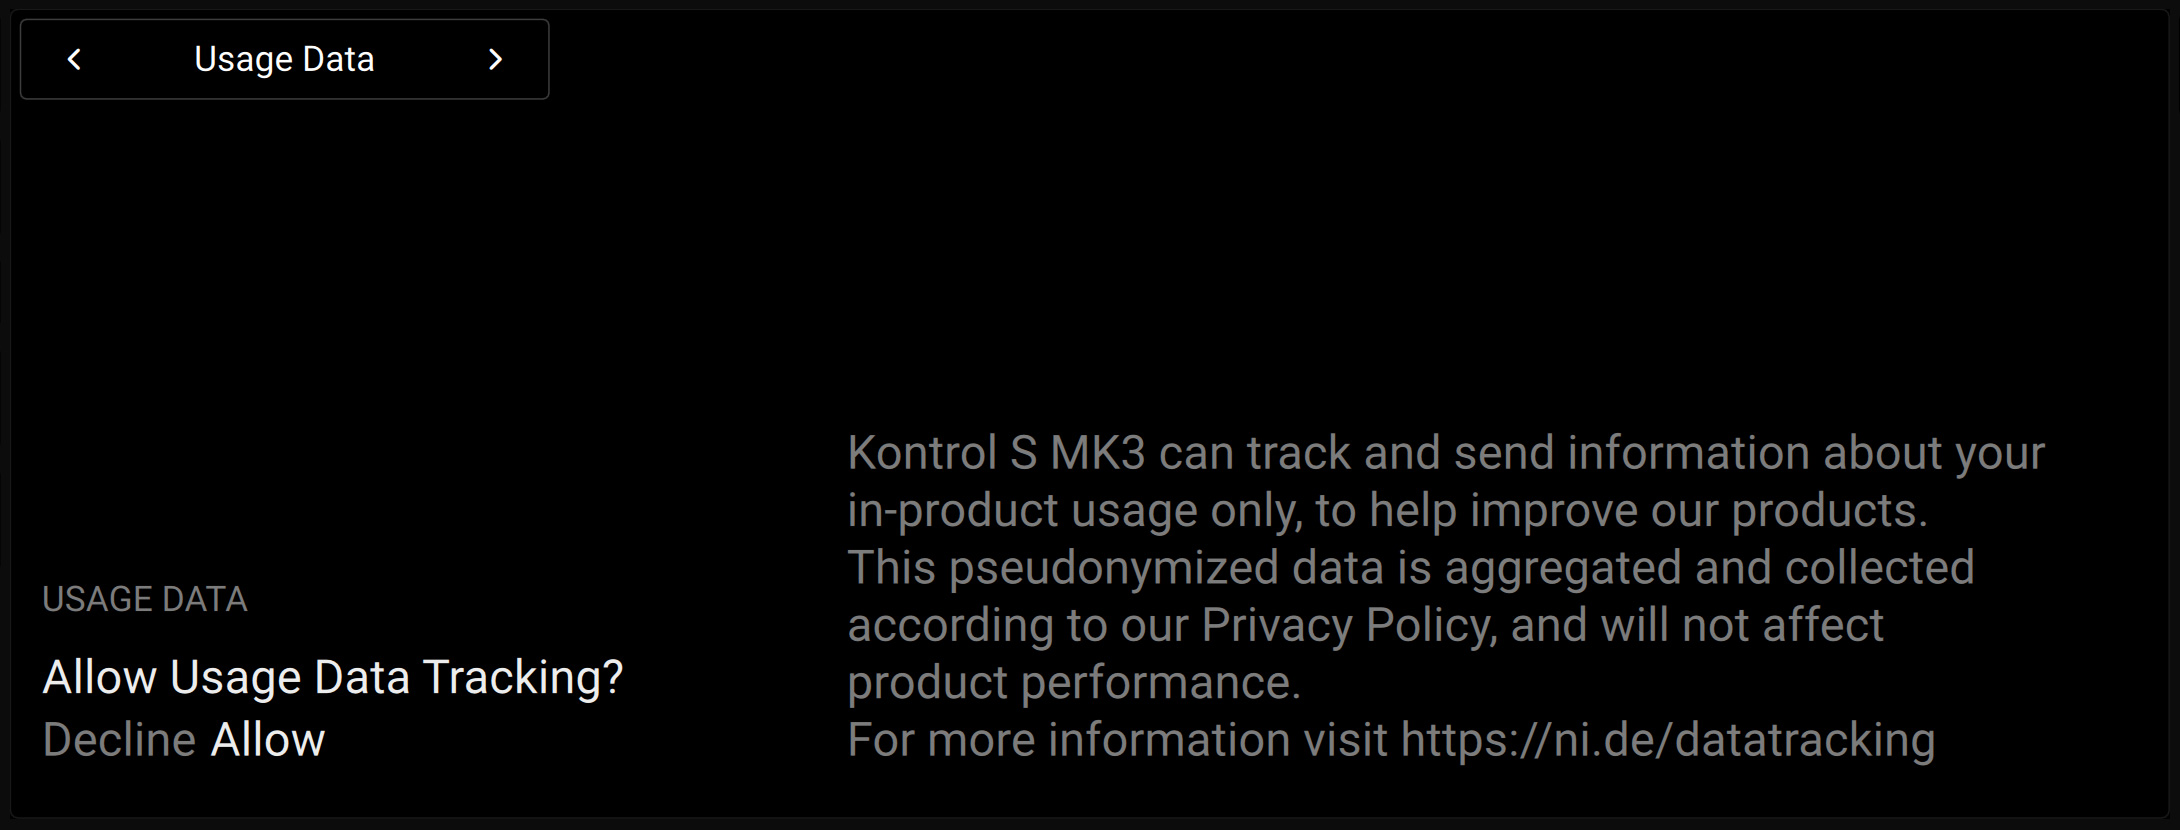
The following setting is available:
Allow Usage Data Tracking?: Lets you deactivate or activate usage data tracking (active by default).
Usage data tracking technology enables Kontrol MK3 to automatically track anonymous usage data. This provides a valuable tool for understanding the performance of Native Instruments products when they are used in real-life situations, which will help us improve our products. Therefore, we encourage all users to keep usage data tracking activated, but the choice of whether or not you want to share this information with Native Instruments is yours. The data sent to Native Instruments will not affect performance.
For more information about usage data tracking, refer to this Knowledge Base article on the Native Instruments website.
License Information
The License display shows the license agreements for the various software elements involved in your device.
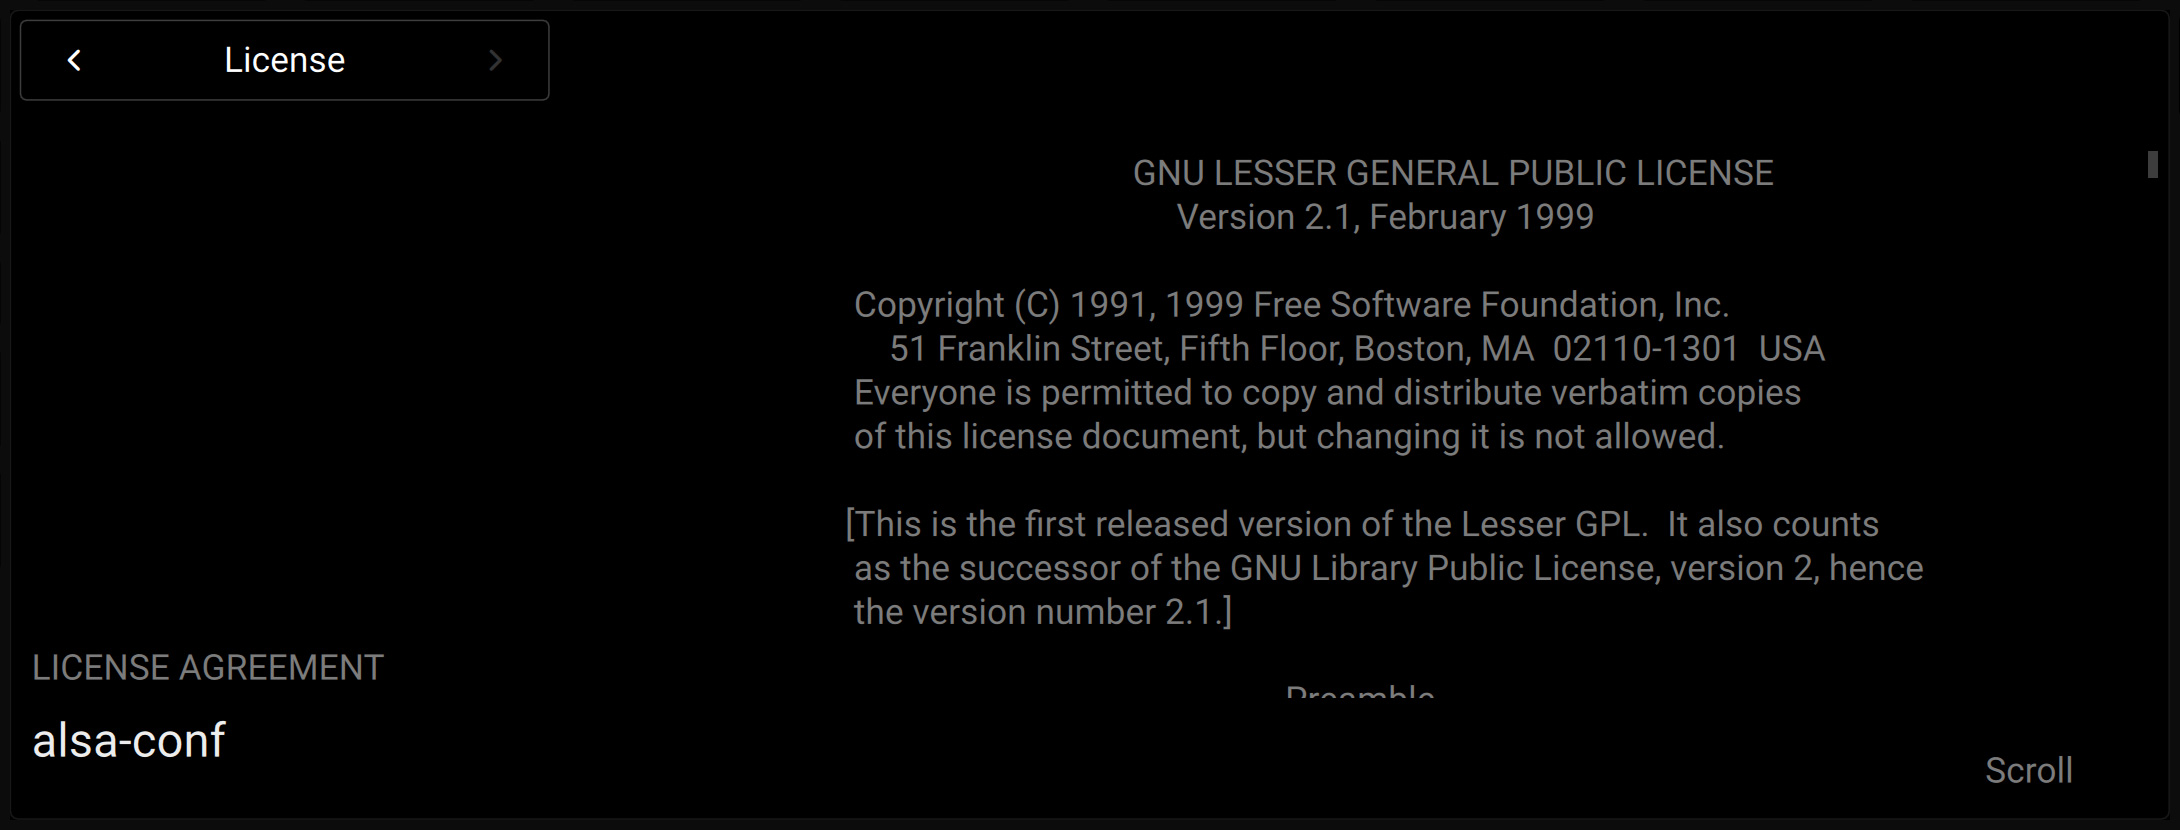
The following controls are available:
You can turn Knob 1 to select the license agreement to display.
You can turn Knob 8 to scroll the displayed license agreement.