MIDI Mode
This section describes the MIDI mode on the Kontrol S-Series MK3 keyboard.
This chapter describes the MIDI mode of the Kontrol keyboard.
On your keyboard, various elements can send MIDI data:
Keybed controls: The keys, the Pitch and Modulation wheels, and the Touch Strip always send MIDI messages:
The keys send MIDI Note messages and MIDI Key Pressure messages (polyphonic aftertouch) on MIDI channel 1.
The Pitch wheel, the Modulation wheel and the Touch Strip can send MIDI Control Change, Pitchbend or Program Changes messages. You can configure their respective MIDI messages in the keyboard settings.
Display controls: Instead of controlling the connected Kontakt or Komplete Kontrol software or the Mixer in your DAW, the knobs and buttons below and above the display can also send MIDI messages. This is done by switching your keyboard to MIDI mode.
Manually Switching to MIDI Mode
You can manually switch your keyboard to MIDI mode at any time:
Press SHIFT + SETTINGS (MIDI) to enter MIDI mode:
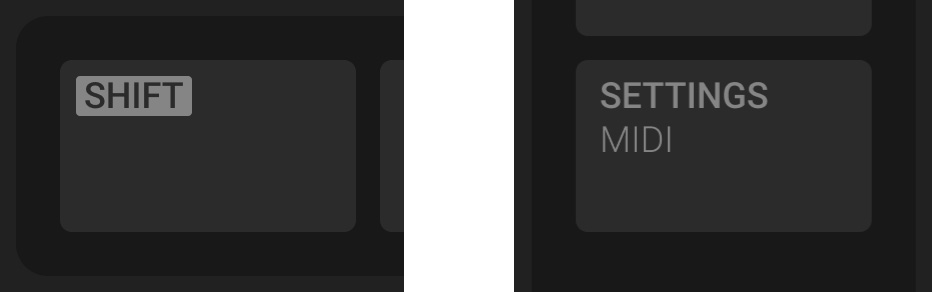
The SETTINGS (MIDI) button lights up brightly. The display shows the MIDI assignments for the Knobs 1–8 and Buttons 1–8.
Automatic Switch to MIDI Mode
You keyboard will automatically switch to MIDI mode in the following situations:
If you close the stand-alone Kontakt or Komplete Kontrol application.
If your keyboard is controlling a Kontakt or Komplete Kontrol plug-in loaded on a track in your DAW, and you switch to another track without any Kontakt or Komplete Kontrol plug-in loaded.
If there is no USB data connection between your keyboard and your computer. You can then use your keyboard as a stand-alone MIDI controller.
As soon as a Kontakt or Komplete Kontrol instance is found on your computer (running as a stand-alone application or as a plug-in on the track currently selected in your DAW), your keyboard automatically switches from MIDI mode to Plug-in mode and lets you control this instance.
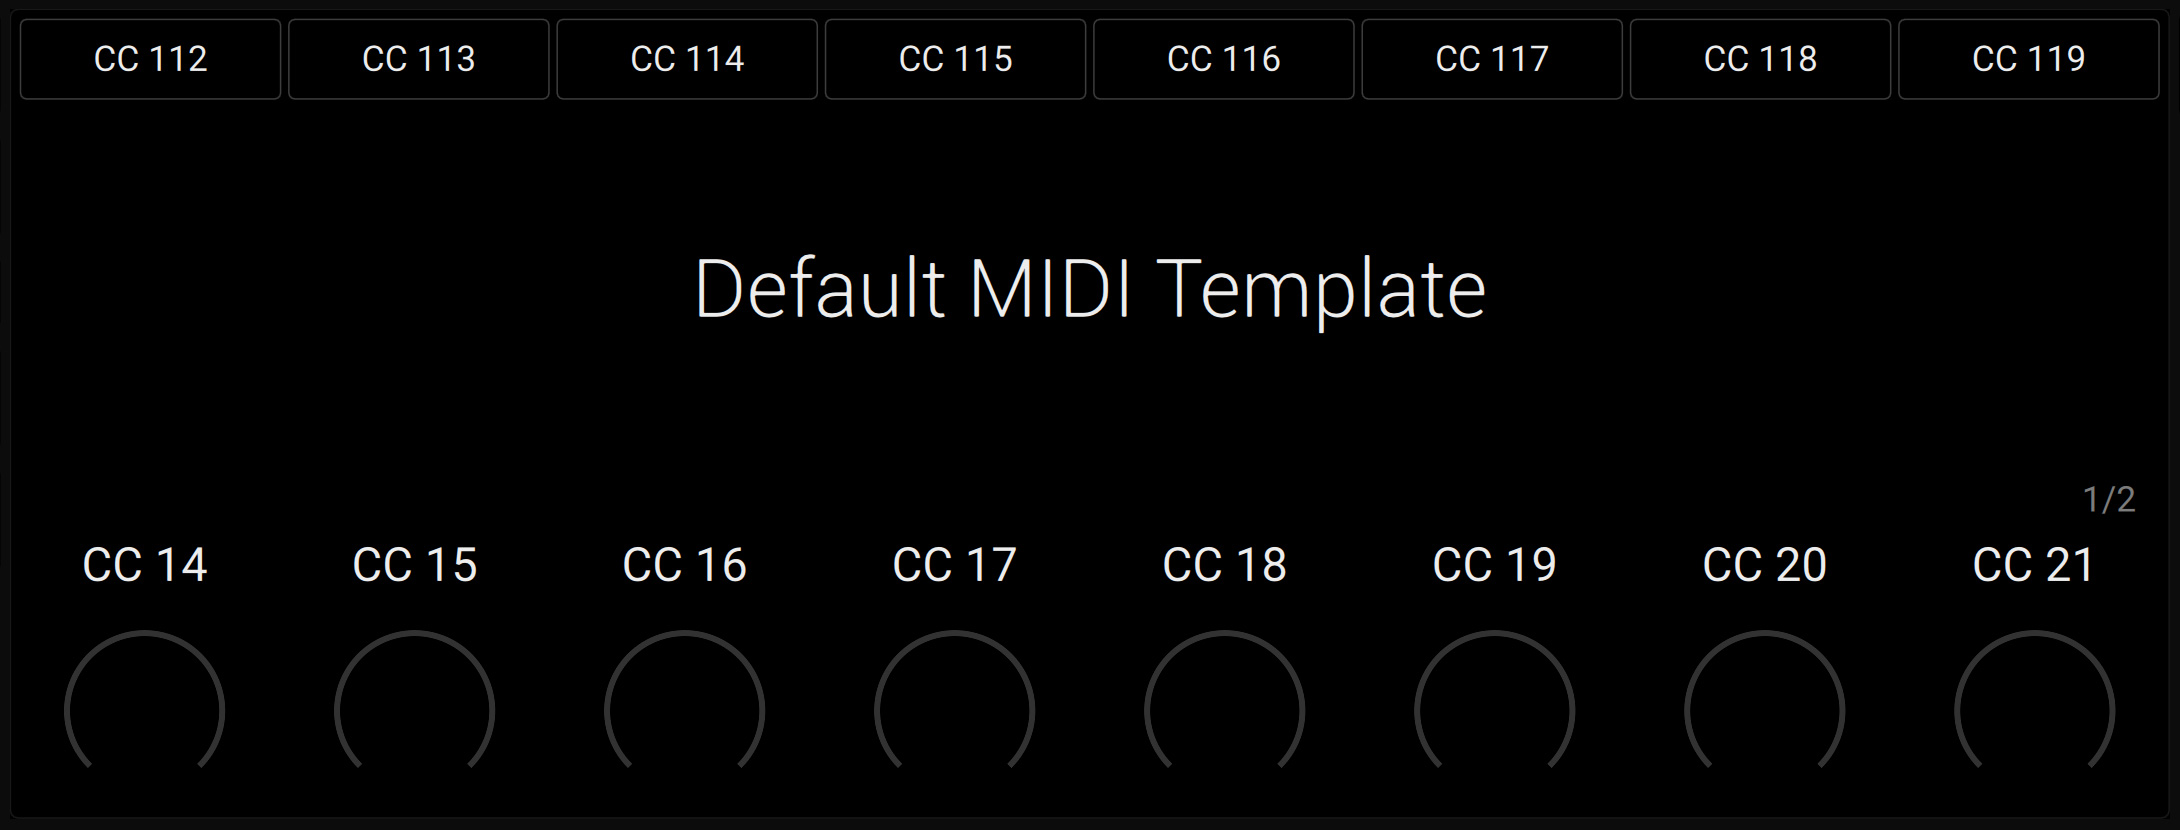
MIDI Assignments for the Display Controls
In MIDI mode, the knobs and buttons below and above the display send out the MIDI Control Change messages listed in the tables below. These MIDI Control Change messages are sent on MIDI channel 1.
You can use the Page buttons (left and right arrows) at the left of the display to switch to the next or previous page of MIDI assignments for the knobs below the display:
Press the Page buttons at the left of the display to switch to another page of MIDI assignments.
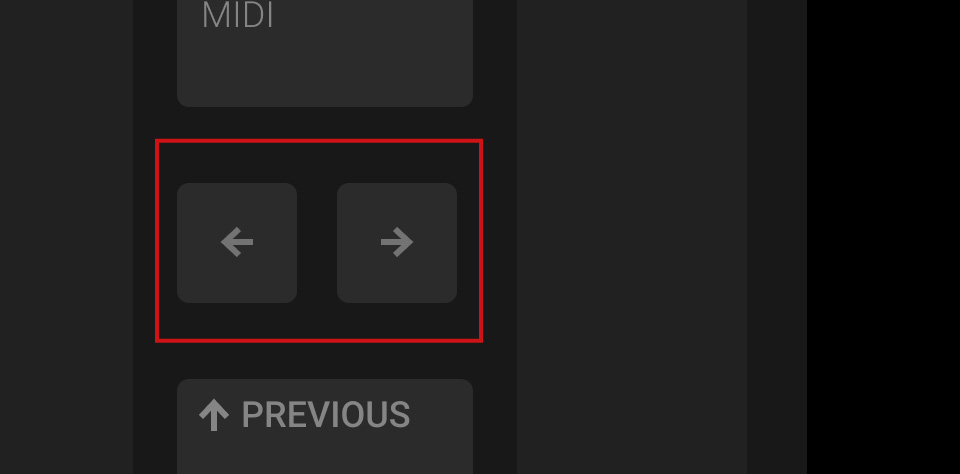
The display and the Knobs 1–8 switch to the next or previous eight MIDI assignments.
A dim lit Page button indicates that another page of MIDI assignments can be displayed by pressing the button.
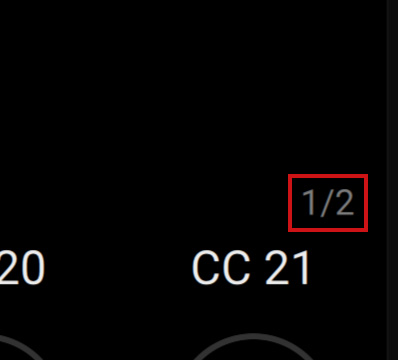
The gray numbers at the far right on the display indicate the current page and the total number of pages available:
 |
The following table shows the MIDI Control Change messages assigned to the Knobs 1–8 on page 1:
Control Element | CC# | Mode/Type | Range/Values | Control Function |
|---|---|---|---|---|
Knob 1 | 14 | Absolute | 0–127 | Undefined |
Knob 2 | 15 | Absolute | 0–127 | Undefined |
Knob 3 | 16 | Absolute | 0–127 | General Purpose Controller 1 |
Knob 4 | 17 | Absolute | 0–127 | General Purpose Controller 2 |
Knob 5 | 18 | Absolute | 0–127 | General Purpose Controller 3 |
Knob 6 | 19 | Absolute | 0–127 | General Purpose Controller 4 |
Knob 7 | 20 | Absolute | 0–127 | Undefined |
Knob 8 | 21 | Absolute | 0–127 | Undefined |
The following table shows the MIDI Control Change messages assigned to the Knobs 1–8 on page 2:
Control Element | CC# | Mode/Type | Range/Values | Control Function |
|---|---|---|---|---|
Knob 1 | 22 | Absolute | 0–127 | Undefined |
Knob 2 | 23 | Absolute | 0–127 | Undefined |
Knob 3 | 24 | Absolute | 0–127 | Undefined |
Knob 4 | 25 | Absolute | 0–127 | Undefined |
Knob 5 | 26 | Absolute | 0–127 | Undefined |
Knob 6 | 27 | Absolute | 0–127 | Undefined |
Knob 7 | 28 | Absolute | 0–127 | Undefined |
Knob 8 | 29 | Absolute | 0–127 | Undefined |
The following table shows the MIDI Control Change messages assigned to the Buttons 1–8:
Control Element | CC# | Mode/Type | Range/Values | Control Function |
|---|---|---|---|---|
Button 1 | 112 | Toggle (Action on Down) | Off 0 / On 127 | Undefined |
Button 2 | 113 | Toggle (Action on Down) | Off 0 / On 127 | Undefined |
Button 3 | 114 | Toggle (Action on Down) | Off 0 / On 127 | Undefined |
Button 4 | 115 | Toggle (Action on Down) | Off 0 / On 127 | Undefined |
Button 5 | 116 | Toggle (Action on Down) | Off 0 / On 127 | Undefined |
Button 6 | 117 | Toggle (Action on Down) | Off 0 / On 127 | Undefined |
Button 7 | 118 | Toggle (Action on Down) | Off 0 / On 127 | Undefined |
Button 8 | 119 | Toggle (Action on Down) | Off 0 / On 127 | Undefined |
Note
The control elements in the Keybed section of your keyboard also send MIDI data:
The keys send MIDI Note messages and MIDI Key Pressure messages (polyphonic aftertouch) on MIDI channel 1.
The Pitch wheel, the Modulation wheel and the Touch Strip can send MIDI Control Change, Pitchbend or Program Changes messages. You can configure their respective MIDI messages in the keyboard settings.
These control elements always send MIDI data, whether MIDI mode is active or not. MIDI mode specifically affects the display controls (Knobs 1–8 and Buttons 1–8 below and above the display).
Using the Keyboard as Stand-alone MIDI Controller
If you power up the Kontrol keyboard without USB host connection to your computer, the keyboard automatically switches to MIDI mode and sends its MIDI messages to the MIDI OUT socket on the keyboard’s rear panel. This allows you to use the keyboard as a stand-alone MIDI controller with any MIDI device connected to that socket.
The MIDI assignments are those of MIDI mode as described in MIDI Assignments for the Display Controls.
Using the Keyboard with a Power Supply Only
In order to function as stand-alone MIDI controller, your keyboard needs a power source. This section describes the two available options, depending on your setup environment.
If your keyboard is connected to an “always-on” USB-C port on your computer or hub, the USB-C port provides power to your keyboard even if your computer is turned off, and you can use your keyboard as a stand-alone MIDI controller.
If your keyboard is not connected to an “always-on” USB-C port on your computer or hub, or if your computer/hub is not around, you will need a USB-C power supply (5 V, 7.5 W or higher, 1.5 A or higher), which is not included. To power up your keyboard, do as follows:
Attach the USB-C power supply to the flat, power-only USB-C socket on the rear panel of your keyboard.

Plug the USB-C power supply into the wall outlet.
Press the ON switch on the rear panel of the keyboard to switch it on.
The keyboard turns on and you can use it as a stand-alone MIDI controller.