Sample Page
The Sample page contains controls for the playback of the sample source. Controls include Arp, Randomize, Pitch, Start, Filter, Modulation, and Amp.
The Sample page provides a range of parameters that allow you to shape and manipulate the playback of the selected source sample. The Sample layer accesses a custom sound library of multi-samples and one-shots, designed to compliment those in the Grain layer. The Transpose control enables you to pitch the sample an octave higher or lower in relation to the Grain layer, creating a full, robust blend. The Tune control allows for subtle detuning when modulated to replicate the desired detuning effect found in analog synthesizers. Modulating the Start point can also create captivating timbral effects, that add depth and excitement to the sample playback.
Sample Page Overview
The Sample page contains the following elements and controls:
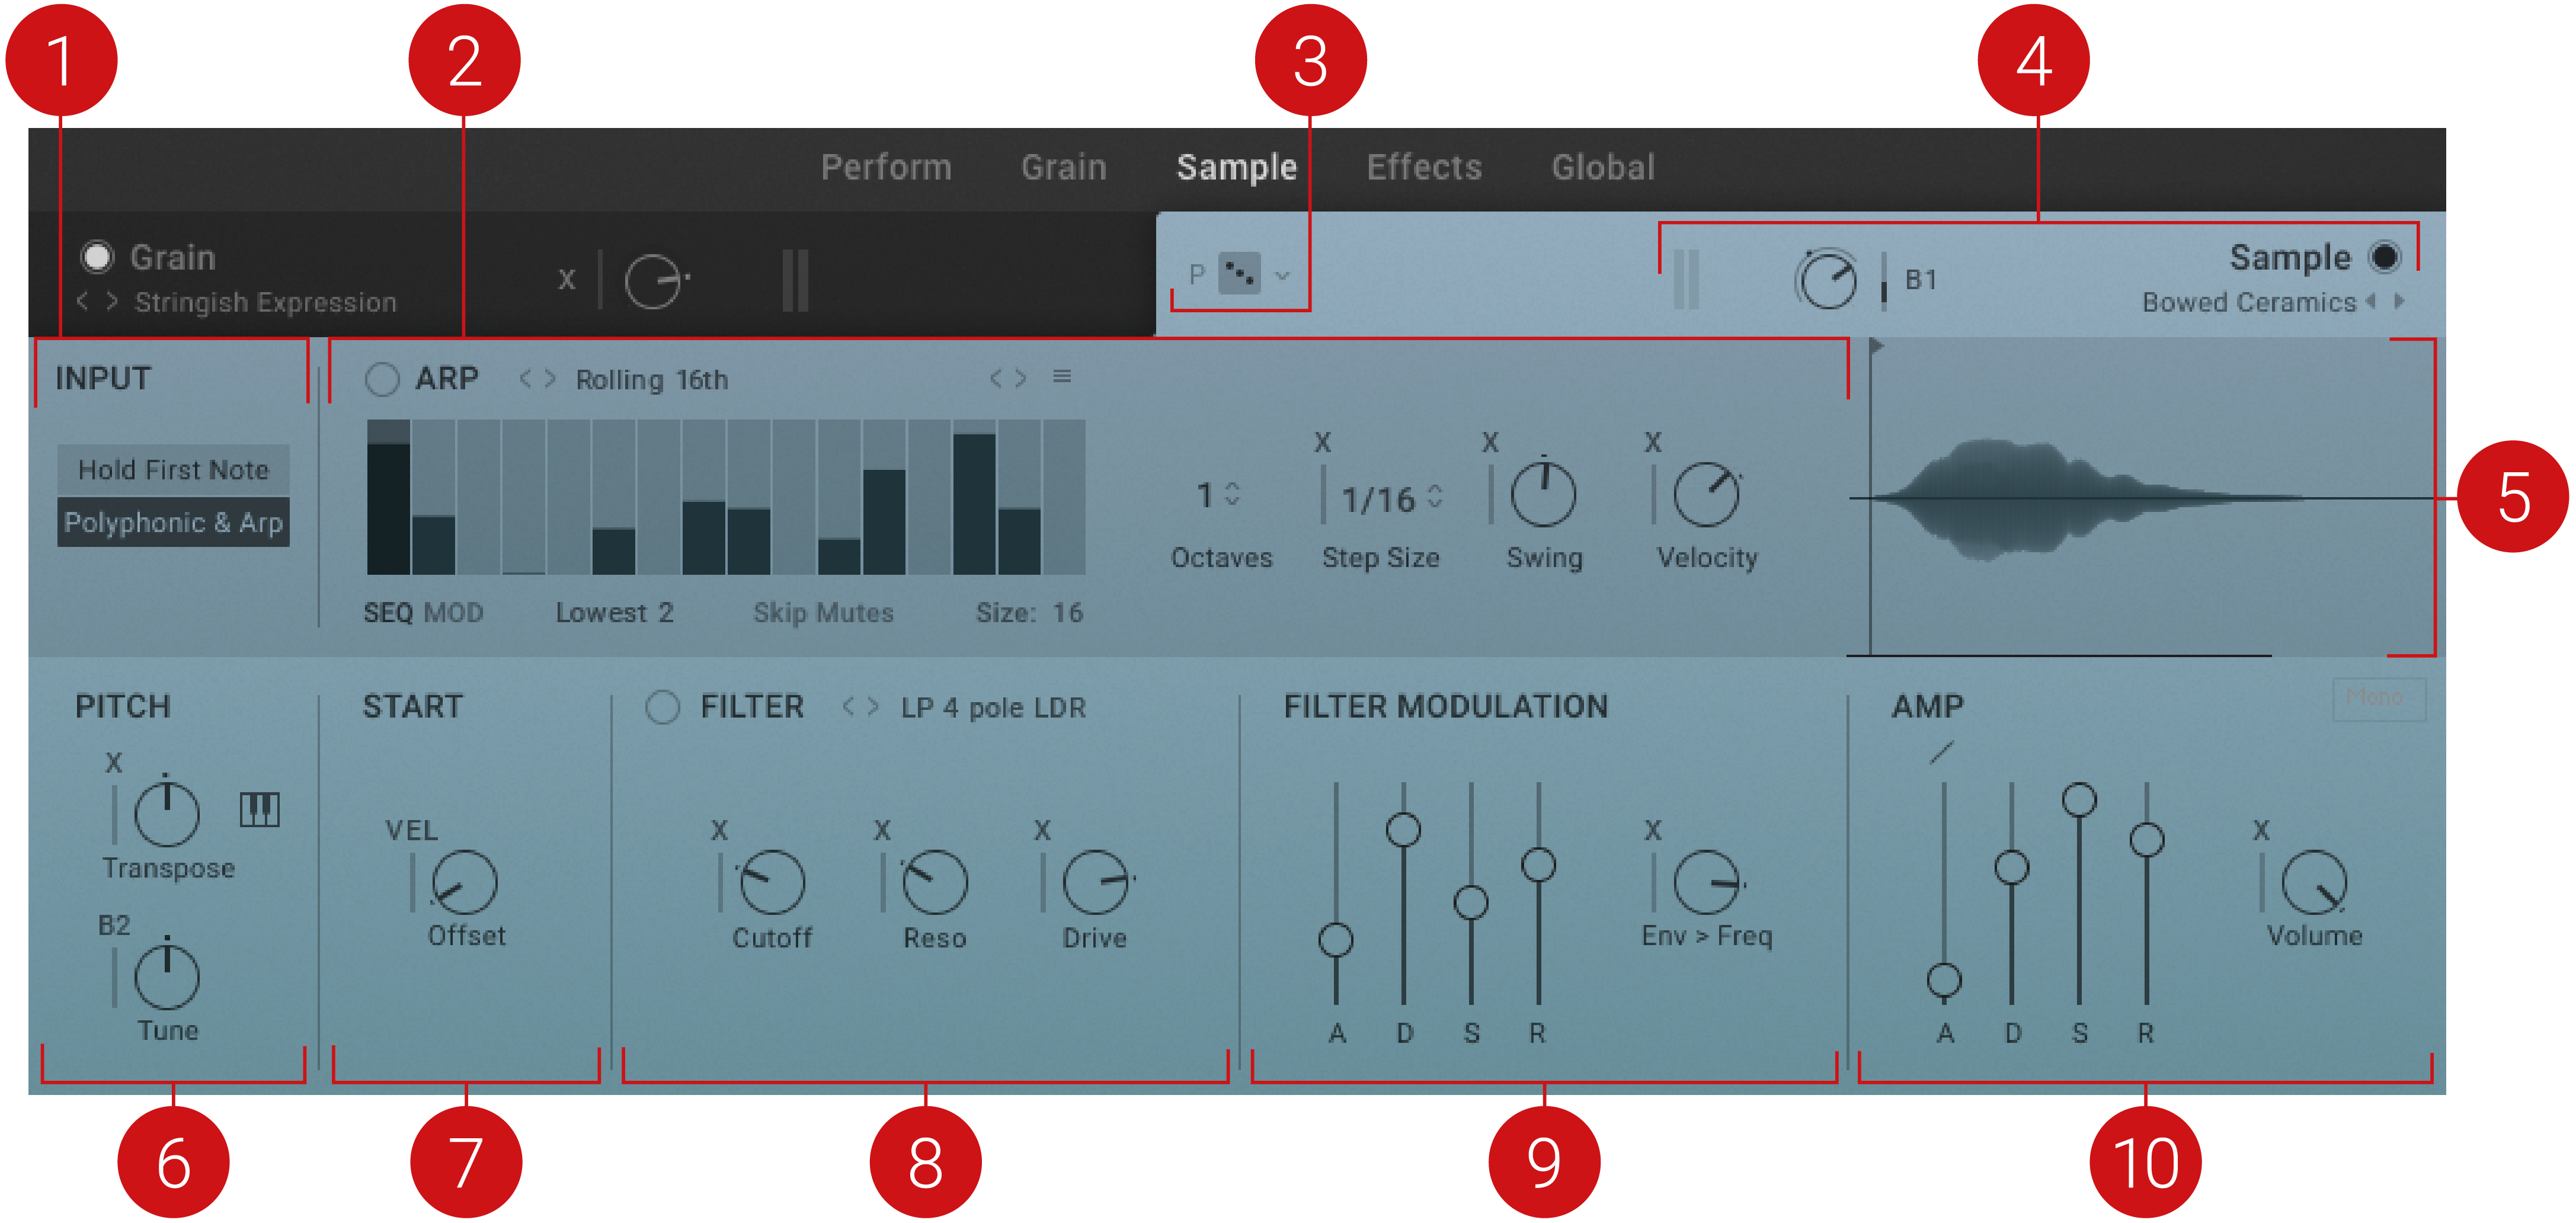
INPUT: Provides two input modes that determines how the sample layer processes incoming notes. When Hold First Note is selected, only the first note plays until the last key is released. The arpeggiator is not available in Hold First Note mode.Polyphonic and Arp mode triggers every pressed key as every other polyphonic sample player. Select this mode to access the arpeggiator.
ARP: Contains settings and controls relating to the Arpeggiator. For more information, refer to Arpeggiator
Sample Randomize: Applies random values to all parameters in the Sample page when dice icon is pressed. The drop-down menu next to the Sample Randomize button offers two options for assigning randomization. P Parameter only applies randomization to parameters only. S Include Source randomizes the Sample Source and parameters. The randomization of the Source sample is limited by the tags selected in the browser.
Sample Header: Contains global functions including the selection of the source sample, access to the Sample Source browser, and overall Volume control for the Sample layer. For more information, refer to Sample Header.
Sample Waveform display: Displays the source sample's waveform and visualizes the playback Start position. You can move the Start position by adjusting the Start Offset control. Some Sources can only be played monophonically, indicated by the Mono tag in the top right corner of the Waveform display. You can import your own sample by dropping your sound onto the waveform display. For more information, refer to Importing Your Own Samples.
PITCH: Contains controls related to tuning and transposition. For more information, refer to Pitch.
START: Sets the start point from which the sample will playback. For more information, refer to Start.
FILTER: Contains controls that remove frequencies as determined by the Filter type and Cutoff frequency. For more information, refer to Filter.
FILTER MODULATION: Contains envelopes that modulate and shape the filter and the cutoff frequency of your sample. For more information, refer to Filter Modulation.
AMP: Contains envelopes that modulate the Sample Layer's volume. For more information, refer to Amp.
Pitch
The Pitch section relates to the tuning and transposition of the sample playback. Each control has its own Modulation source which can be used for classic vibrato effect or more extreme sound design. Use the Tune control to fine-tune your sample to the Grain layer.
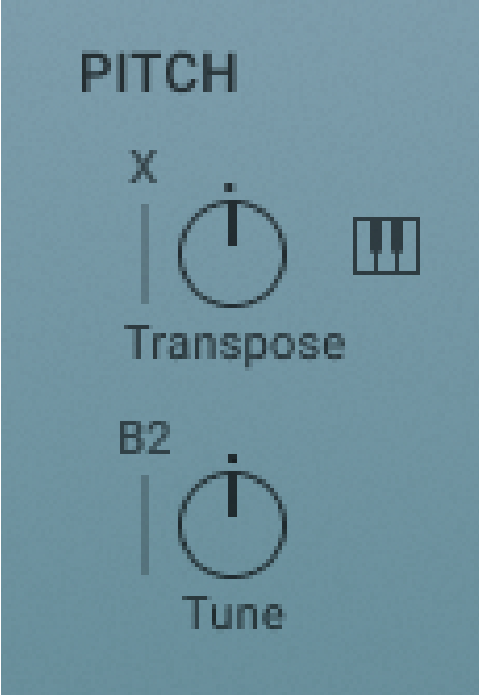 |
Sample page – Pitch.
Transpose: Determines the MIDI transposition of the notes before entering the sample layer. It can be adjusted within +2 octaves and -2 octaves.
Tune: Transposes the sample in cents from -2400 cent (-24 semitones, or -2 octaves) to +2400 cent (+24 semitones, or +2 octaves).
Key Tracking (keyboard icon): Determines if the Sample layer takes pitch from the currently pressed key. When this function is deactivated, the Sample layer will always trigger C3. Note that the Arpeggiator Octave setting, as well as the Transpose and Pitch knobs, remain fully functional.
Start
The Start section sets the point from which the sample will playback. The start point can be modulated to create more dynamic timbres.
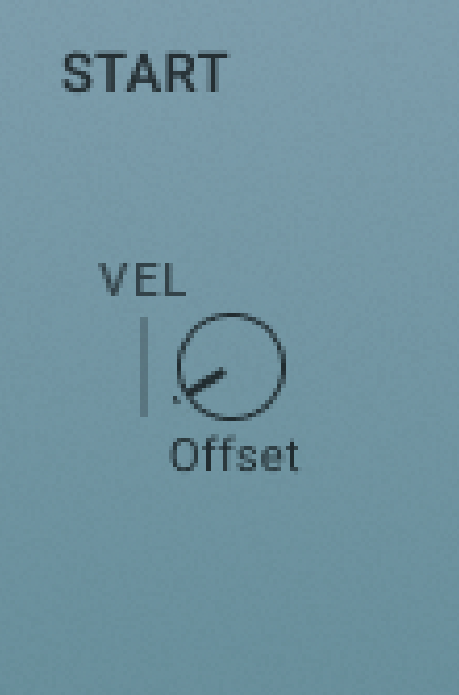 |
Sample page – Start
Start Offset: Determines where the sample starts to play when a note is triggered.
Start Offset Modulation: Sets the amount of modulation applied to the parameter by the selected modulation source.
Filter
The Filter takes the raw sample and removes certain frequencies as determined by the Filter type and Cutoff Frequency. This changes the harmonic content of the signal and shapes the tone of the sound. This change can be varied over time using the Filter Envelope or modulated to produce more dynamic animated timbres. You can select from 29 different Filter types, including HP, LP, BP, Notch and Vowel, for variation in spectral character. For more information on the different Filter types, refer to Filter.
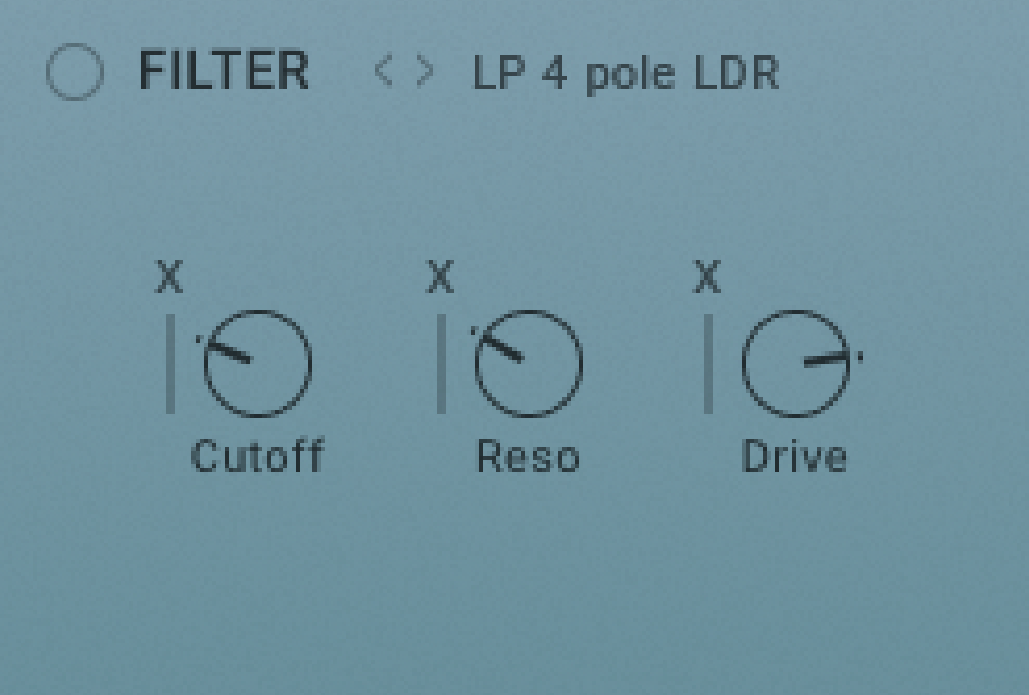 |
Sample page – Filter
Filter on/off: Switches the Filter in the Sample Layer on or off. When the button is highlighted, the Filter is active.
Filter Type previous/next (< > icon): Browses the different Filter type options.
Filter Type: Selects the Filter type used for the Sample Layer.
Cutoff: Sets the Filter Cutoff frequency of the selected Filter type.
Resonance: Sets the Resonance or peak of the selected Filter type.
Drive: Sets the amount of Drive for the selected Filter type.
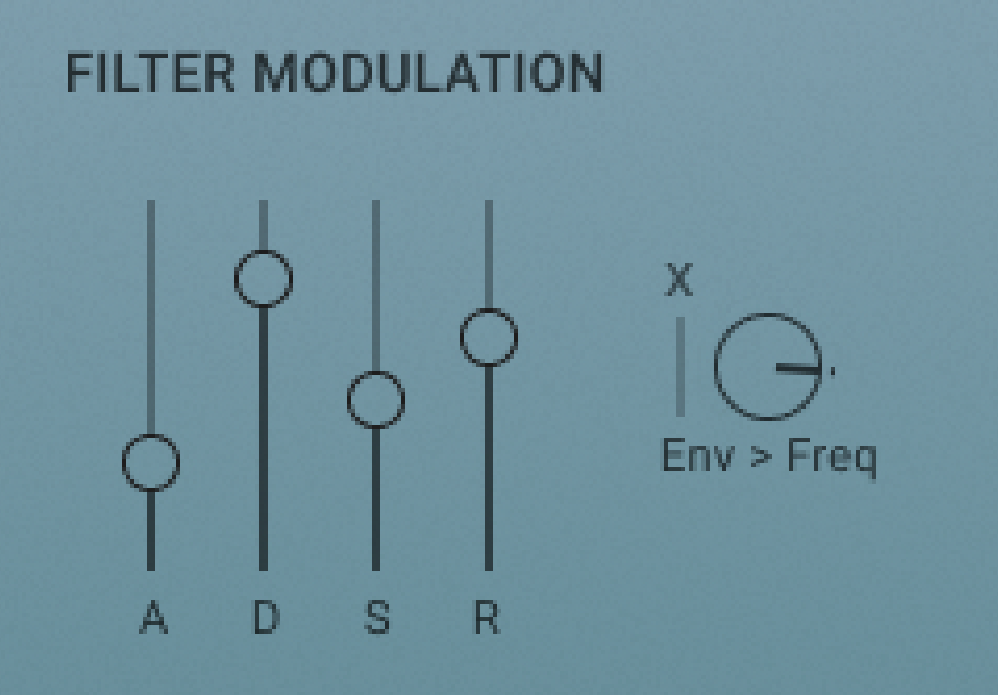
Filter Modulation
The Filter Modulation section contains envelopes that allow you to modulate and shape the filter and the cutoff frequency of your sample. Use the Envelope Amount to determine the intensity of the envelope over the cutoff frequency. Modulating the Envelope Amount can create subtle movements or dramatic timbral changes.
 |
Sample page – Filter Modulation
Attack (A): Adjusts the duration of the envelope’s attack stage, which is the time the envelope takes to rise from zero to peak level.
Decay (D): Adjusts the duration of the envelope’s decay stage, which is the time the envelope takes to fall from peak to sustain level.
Sustain (S): Adjusts the level of the envelope’s sustain stage, at which the envelope stays as long as a note is held.
Release (R): Adjusts the duration of the envelope's release stage, which is the time the envelope takes to fall from sustain level to zero.
Envelope Amount: Determines to which extent the filter envelope modulates the filter. This works on a polyphonic level.
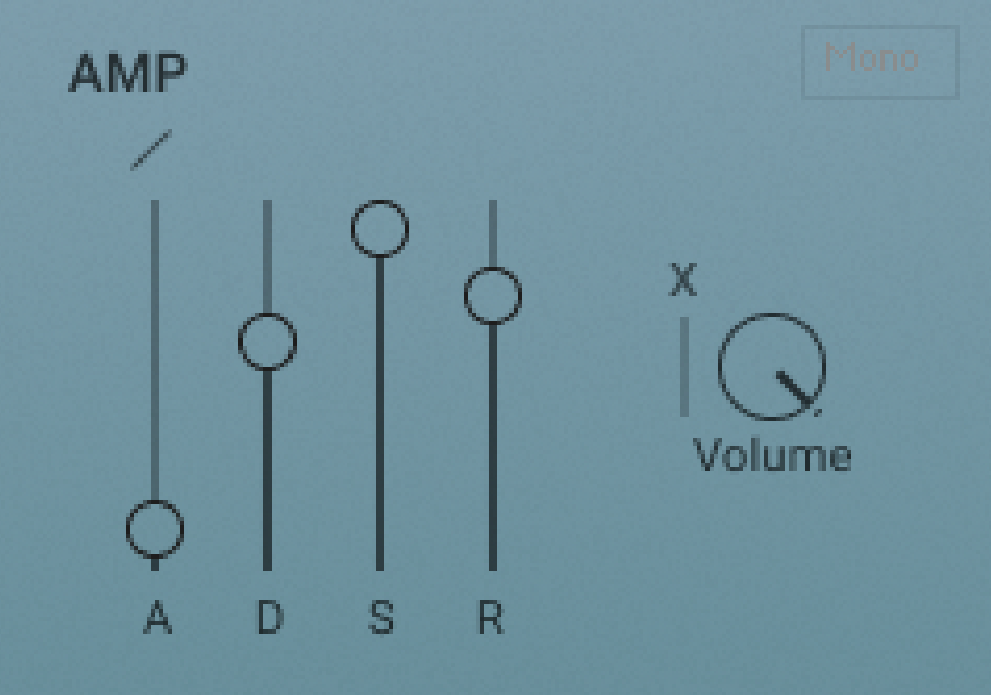
Amp
The Amp section contains controls related to the Sample layer's volume envelope. It is triggered by incoming MIDI notes and used to dynamically control the amplitude of the Sample layer's output signal. By adjusting the four envelope stages, you can define the overall character of the sound, from snappy, percussive plucks to sustained, elongated drones. Modulate the Volume control with an LFO to create a classic tremolo effect.
 |
Sample page – Amp
Attack Curve: Adjusts the shape of the envelope’s attack stage from an exponential response with a slow onset (-100%) to a logarithmic response with a fast onset (100%). At center position (0%), the response is linear, making the attack stage rise evenly for its entire duration.
Attack (A): Adjusts the duration of the envelope’s attack stage, which is the time the envelope takes to rise from zero to peak level.
Decay (D): Adjusts the duration of the envelope’s decay stage, which is the time the envelope takes to fall from peak to sustain level.
Sustain (S): Adjusts the level of the envelope’s sustain stage, at which the envelope stays as long as a note is held.
Release (R): Adjusts the duration of the envelope's release stage, which is the time the envelope takes to fall from sustain level to zero.
Sample Volume: Determines the volume of the sample before entering the sample layer effects chain.
Arpeggiator
ASHLIGHT’s arpeggiator allows you to create rhythmic patterns in the Sample layer. Explore the predefined arpeggiator presets via the preset menu, or experiment with your own arpeggios by adjusting each individual step directly in the arpeggiator display. Standard settings like Swing, Length, Octaves and Velocity scaling are all available as global controls.
The Arpeggiator contains the following settings and controls:
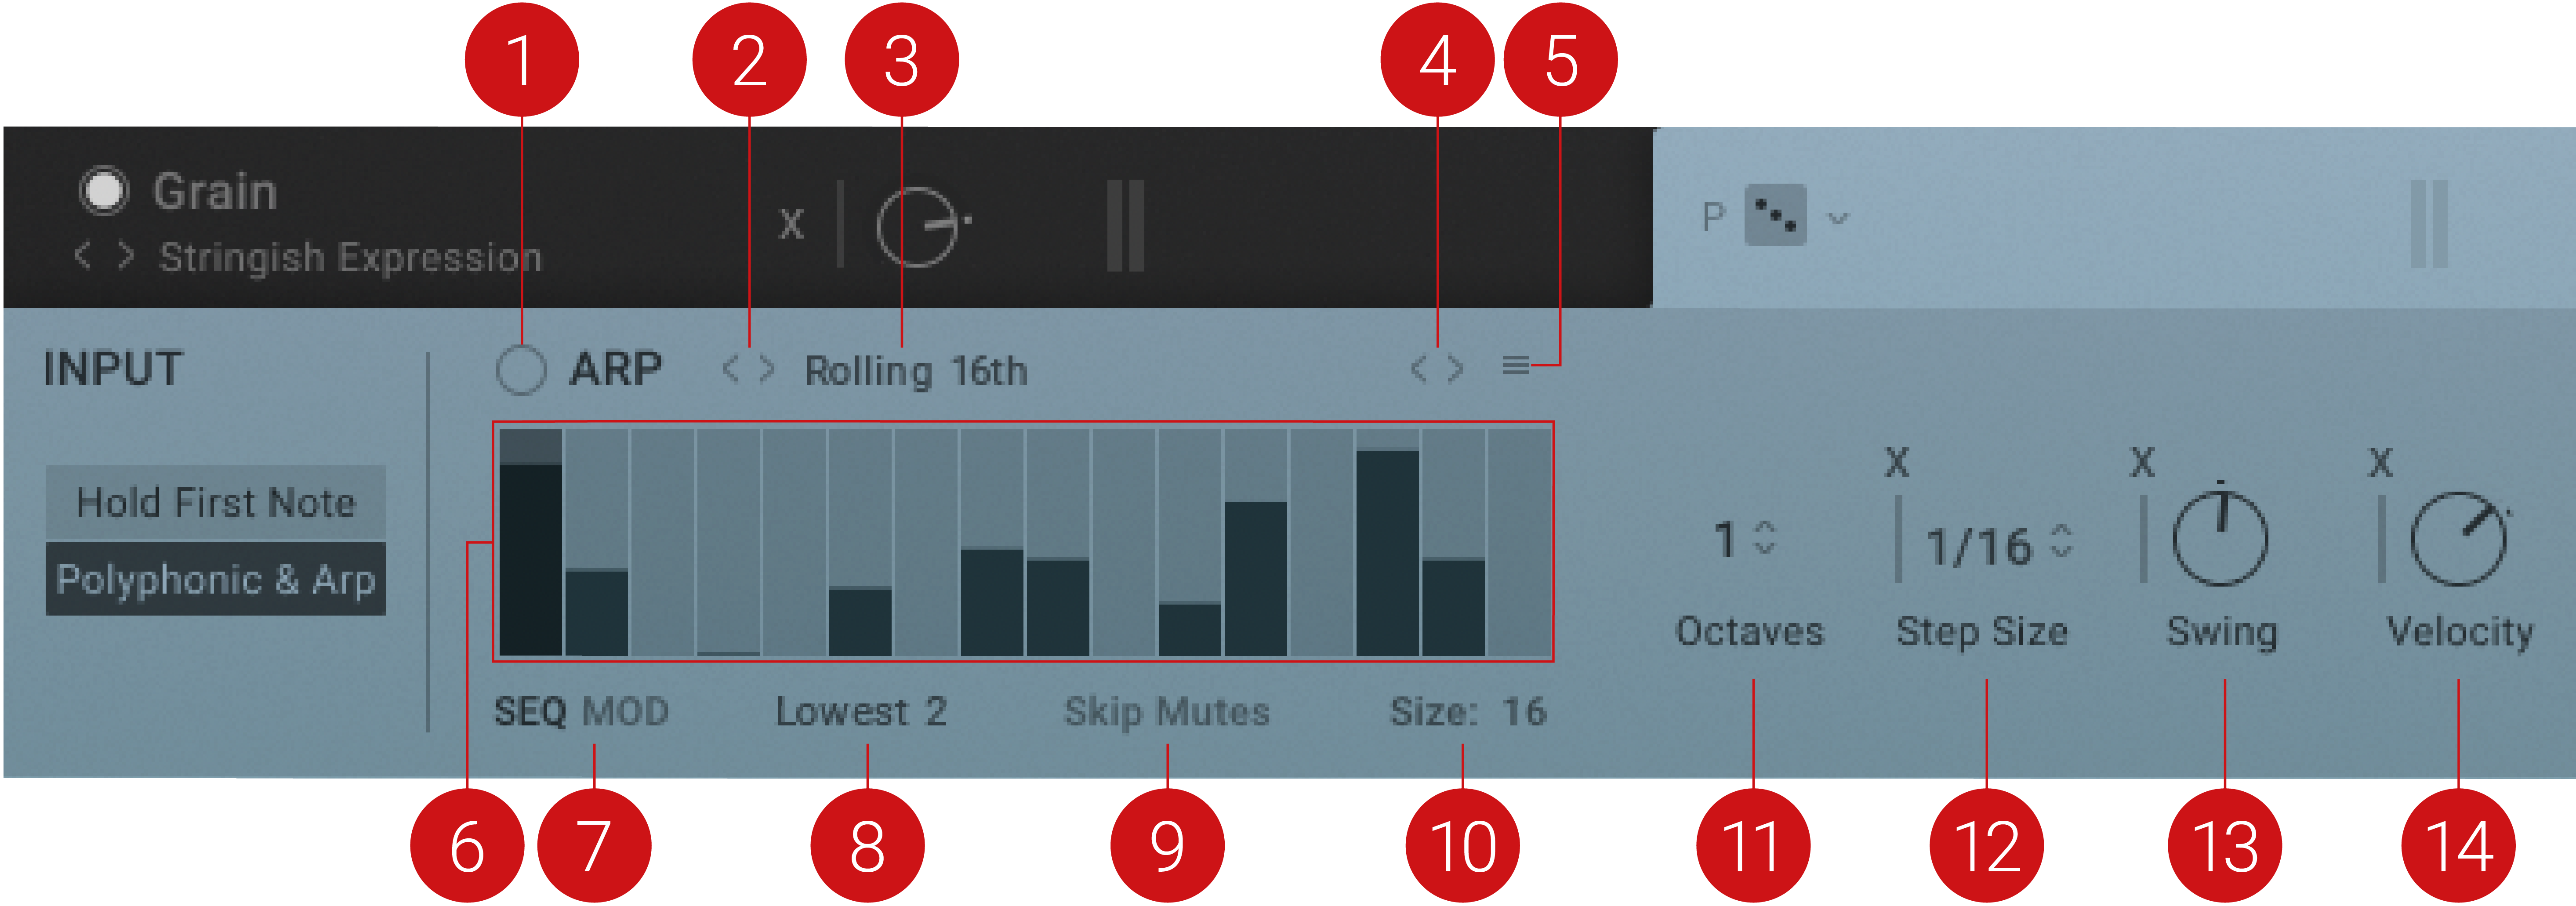
Arpeggiator on/off: Switches the arpeggiator for the Sample layer on or off.
Arpeggiator Preset previous/next (< > icon): Loads the previous or next arpeggiator setting from the preset menu.
Arpeggiator Preset: Displays the currently selected presets, and opens a menu containing predefined arpeggiator presets.
Arpeggiator Shift left/right: Nudges all values of the sequence one position to the left or right.
Arpeggiator Options menu: Opens a menu that allows you to choose a function from the list to process the sequence.
Arpeggiator display: Displays the sequenced notes or modulation of the arpeggiator.
SEQ/MOD: Defines whether the notes or the modulation sequence is displayed.
Arpeggiator Mode: Sets the mode to determine how held notes are filtered, ordered and played back by the arpeggiator.
Skip Mutes: Determines if steps with 0 velocity in the step sequencer are skipped in the arpeggiator playback.
Size: Sets the number of steps for the arpeggiator's velocity and modulation sequencer.
Octaves: Sets the octave range of the arpeggiator playback. Note that the Octaves setting is effective even if Key Tracking is deactivated in the Pitch section.
Step Size: Sets the length of each arpeggiator step in musical note values. The corresponding slider sets the amount of modulation applied to the parameter from the selected modulation source.
Swing: Sets the amount of swing for the arpeggiator. 50% is the default setting and applies no swing to the arpeggiator. The corresponding slider sets the amount of modulation applied to the parameter from the selected modulation source.
Velocity: Scales the velocity output of the arpeggiator. The corresponding slider sets the amount of modulation applied to the parameter from the selected modulation source.