Browser
The Browser helps you to explore your sounds intuitively, with advanced filtering and tagging options that enable you to find the best presets for your music needs.
The Browser provides access to all your Kontakt factory content (Instruments, Loops, One-shots and Effects), as well as your own user content. Sophisticated browser functionality allows you to filter sounds by tags, brand, product, bank, text search, user presets and Favorites, helping you to quickly and intuitively find the right presets for your musical needs.
Player-licensed content will appear automatically in the Browser and you can import non-player content into the Browser.
To open the Browser, click the Browser icon in the Main Control Panel.
The Browser contains the following features and controls:

Browser button: Opens and closes the Browser.
Search field: Filters presets according to text entered in the field. The search engine considers the preset name, author, Brand / Character / Sound Type tags, product and bank name. The Results list is filtered according to the terms entered in the Search field. Refer to Using the Search Field.
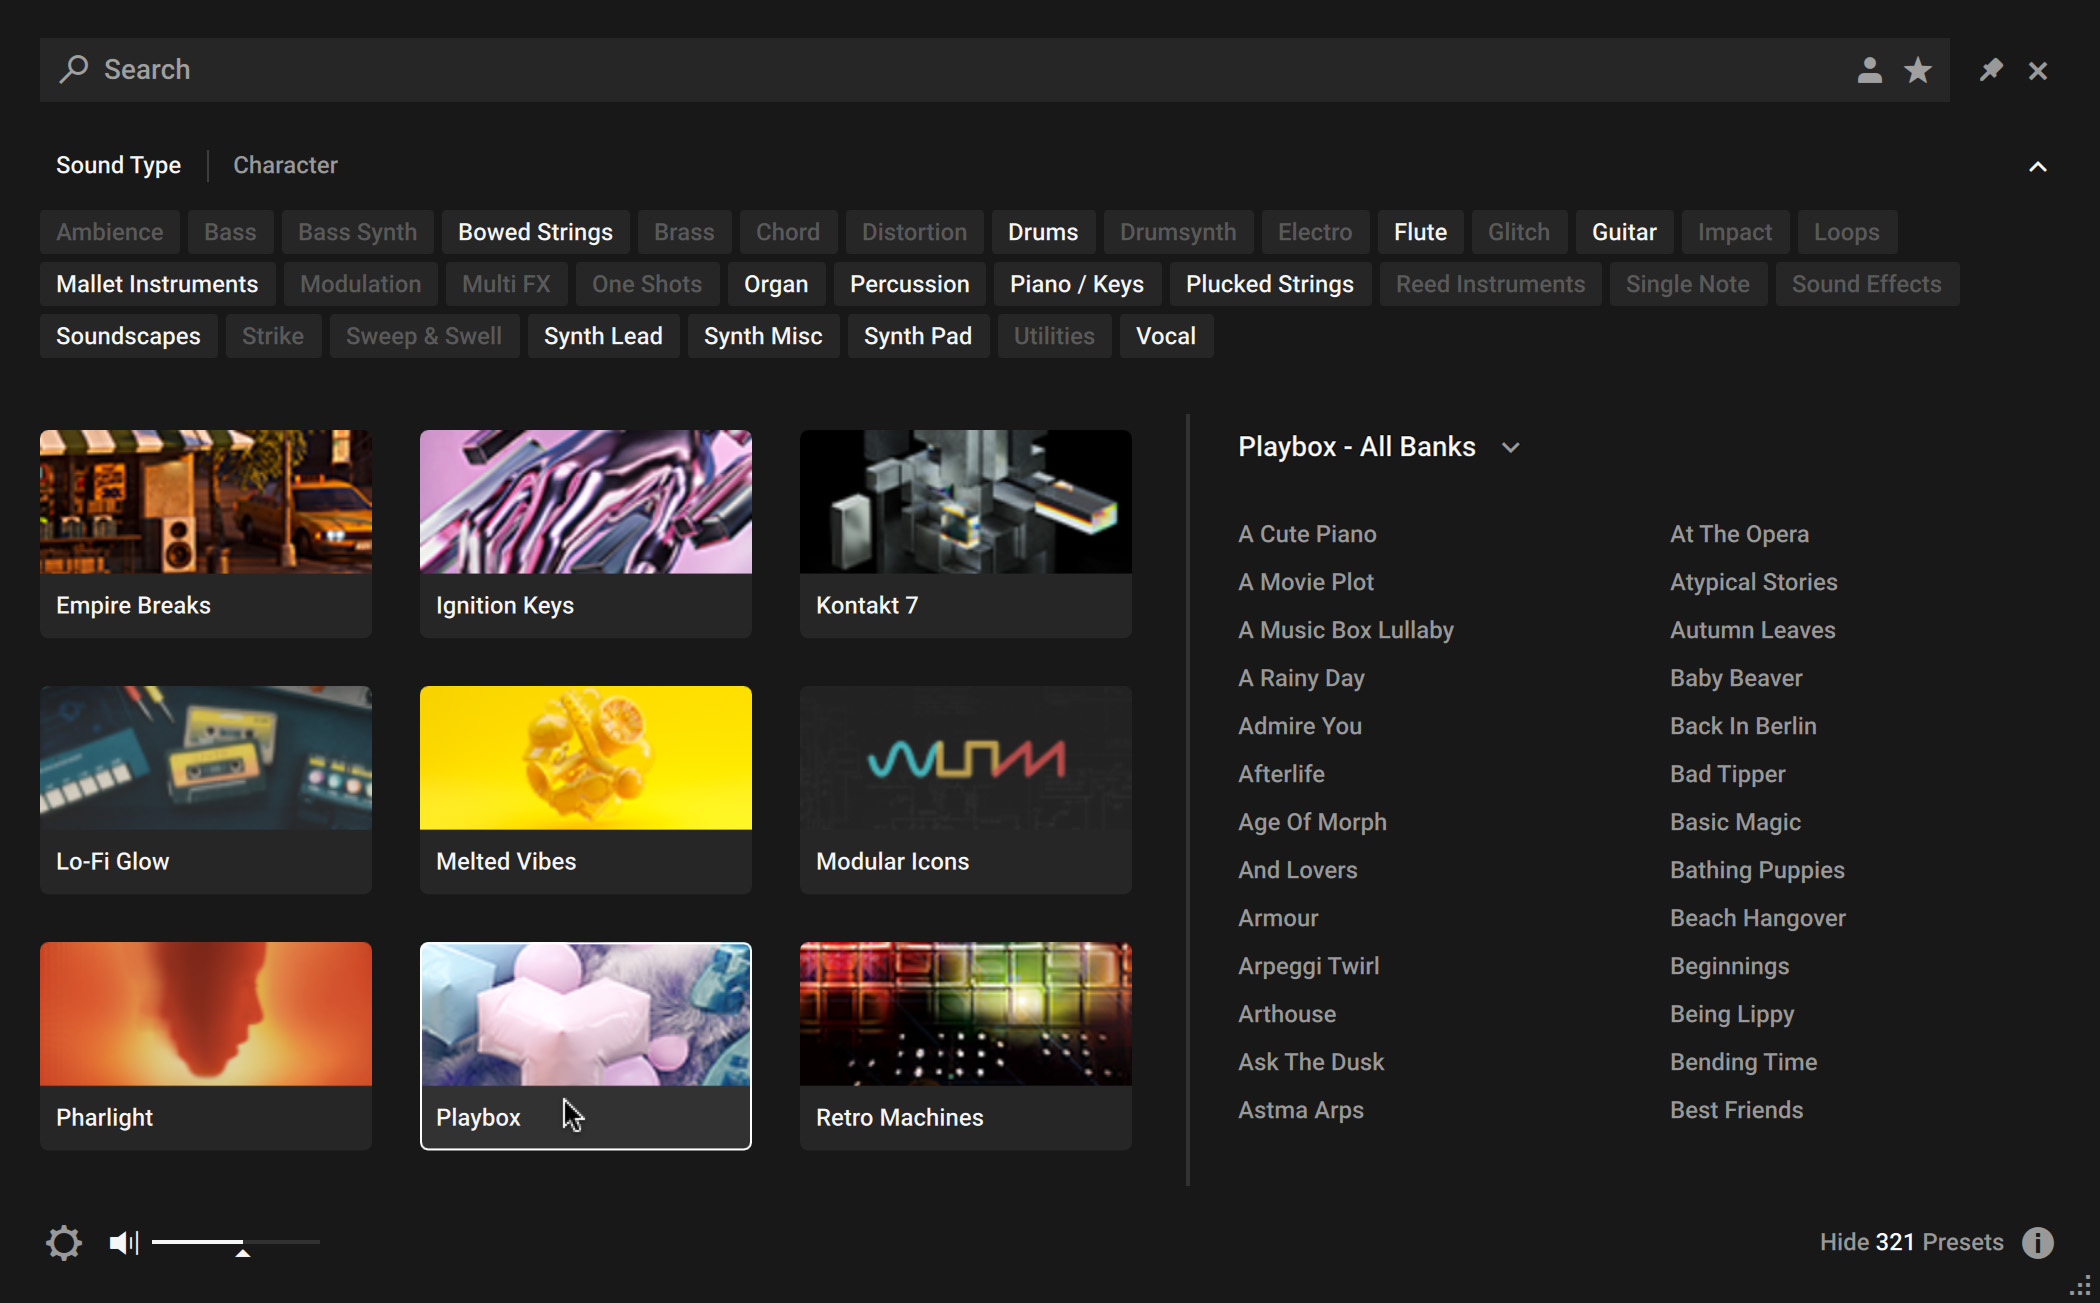
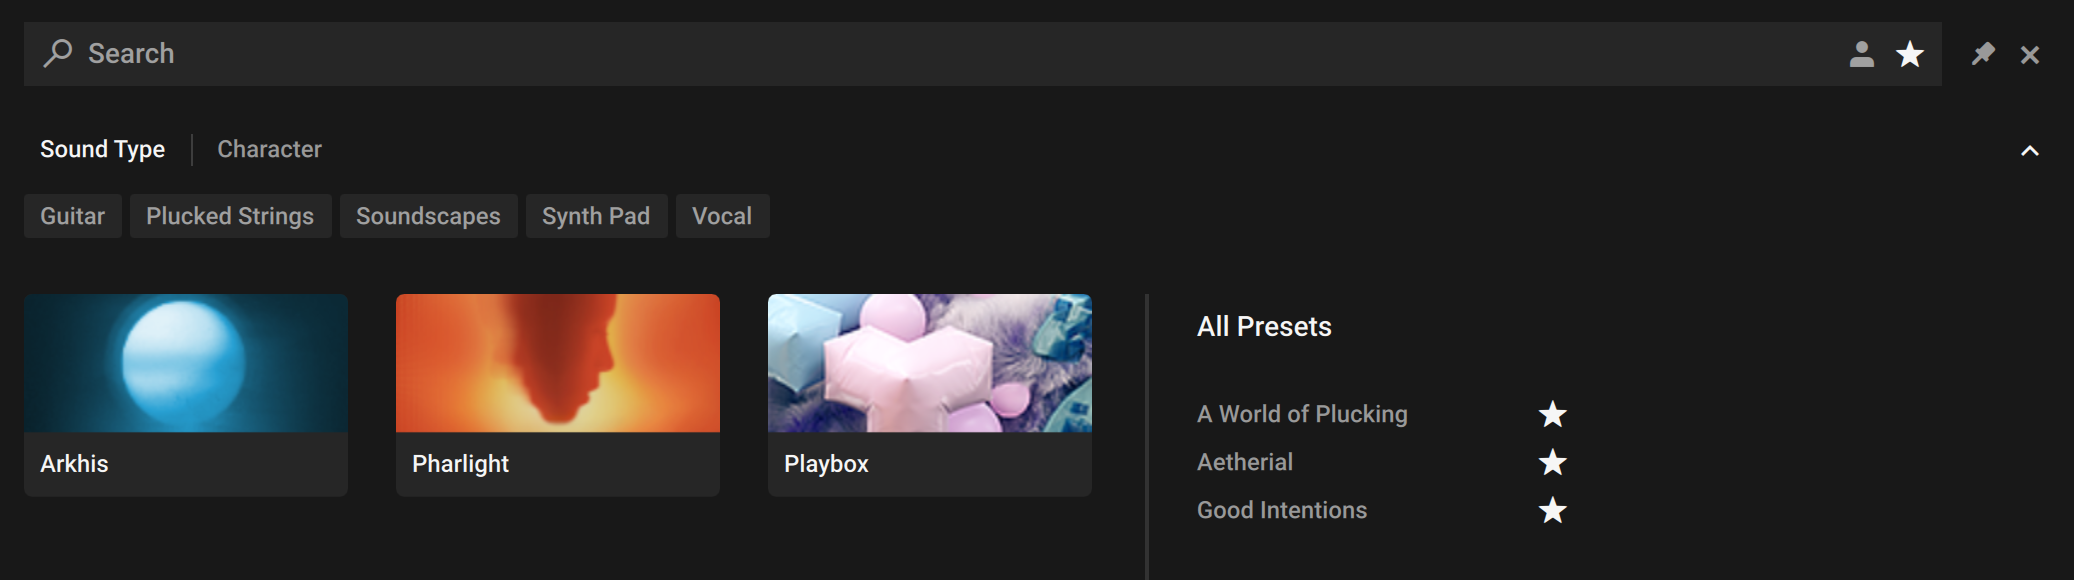
Tag filters: Contains Brand, Sound Type, and Character filters, which use NKS tagging to enhance the browsing experience. Switch between the three filters interchangeably and explore tags that classify and organize presets based on the manufacturer as well as various musical attributes and functions. You can hide these filters by clicking the arrow icon on the right to minimize the filter section. Refer to Using Filters.
Product filter: Displays your Kontakt Libraries as tiles. Selecting a tile filters the Results list with relevant presets. Hovering over a tile reveals an arrow icon (>) which when clicked loads the first preset of the associated product. Browsing with tag filters and text search adjusts the Product filter accordingly. Refer to Filtering by Library.
Import Content (cogwheel icon): Opens a dialog that allows you to import, remove and rescan your custom content and non-player libraries. Refer to Managing Imported Content.
Audition controls: Adjusts the volume at which presets are auditioned as you select them in the Results list. Auditioning presets is active by default and can be muted by clicking the speaker icon.
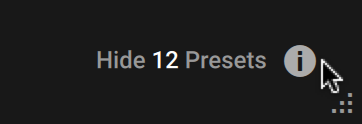
Show/Hide Presets: Displays and hides the Results list. Click Show Presets to display the Results list, or click Hide Presets to hide it. The number of presets currently displayed in the Results list is also indicated. This useful feature allows you to monitor the effect of your filtering, highlighting the potential need for tag refinement to help narrow down extensive Results lists.
Info (I): Shows/hides the Info pane, which displays information relating to the properties and tags of the selected preset. You can also assign tags to user presets in this pane. The Info pane is only available when the Results list is displayed. Refer to Info Pane.
Results list: Displays the list of presets corresponding to your search criteria. Presets are listed in alphabetical order and the selected preset is highlighted. Click a preset to audition the sound without loading the preset. Double-click a preset to load it into the current slot. You can also use the up/down arrows on your computer keyboard to select the previous/next preset from the list. Drag the left border of the the Results List to expand or shrink the list area.
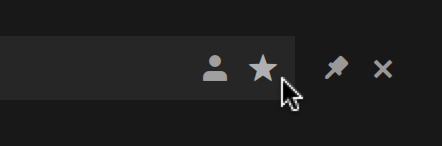
Close (x icon): Closes the Browser when clicked.
Pin (pin icon): Pins the Browser open while you search for presets. By default, Pin is deactivated and the Browser closes automatically when you load a preset. Clicking the Pin button activates Browser pinning, allowing you to audition and load presets without closing the Browser automatically.
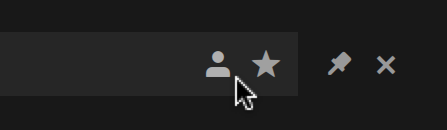
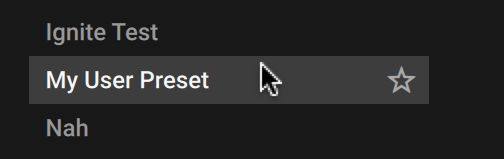
Favorites (star icon): Displays only your Favorites in the Results list. You can define any presets in the Results list as Favorites, creating quick access to a custom collection of your most beloved presets. Refer to Using Favorites.
User Content: Filters by user content. When activated, the Browser only shows user presets. When deactivated, the Browser only shows factory presets. For more information on user presets, refer to User Presets .
Note
Factory refers to content created by a manufacturer. User refers to content that you or other users have created.
Library Browser
The Library Browser allows you to intuitively explore your KONTAKT Libraries, Instruments and presets with extended filtering and tagging options that enable you to find sounds with ease. The Browser provides access to your factory and user presets, helping you to search, load and save sounds. When browsing for sounds you can filter by tags, text search, Favorites and User presets to narrow your search in the Results list. You can also audition preset sounds before loading them with the Preview function. The Browser follows the concept of progressive disclosure, with each element in the interface contributing to a fluent workflow that continuously filters the Results list in a meaningful way.
The following sections explain how to use each element in the Browser to search, load and save your preset sounds.
To open the Browser, click the Browser icon in the Main Control Panel.
Using Filters
Filters enable you to search for sounds using NKS tags and Library tiles. Tags are used to characterize and classify presets based on various musical attributes. All KONTAKT Library presets have been tagged in a meaningful way to encourage your sonic exploration and help you find results quickly.
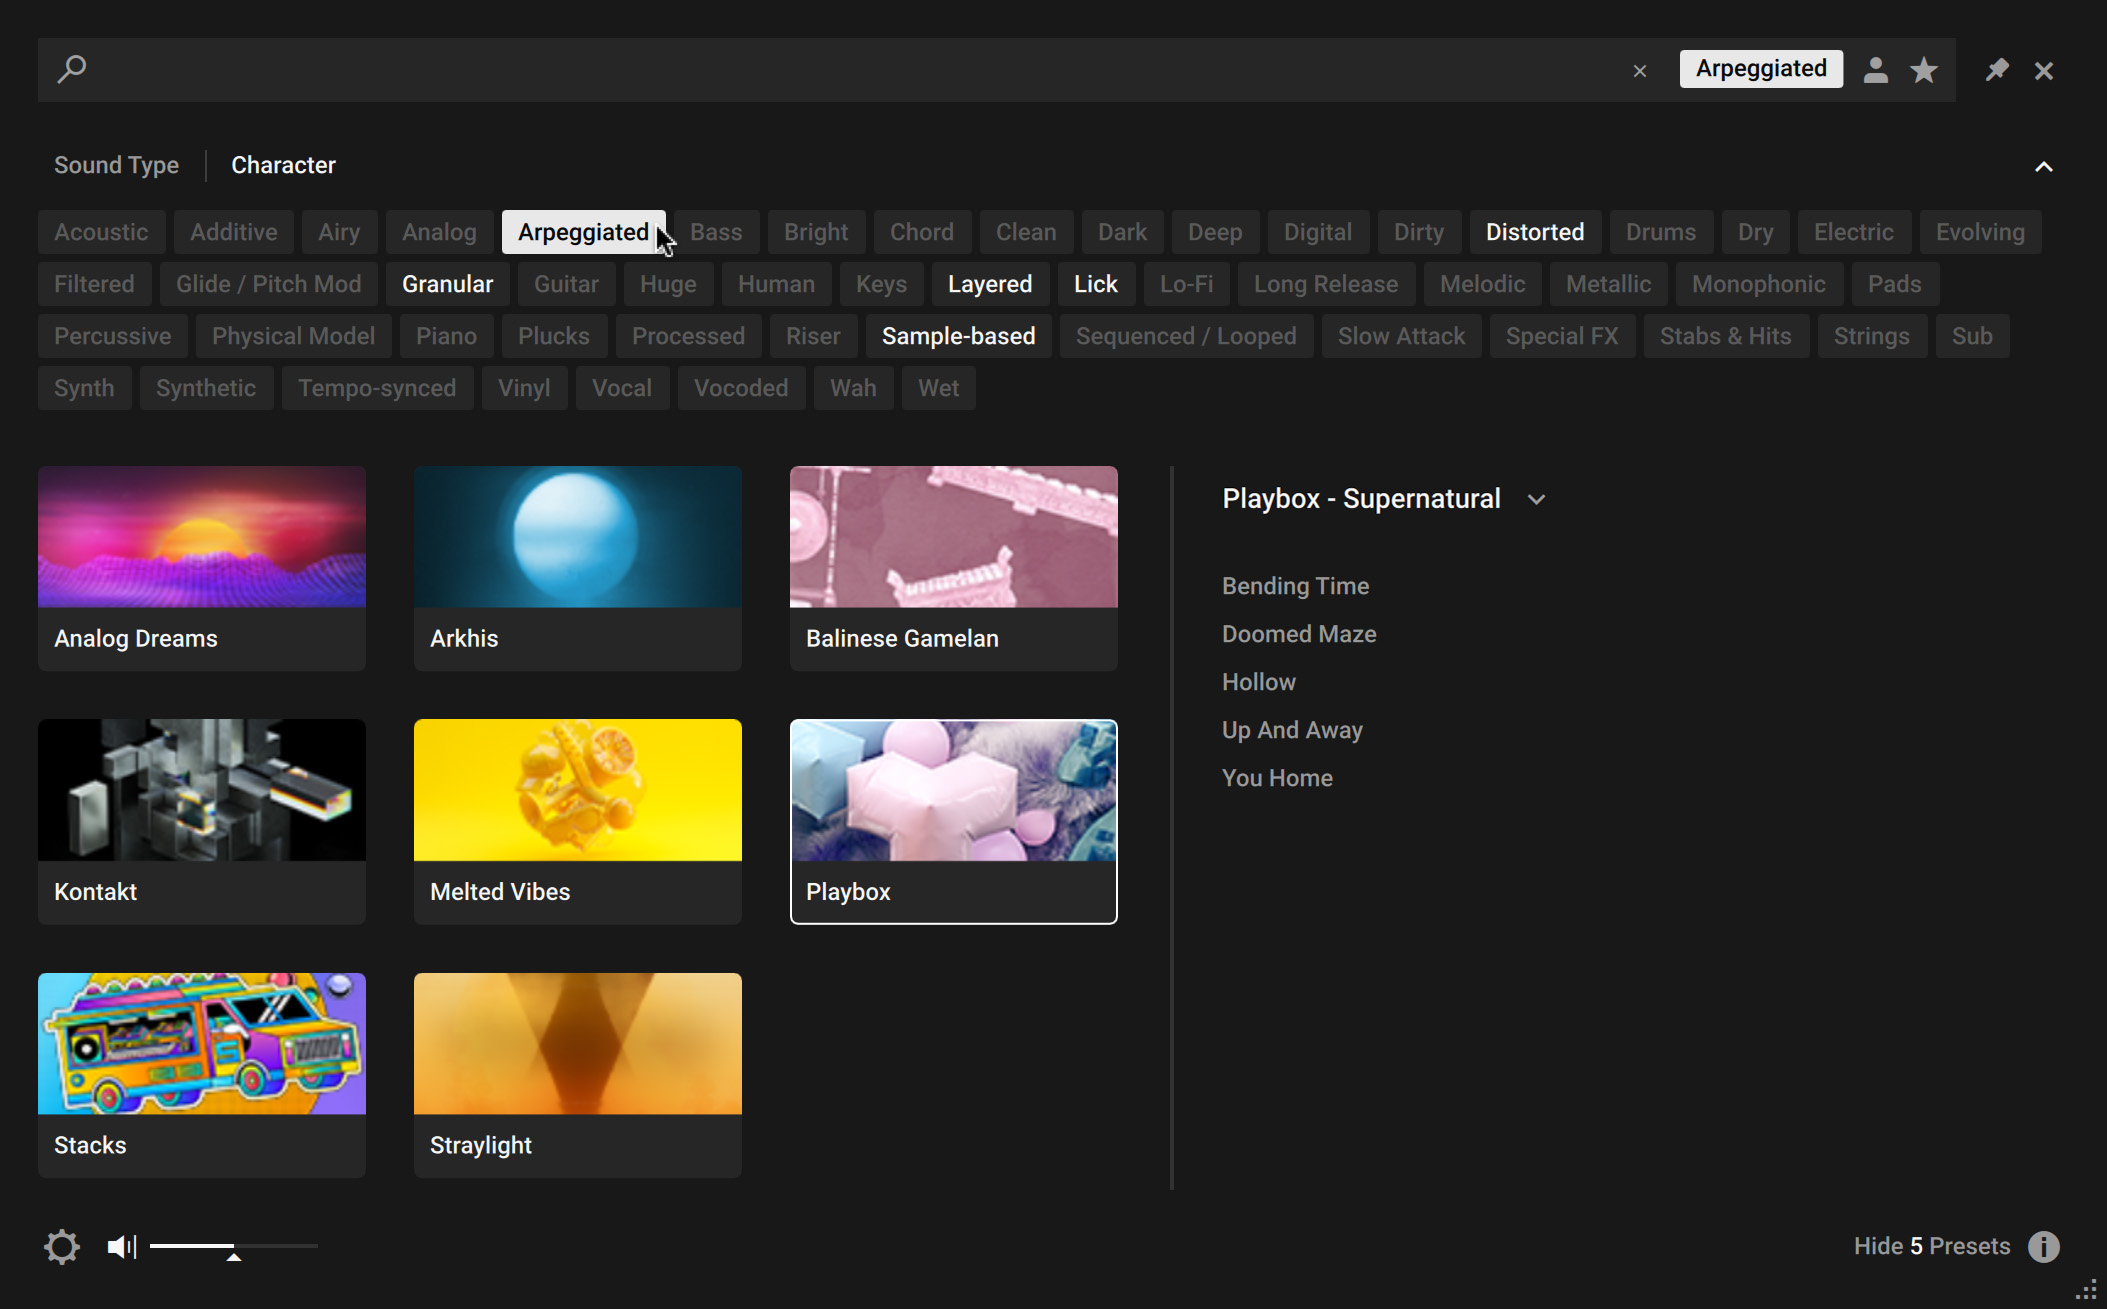
Three main Filters can be used to help enhance your browsing — Library tiles, Sound Type tags and Character tags. Library tiles allow you to search and filter for preset sounds within a specific Library. Selecting a Library tile will display preset results only available to that product, whilst highlighting all relevant tags. Sound Type and Character filters use NKS tags to search for preset sounds. Switch between the two Filters interchangeably by clicking the respective name. Type and Character tags in addition to the Search field can be used to further refine your search results. Hide the Sound Type and Character filters by clicking the arrow icon to minimize the section. A Reset button will appear in the search bar when a filter is applied. Click this to reset all filters.
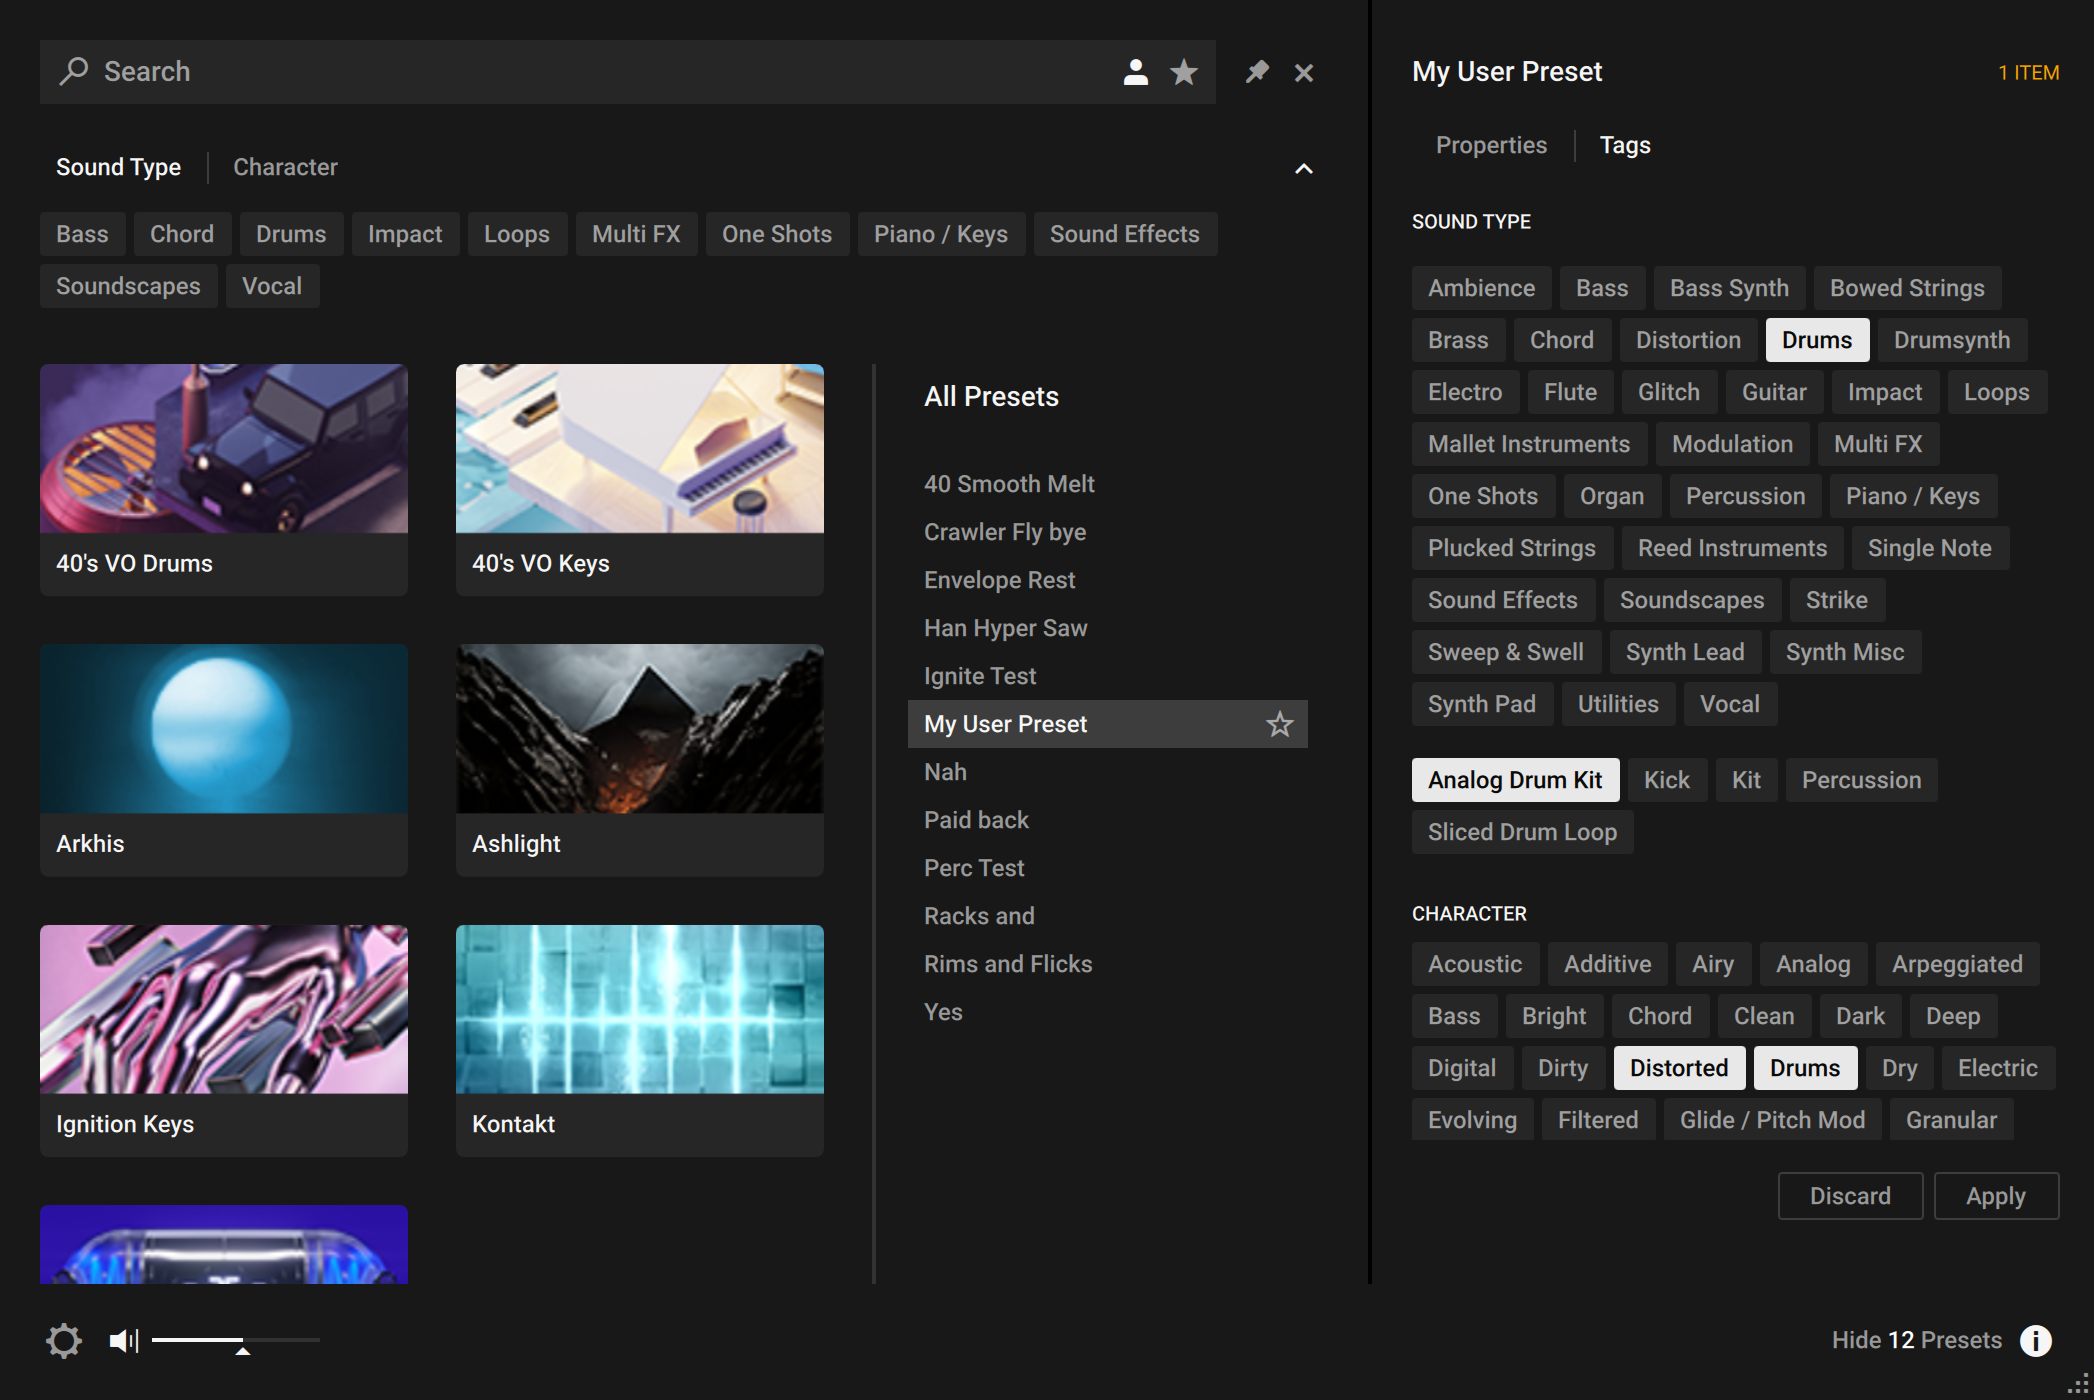
Filtering by Sound Type
Sound Type tags are structured into two hierarchical levels, allowing you to search for files based on applied Type and Subtype tags. The Sound Type filter initially displays top-level tags only, whilst selecting a tag will display the related NKS Subtype tags below. The hierarchical structure means that Subtype tags are specific to the respective Sound Type tag. This provides quick access to a range of presets from different Libraries that share similar sonic functions.
 |
Selecting multiple tags helps you to further refine your search. In the case of multi-selection, repeating Subtype tags are merged into a single tag. When selecting multiple tags, the last item added to the selection is also focused.
To filter by Sound Type tags:
Click Sound Type in the Filter section on the left pane of the Browser.

Click on a Sound Type tag. Any related NKS Subtype tags will be displayed below.

Press [shift] + click to select multiple Sound Type tags.

Click on a Subtype tag to filter the preset list to the relevant presets.

The presets in the Results list are filtered by the selected Filter tags. Presets carrying any of the selected Filter tags are displayed.
Tip
You can also use [command] (macOS) or [Ctrl] (Windows) + click to select mulptiple tags.
Filtering by Character
The Character filter provides an additional level that is independent from the Sound Type filter. These tags are used to further categorize sound characteristics that are common between different Instruments and Sound Types. This offers an additional flexible level of tagging that allows you to browse Instruments with similar characteristics to find a range of samples that meet your identified criteria.
Selecting multiple tags helps you to further refine your search. In the case of multi-selection, repeating Subtype tags are merged into a single tag. When selecting multiple tags, the last item added to the selection is also focused.
To filter by Character tags:
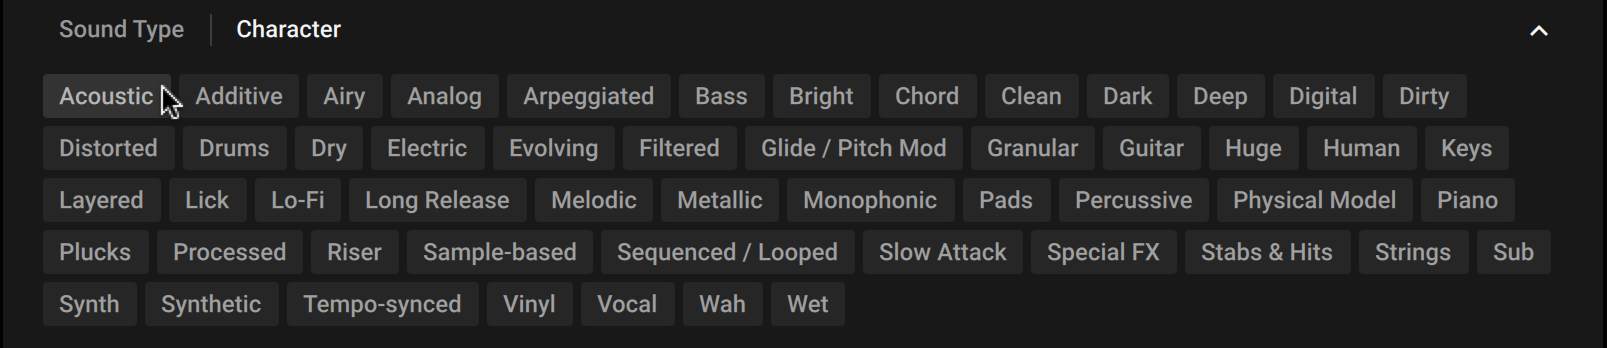
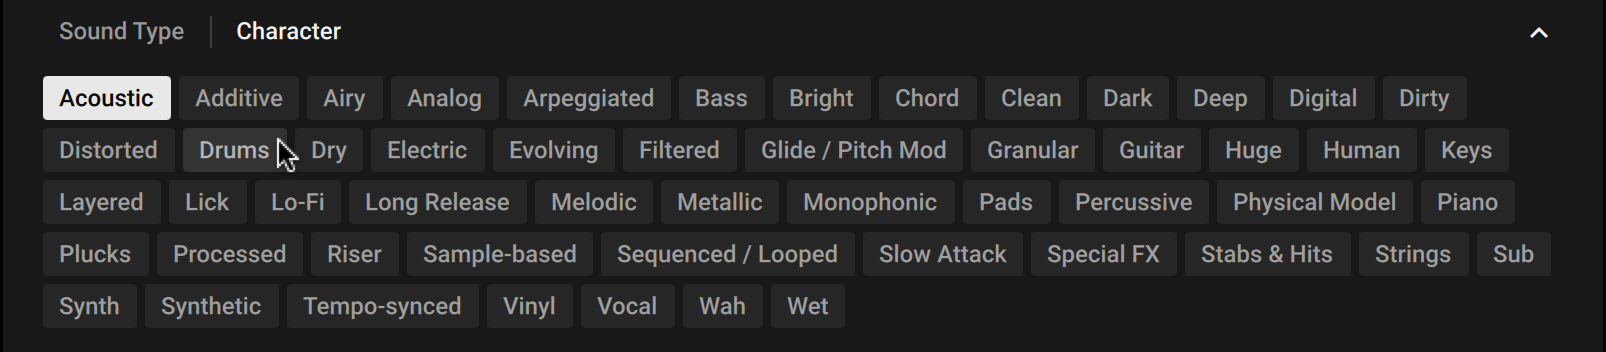
Click Character in the Filter section on the left pane of the Browser.
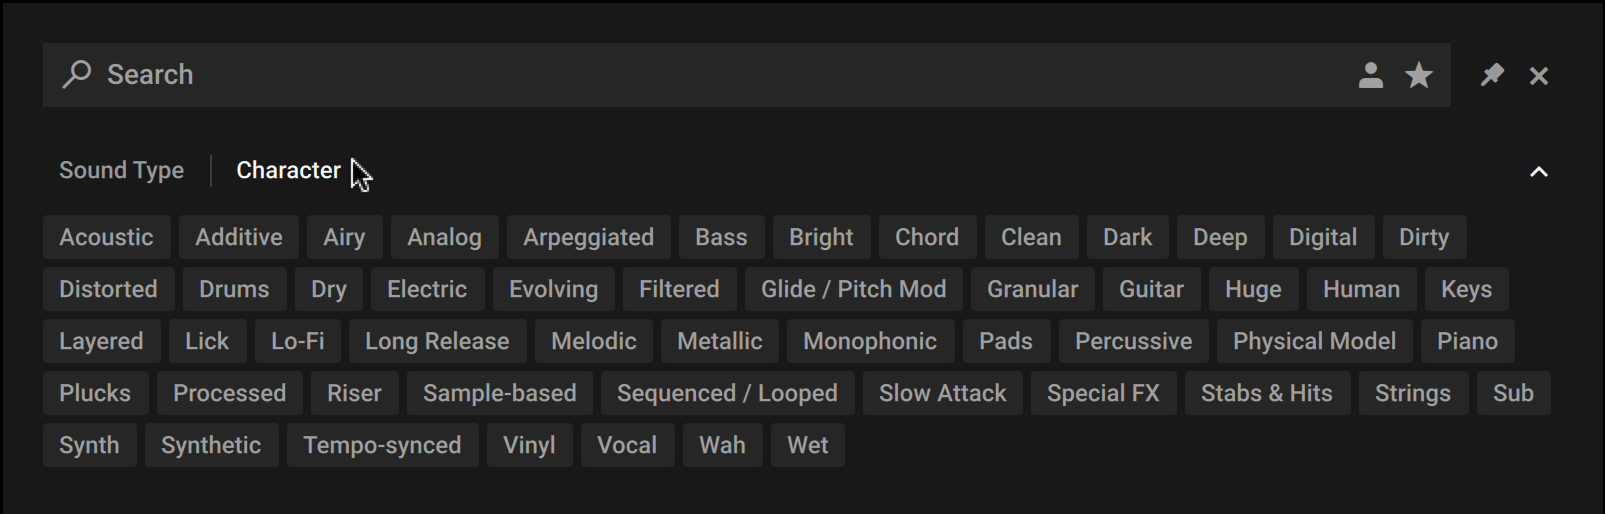
Click on a Character tag.
Press [shift] + click to select multiple Character tags.
As you continue to select Character tags, the Results list will display only relevant presets.
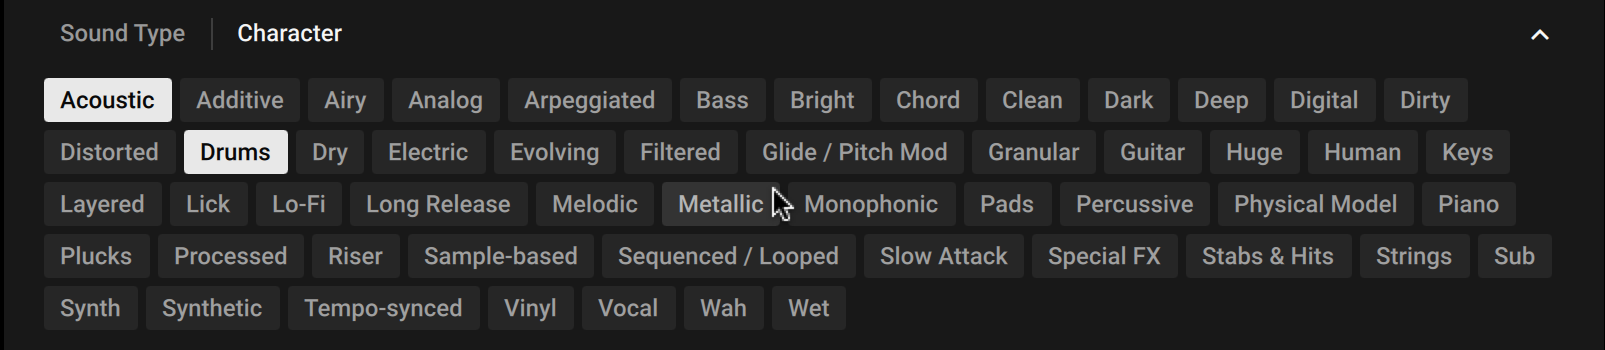
The presets in the Results list are filtered by the selected Filter tags. Only presets carrying all of the selected Filter tags are shown.
Tip
You can also use [command](macOS) or [Ctrl](Windows) + click to select multiple tags.
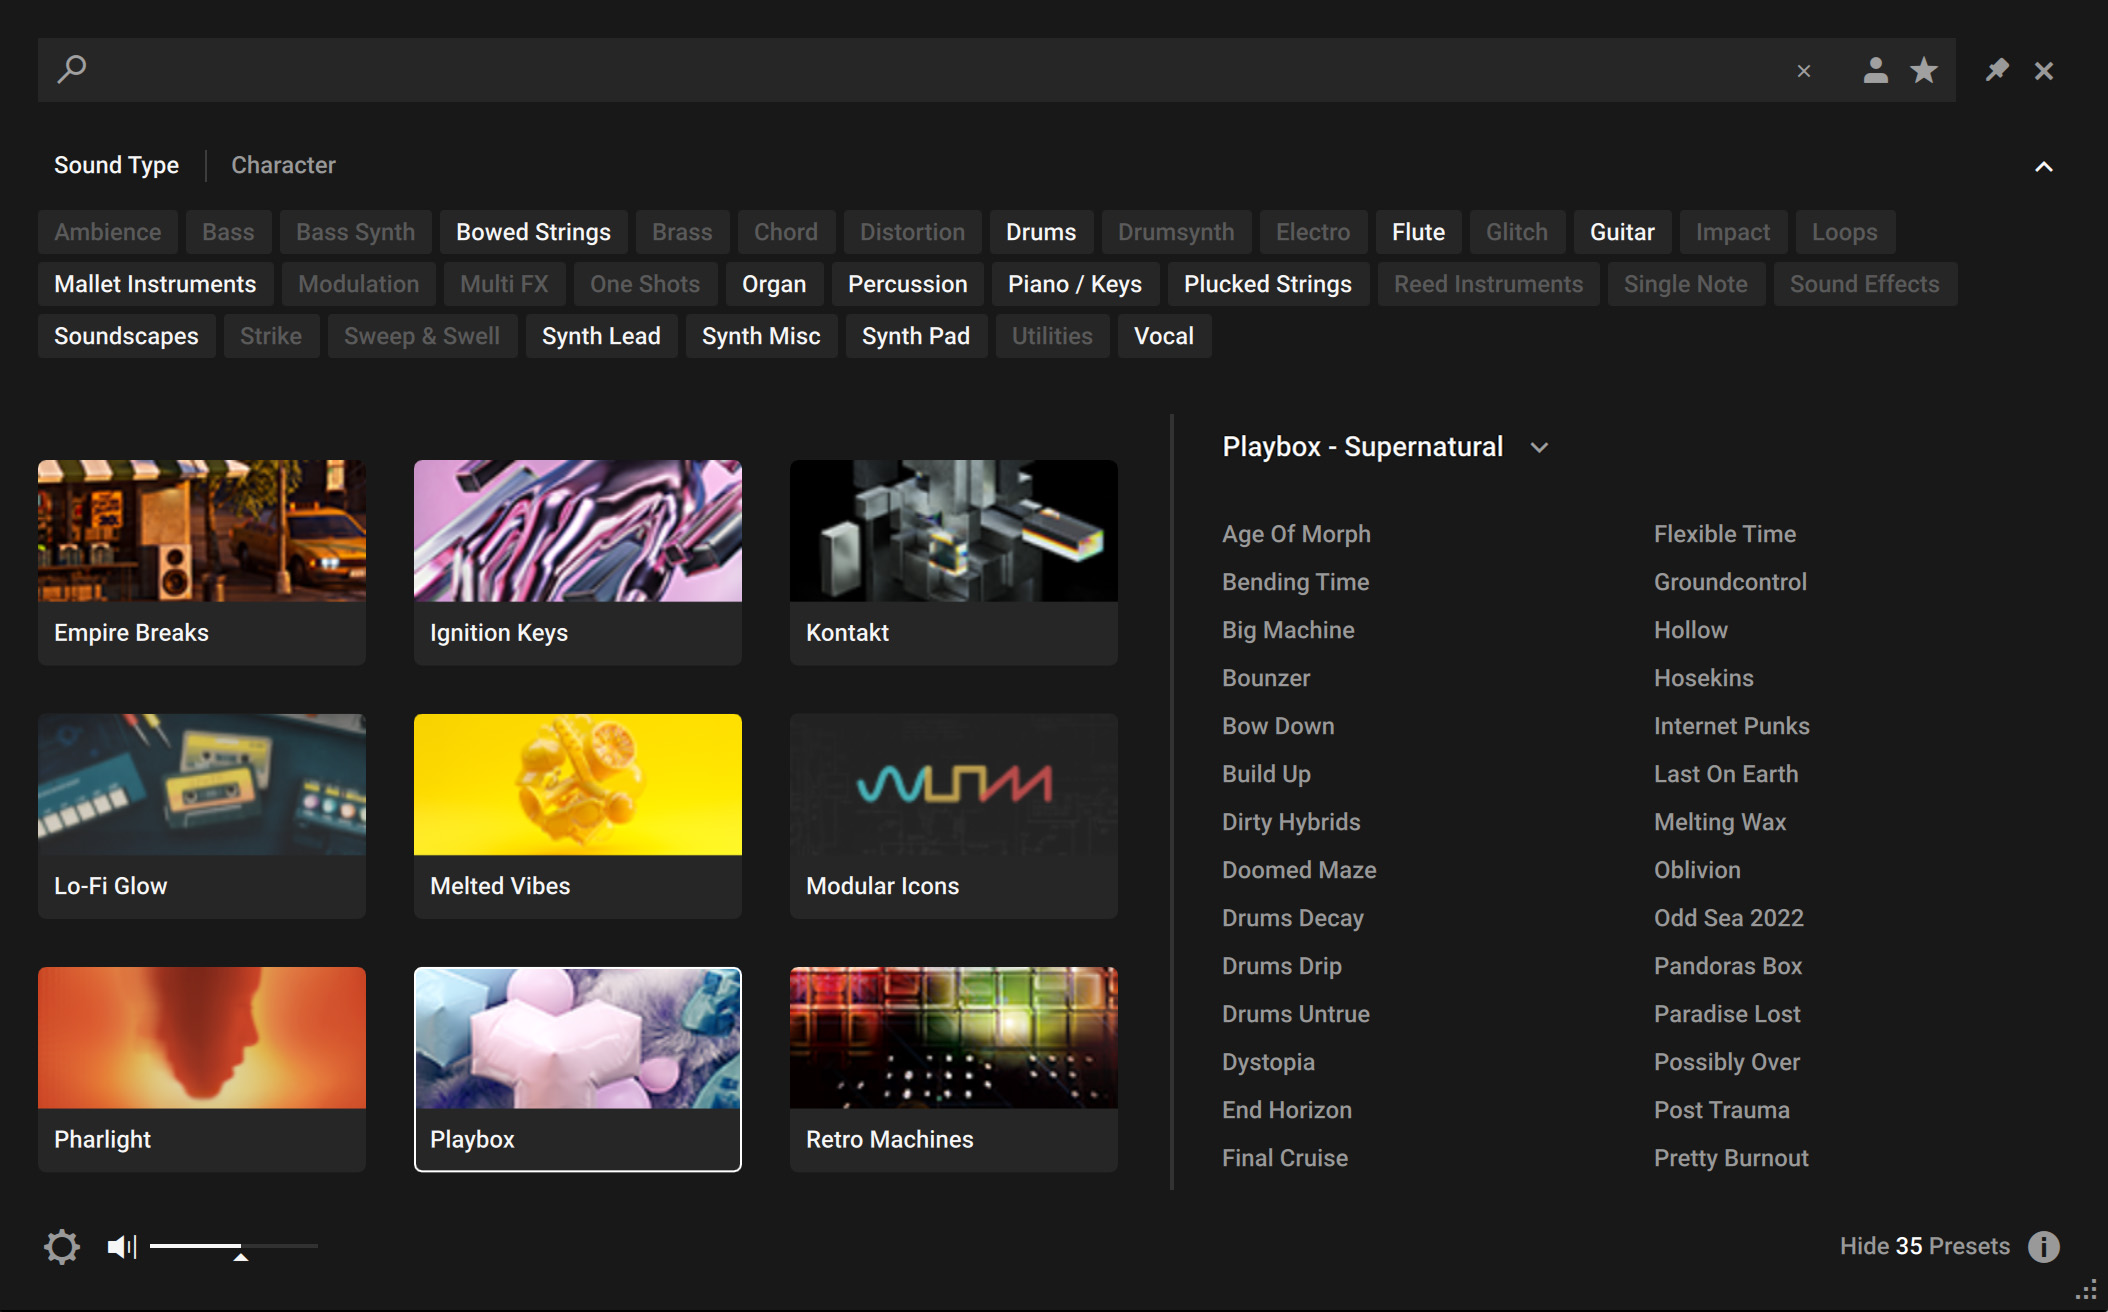
Filtering by Library
The Library tiles are located below the Sound Type and Character Filters and display all your available KONTAKT libraries and custom content. Clicking a Library Tile highlights the selected library and filters the Results list down to its relevant presets. You can further refine your search using the Sound Type and Character Filters, as well as the Search field.
To filter presets using the Library Tiles:
Open the Browser.
Select a Library from the Library Tiles. The presets of the selected Library are displayed in the Results list.
Click the All Banks button to open the Banks menu.
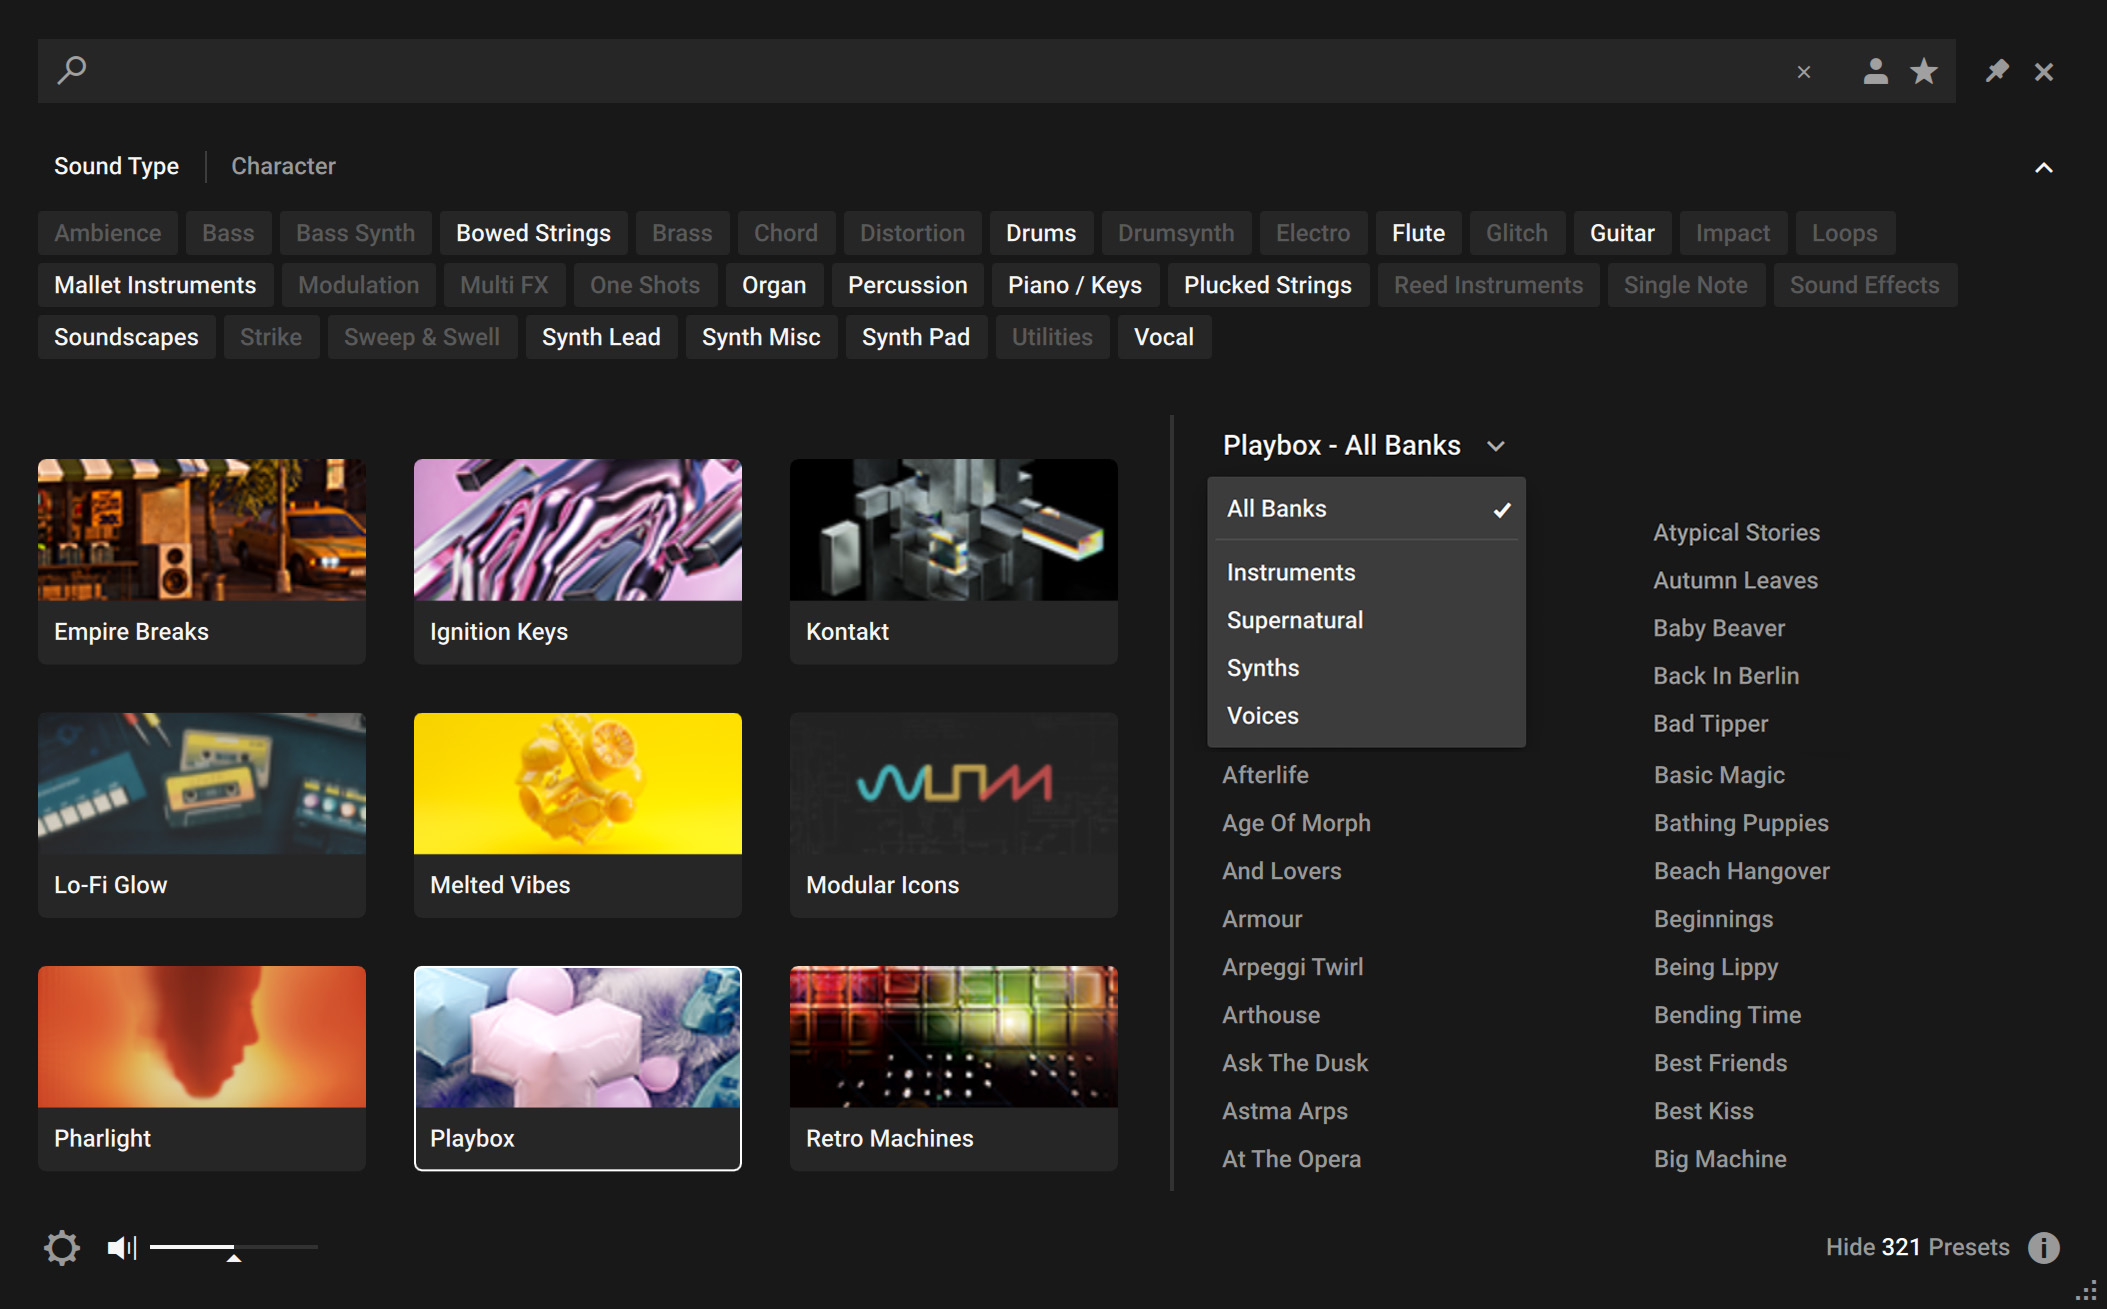
Select from the drop-down menu to refine your search. The presets in the Result list will update accordingly.
Additionally, you can use Sound Type and Character tags to filter your search.
The presets in the Result list will update according to the selected Filter tags.
Tip
The Browser also enables you to import non-player, legacy and custom content as Library tiles. For more information, refer to Managing Imported Content.
Using the Search Field
The Search field at the top of the Browser interface allows you to filter presets with text entry. The search considers preset names, author, Filter titles, and metadata including Character and Product tags.
To filter presets using the Search field:
Activate the Search field by clicking it.

Enter your search terms.

The Result list is filtered according to the terms entered in the Search field.
If you are browsing using Filter tags, your search will only display results according to the selected tags. Your search entry remains in the field even when the Browser is closed.
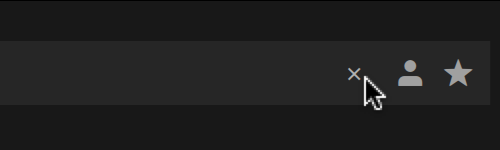
To clear the search, click on the cross icon on the right side of the Search field.
Using Favorites
Favorites enable you to quiclkly find your most frequently used and enjoyed presets, and recall them at any time. By assigning Favorite tags to presets in the Results list you can create a personal collection of sounds that can be easily accessed from the Browser. Once assigned, Favorites serve as an additional filter in the Browser. You can continue to use other filters to refine your search, including the Search field. Favorites can be used for both factory and user presets.
To assign a Favorite tag:
Click the star icon that appears when a preset is selected or hovered over.
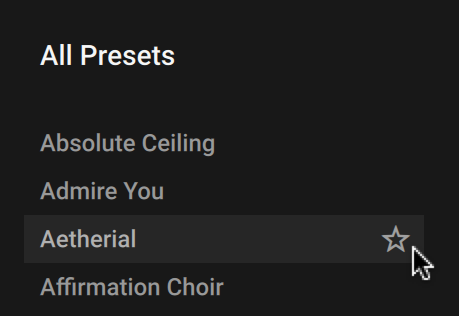
The Favorite tag is assigned. Clicking the star again removes the tag.
To view your Favorites in the Result list:
Click the Favorites icon in the search field.
Only presets that have the Favorite tag assigned are shown in the Result list.
Results List
The Results list displays all presets that are relevant to your search, containing the tags specific to your filtering in the Browser. The Results list contains a number of controls that enables you to customize the visual appearance of the list display, enhancing navigation and browsing to suit your setup.
The Results List contains the following features and controls:
 |
Results List: Displays the list of presets according to options set in the Search field, User presets, Favorites, and Filters. Presets are sorted by instruments, multis and snapshots in alphabetical order and the selected preset is highlighted. Click the name of a preset to audition the sound without loading the instrument. Drag the Results List pane left expand the display area. Refer to Using Filters.
Info Pane: Displays information relating to the properties and tags of the selected preset. You can also assign tags to User presets in this pane. The Info Pane is only available when Show Presets is selected and the Results list is displayed. Refer to Info Pane.
Show/Hide Presets: Displays and hides the Results list. Click Show Presets to display the Results list, or click Hide Presets to remove the Result list from the Browser. The number of presets currently displayed in the Results list is also indicated. This useful feature allows you to monitor the affect of your filtering, highlighting the potential need for tag refinement to help narrow down extensive Results lists.
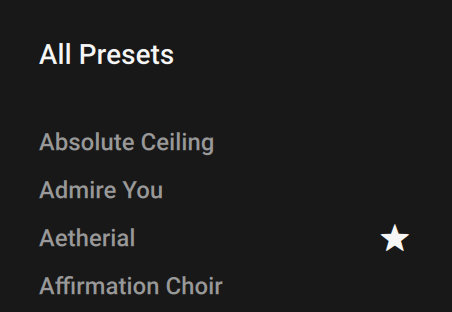
Favorite Preset (star icon): Indicates a Favorite preset in the Results list. Click the star icon to add the respective preset to your Favorites list.
Scroll Bar: Scrolls through the Results list when more than one page of presets is available. The scroll bar appears when hovering your mouse in the area beneath the Results list. Clicking + dragging the scroll bar moves through the presets. The scroll bar moves horizontally or vertically, depending on how the Results list is expanded.
Expand List: Expands and collapses the Results list when held and dragged. Clicking + dragging the divider left reduces the Library tiles and expands the Results list. Clicking + dragging the divider right reduces the Results list to a single column and expands the Library tiles area.
Preset Preview: Allows you to audition preset sounds without loading the Instrument. Select a preset from the Results list to preview the sound, and adjust the volume using the slider control.
Info Pane
The Info Pane displays information relating to the properties and tags of the selected preset. You can also use the Info Pane to assign tags to user presets.
The Info Pane provides the following information and controls:
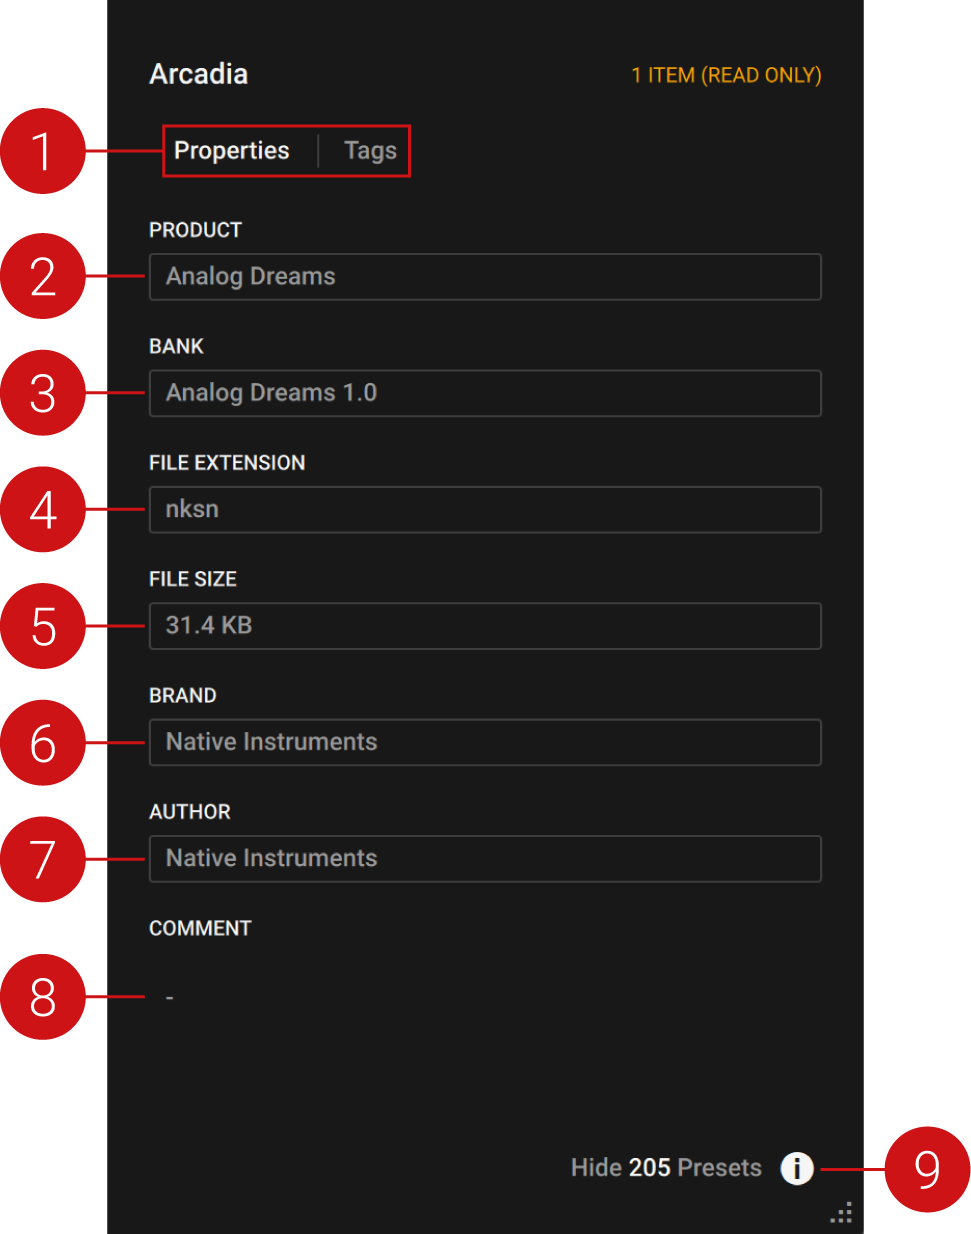 |
Properties/Tags: Switches the view between Properties and Tags. Click the name to display the respective information. For more information about using the Tags view, refer to Managing User Tags .
Product: Displays the name of the product that includes the preset.
Bank: Displays the name of the bank that includes the preset.
File Extension: Displays the extension of the preset's file format.
File Size: Displays the file size of the preset on disk.
Brand: Displays the name of the manufacturer that created the library.
Author: Displays the name of the author that created the preset.
Comment: Displays the optional comment embedded in the preset.
Info Pane (i button): Opens and closes the Info pane.
Managing Imported Content
The Browser enables you to import Custom Libraries and User content, adding your imported content as Library tiles in the Browser. You can batch import multiple libraries in give them custom names via the alias field.
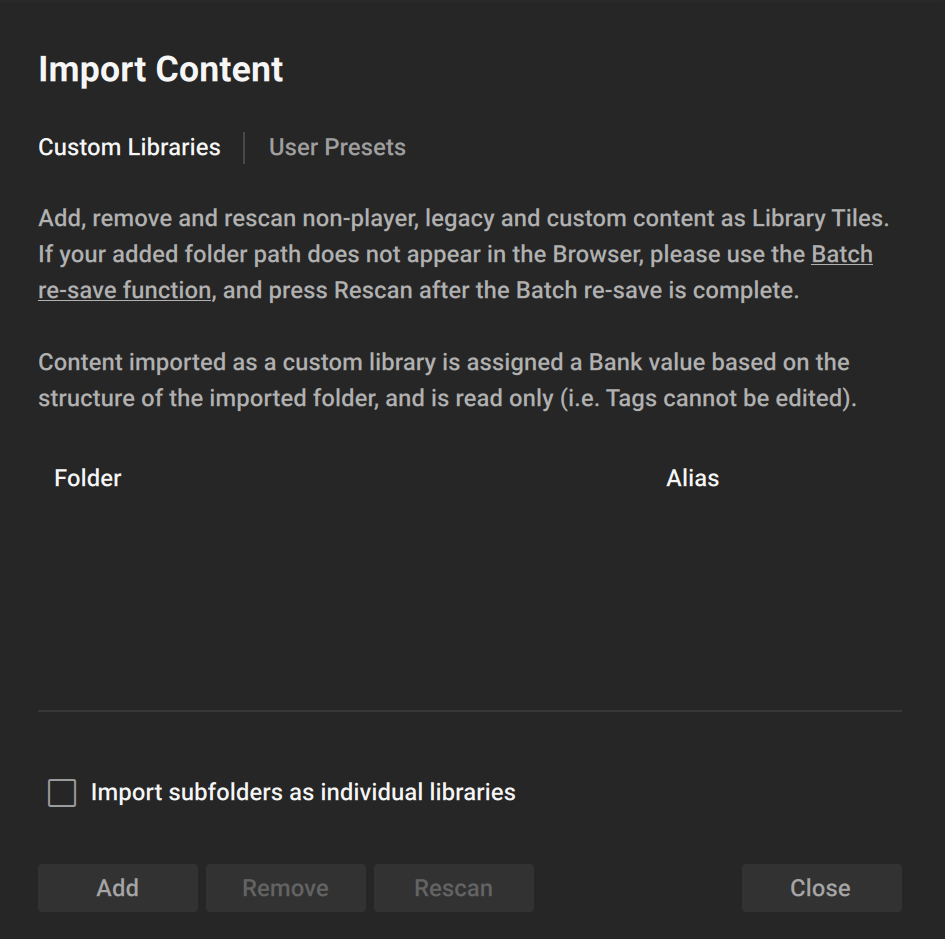
To import content:
Click the Browser icon in the Main Control Panel to open the Browser.
Click the Import Content button at the bottom left of the Browser.
Select Custom Libraries or User Presets.
Click Add.
Locate the content to import and select Open.
The custom content is imported and displayed as a Library tile in the Browser.
To remove custom content from the Browser:
Click the Import Content button, at the bottom left of the Browser.
Select Custom Libraries or User Presets.
Select the content in the dialog and click Remove.
The custom content is removed from the Browser.
Managing Library Artwork
Thumbnail icons allow you to quickly identify your KONTAKT Libraries. If the library artwork does not display, use the following instructions to reset the thumbnails.
macOS
Navigate to the following location on your hard drive: Macintosh HD/Users/Shared.
Locate and delete the folder named NI Resources.
Click Go in the Finder menu bar.
Hold [option](macOS) or [Alt](Windows) and select the Library option that appears in the Go menu.
Navigate to the following location: Library/Application Support/Native Instruments.
Locate and delete the folder named Kontakt 7.
Navigate to the Service Center folder in the same user Library folder.
Locate and delete the file named pal.db.
Empty the system trash.
Open Native Access and click Refresh.
Open KONTAKT 7 in stand-alone mode.
The Library tiles are updated and the thumbnail artwork now displays in the KONTAKT Browser.
Windows
Navigate to the following location on your hard drive: C:\Users\Public\Documents.
Locate and delete the folder named NI Resources.
Navigate to the following location on your hard drive: C:\Users\"Username"\AppData\Local\Native Instruments.
Locate and delete the folder named KONTAKT 7.
Navigate to the following: C:\Users\"Username"\Documents\Native Instruments\Service Center.
Locate and delete the file named pal.db.
Open Native Access and click Refresh.
Open KONTAKT 7 in stand-alone mode.
The Library tiles are updated and the thumbnail artwork now displays in the Browser.
Presets
Save, load and explore presets using the Browser. Presets allow you to save custom user sounds for easy recall and sharing between computers and users.
A preset recalls a previously saved sound including all individual parameter settings. Presets offer a way of exploring and saving variations of any Kontakt Instruments for easy recall. In addition to the presets included in KONTAKT's extensive Factory Library, you can save, load, and import User presets. The following sections explain the basic workflows involved in using presets.
 |
Saving a User Preset
User presets can be saved at any time while you are working in KONTAKT. When a sound parameter has been adjusted, that Save button (disk icon) becomes active.
To save a User preset:
Click the Snapshot View button (camera icon) in the Instrument Header. This will switch the Header to the Snapshot view.
Click the Save button (floppy disk icon). This will open the Save dialog.
Enter a name for your new Snapshot and click Save.
Click Save to finish the process and close the dialog box.
The Snapshot is saved and added to the Snapshot Menu and the User content in the Browser.
Tip
You can transfer any of your Snapshots to another computer by copying the respective Snapshot files.
User Content Folder
All User Snapshots are automatically stored in the default User Content folder:
Mac OS X: | Macintosh HD/Users/<User Name>/Documents/Native Instruments/User Content/ |
Windows: | C:\Users\<User Name>\My Documents\Native Instruments\User Content\ |
Notice
Please make sure you include your Documents / My Documents folder in your regular data backups.
Loading a User Preset
You can load a User preset from its respective Snapshot menu in the Instrument Header. You can also access all your User presets from one place in the new Browser.
To load a User preset:
Open the Browser.
Click the User content button to display all your custom presets.
Click a User preset from the Results list to preview the sound.
Double-click the preset name to load it.
The User preset loads in KONTAKT.
Deleting a User Preset
You can delete any of your User presets.
To delete a User preset:
Select the desired preset in the Browser.
Right-click and select show in Finder / Explorer
Delete the file from the disk.
The file is removed from the Browser on next launch of KONTAKT.
Managing User Tags
You can view and edit User preset tags using the Browser's Info pane. Sound Type and Character tags can be assigned and unassigned, allowing you to browse your User presets using filtering and text search. By holding shift and selecting multiple presets, tags can be edited in bulk.
To assign tags to a User preset:
Click the User button to display your User presets.
Select a User preset from the Results list.
Click the Info pane icon.
Select the Tags filter.

Select the Sound Type and Character tags that relate to your User preset.

Click Apply.
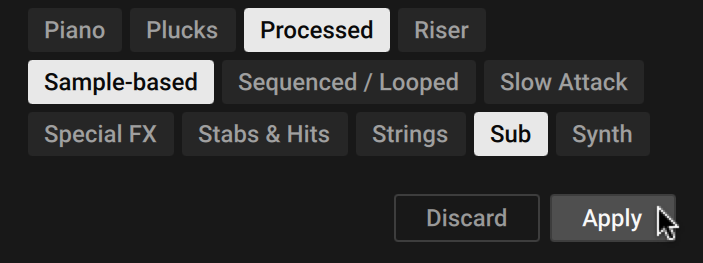
The selected tags are saved to the User preset file.
You can also add your own User Filter tags and assign them to a User preset in the Info Pane of the Browser.
To add a User Filter tag:
Select the User preset you want to assign your own User Filter tag to in the Results list by clicking on the corresponding entry.
Click the Info Pane button in the bottom right corner of the Results list to open the Info pane.
Click on the + icon under the Filter type you want to add your User Filter tag to.
Type in a name for your User Filter tag.
Press [Enter] or click anywhere in the Info pane to confirm the name and save your User Filter tag.
Your new User Filter tag is added and assigned to the User preset.